The Road Bridge
The road bridge was the first structure I built for the layout. Here's a couple of photos of the prototype structure, and then the completed model.


I started by building a cardboard mockup, to make sure the size and shape fitted the platforms and track, with sufficient clearance on the curve.

Then I transferred the shape to a piece of ply which would form the basis of the model. I again checked that it would fit the space required.

Then, using the plywood as a template, I began marking out the embossed styrene sheet that would be used to form the face of the bridge.


Once all the styrene was cut to shape, I started applying it to the plywood base, with different sections, and pieces of styrene strip to provide the relief effect of the various stone courses. I used PVA wood glue to fix the styrene to the plywood.


I created the sloped buttress sections at each end of the bridge by folding more of the embossed plasticard into a triangular profile on one edge, and used offcuts of plywood underneath to fix them to the main structure.

Using a pair of dividers, I cut a curved section out of styrene sheet, and then cut it into individual sections to form the stones of the archway.


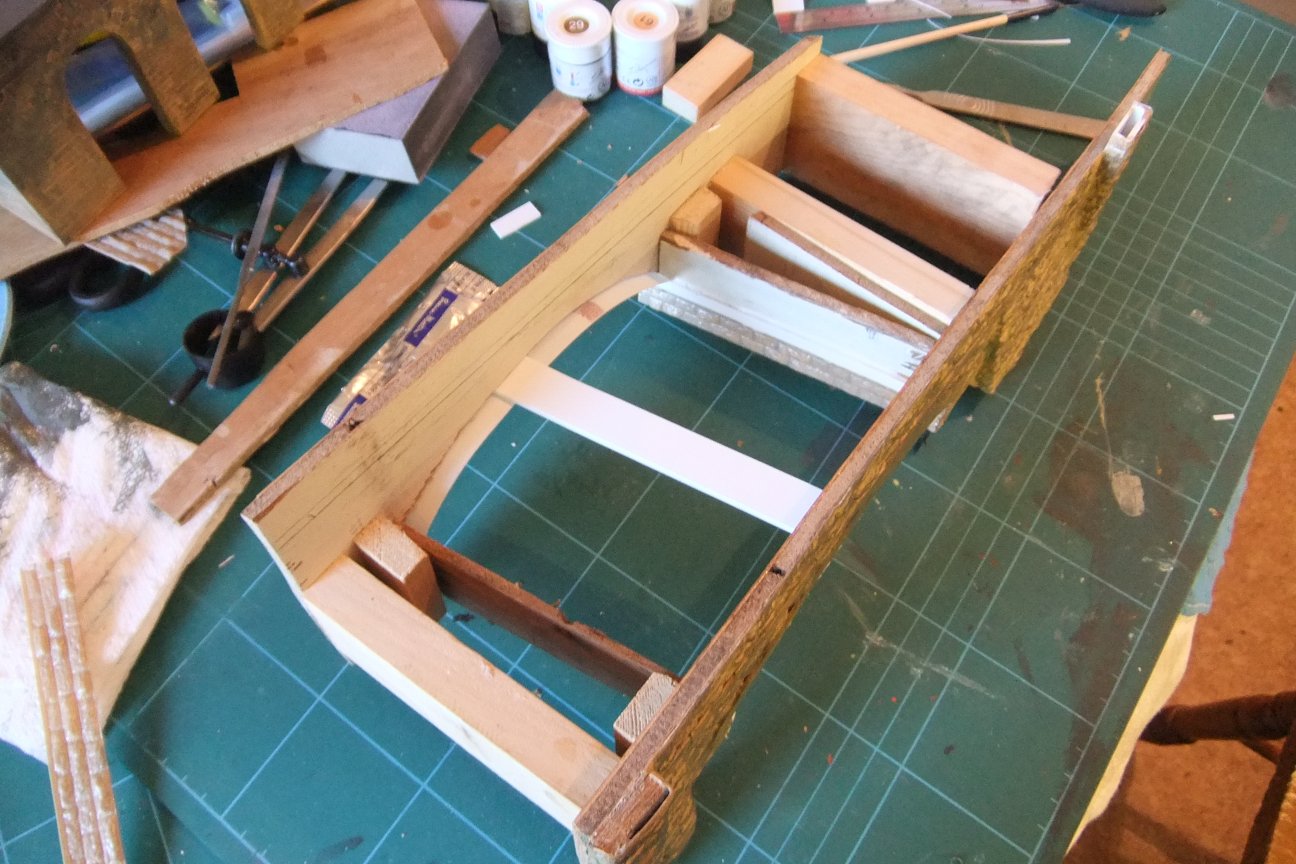
This image shows the basic structure of the bridge, offcuts of timber, and plywood, glued and nailed together. It's not particularly pretty, and my woodwork skills will never win a prize, but it's functional, and forms the base on which to add the more intricate detail.
Here's a close-up, showing both the painting, and detail of the coping stones, made from 20thou styrene in multiple layers

and here's a detail shot of the buttresses, and the underbridge wall prior to it being painted.

A shot with the bridge on its side, showing the detail of the underside of the arch, made from a sheet of embossed styrene bricks

and one from further out showing the awful state of the woodwork!

The painting was done using Humbrol Matt Acrylic paints. I started with a base coat of Humbrol Matt Sand (No.63), and once that was dry, I applied dilute washes of a number of different greens, and olive Drab, removing most of each wash with tissue after every application, to produce a slow build-up of varying shades across the whole structure. I then used Humbrol Black Green to darken the areas where smoke was likely to affect it, and used a very sparing amount of Humbrol Dirty Black where the smoke was worst.