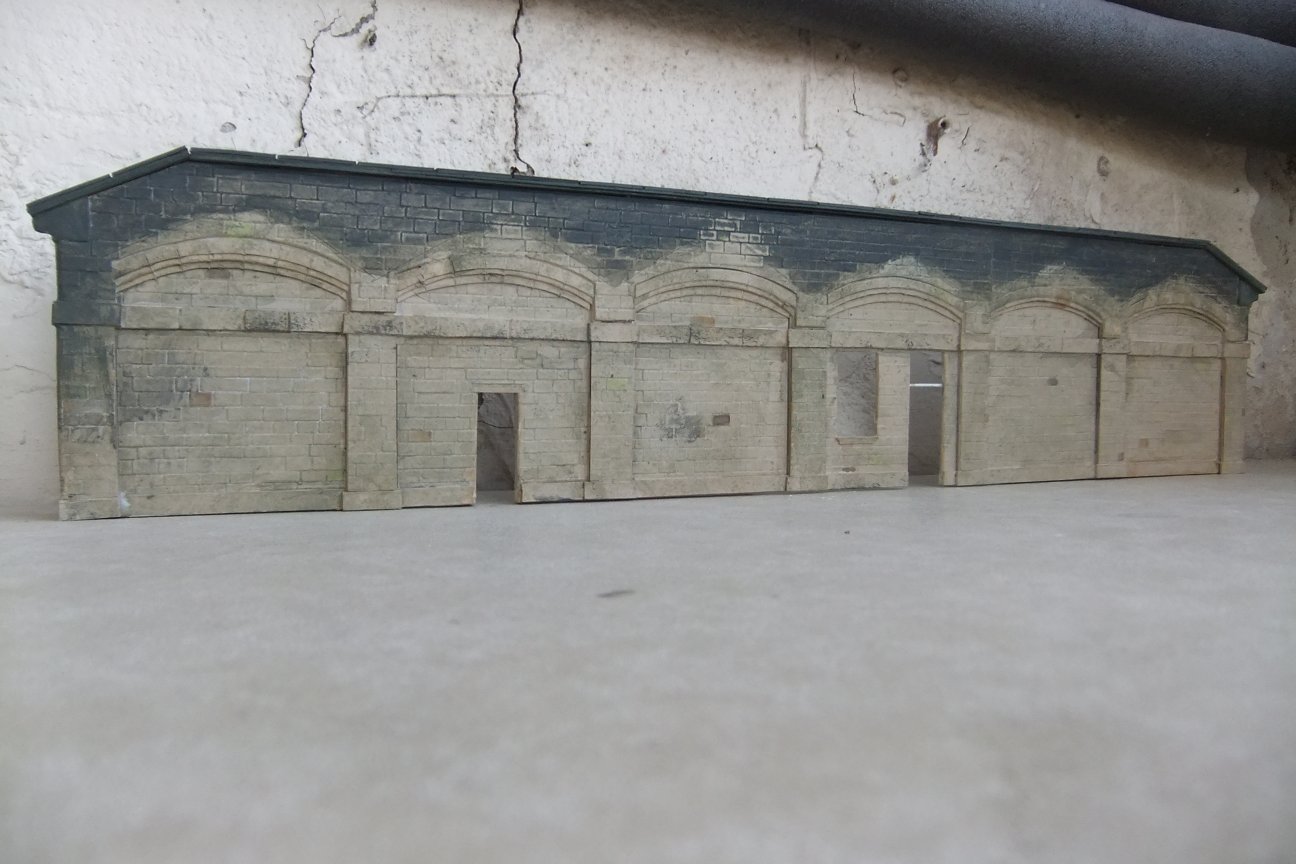
The Up Line Station Building
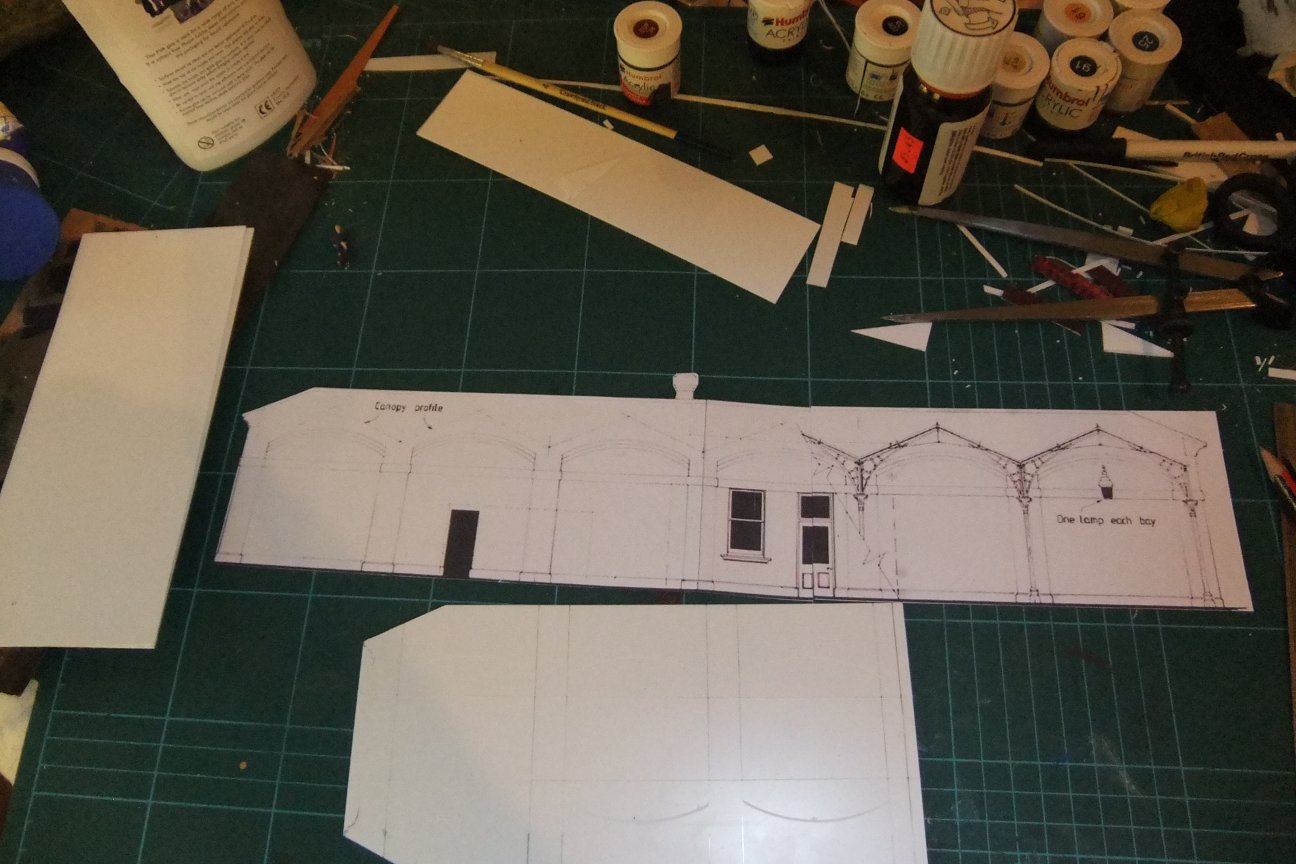
For the two Station buildings, I used a set of plans of the building taken from Bill Hudson's invaluable book "Through Limestone Hills" which is an essential resource for anyone modelling the Midland line through the Peaks. The plans in the book are reproduced at 2mm ("N") scale, but I photocopied them and blew them up to 4mm ("00") scale. |
The model is built from layers of 40thou and 20thou styrene sheet and covered in Slater's 4mm Dressed Stone embossed styrene. |
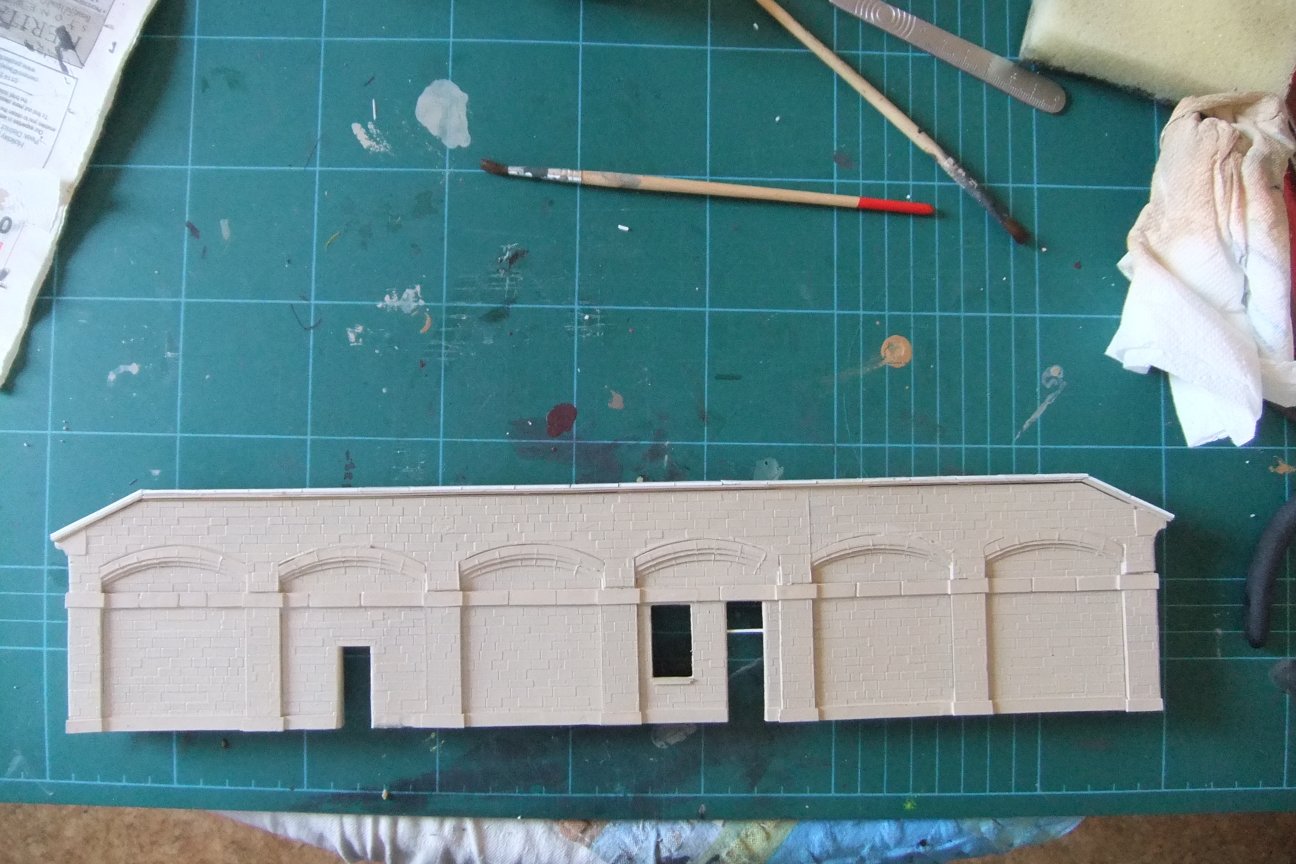
The Up Station building is mostly a stone built facade, built to support the canopies, with only a small waiting room and an outside gents lavatory behind it. |
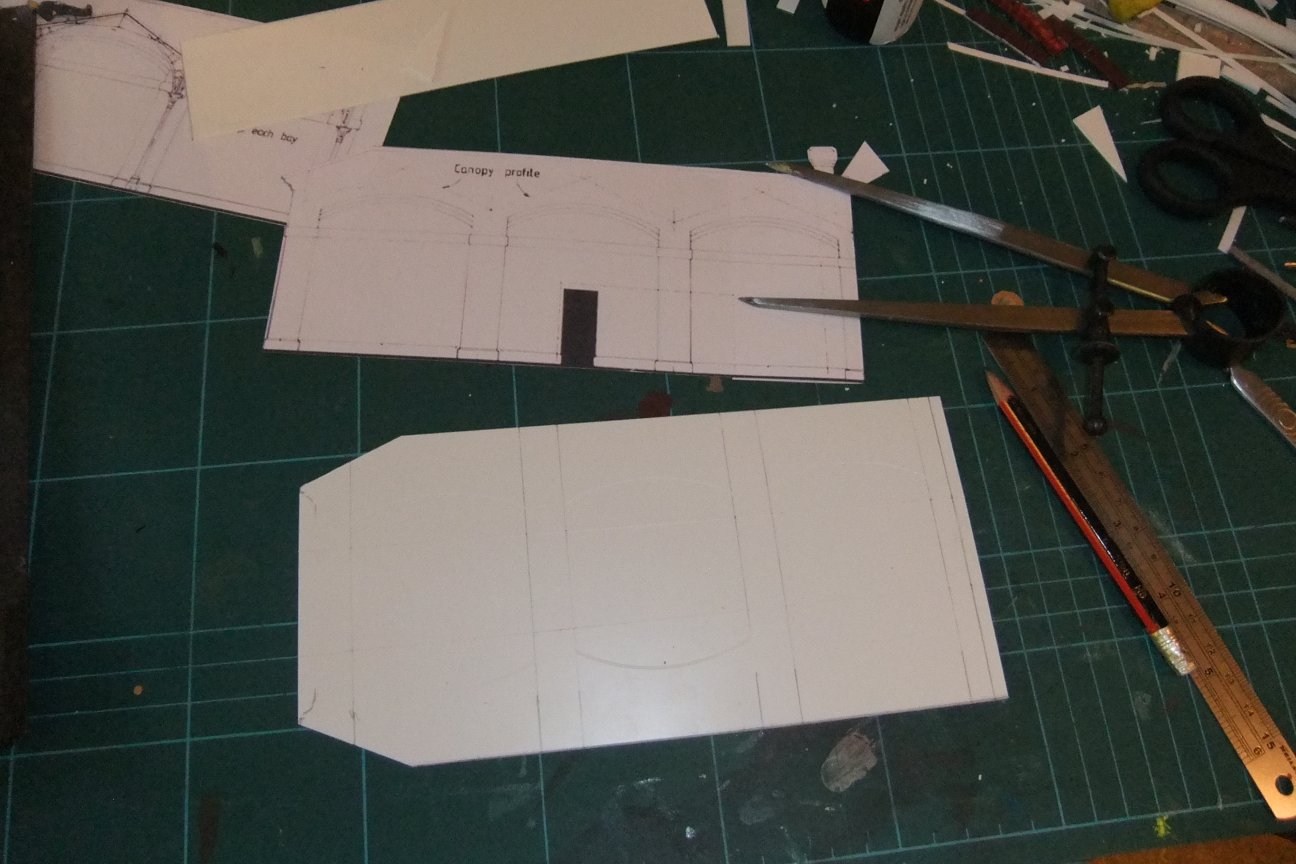
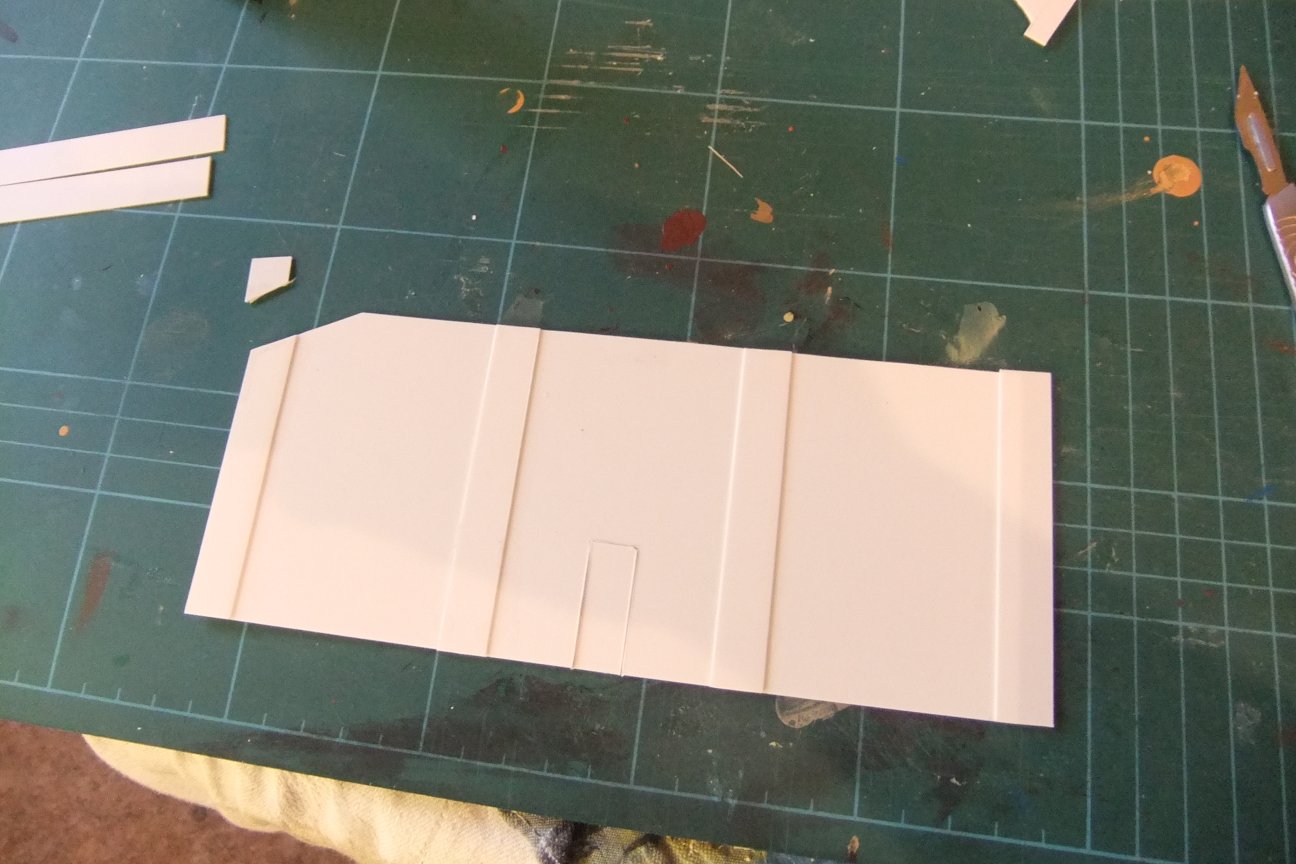
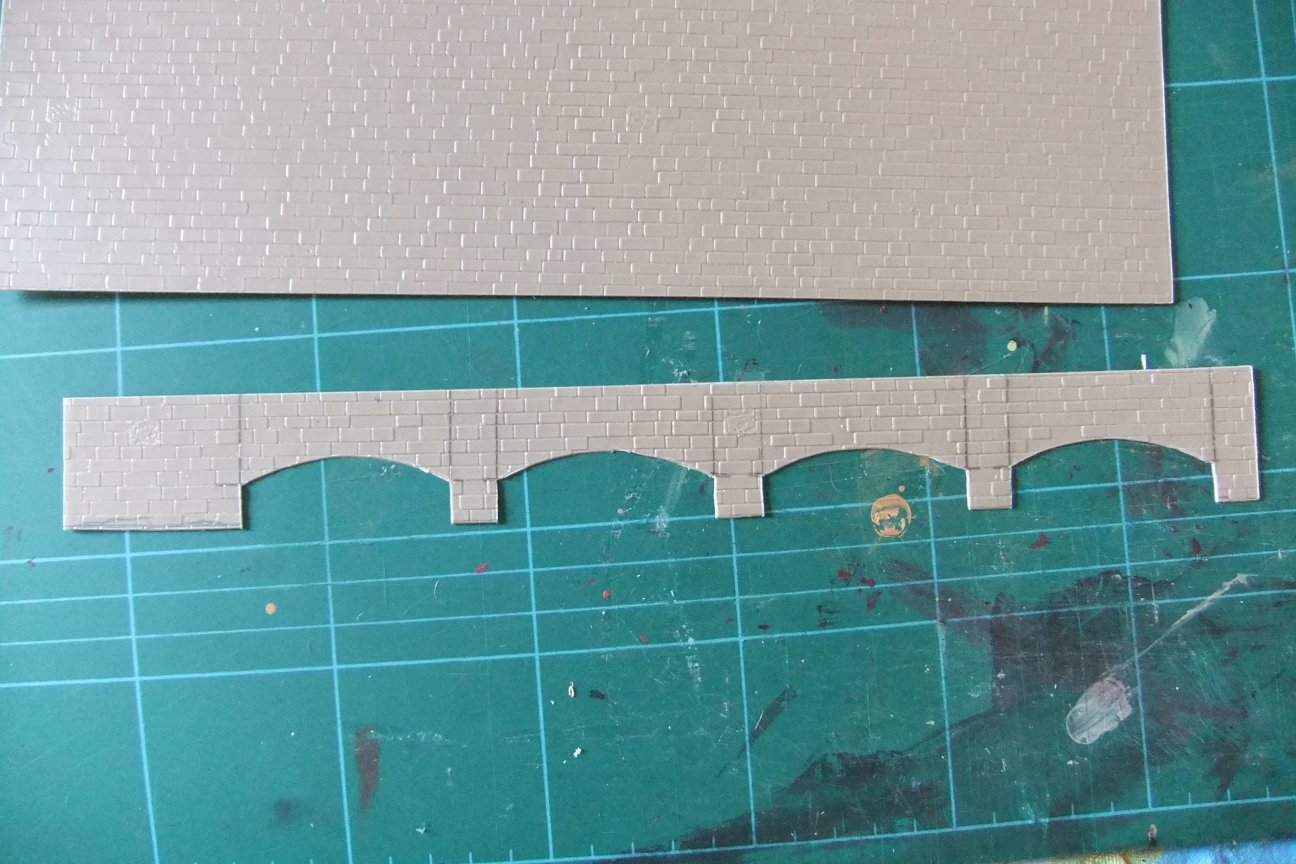
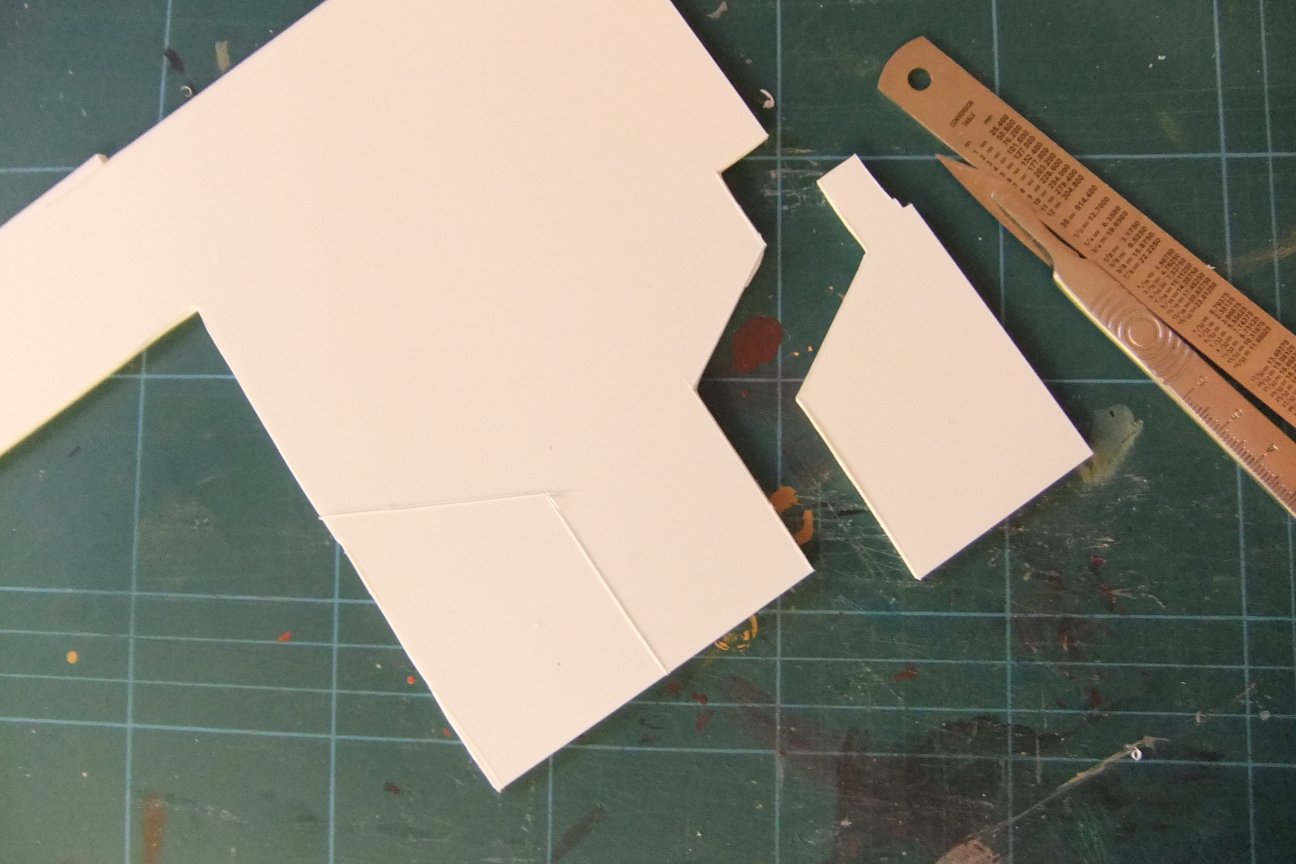
I started, then, with a sheet of 40thou (1mm) styrene sheet, out of which I cut the basic overall shape of the structure. As the structure's total length was greater than a sheet of styrene, I chose to make the building in two halves, which could be joined later. |
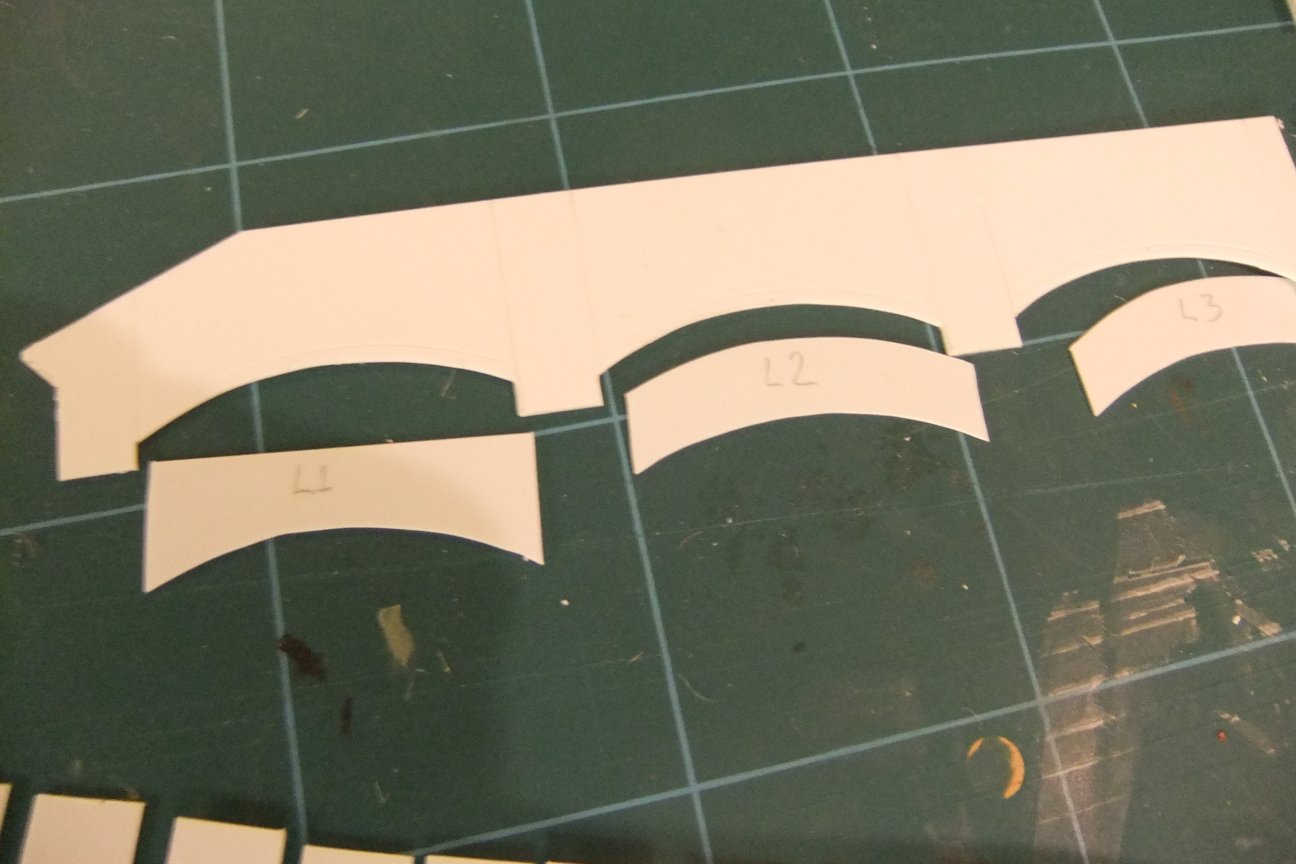
I then took some 80thou (2mm) styrene sheet, and using a pair of dividers, I marked out the arches for both halves on opposite sides of a single sheet. |
 |
 |
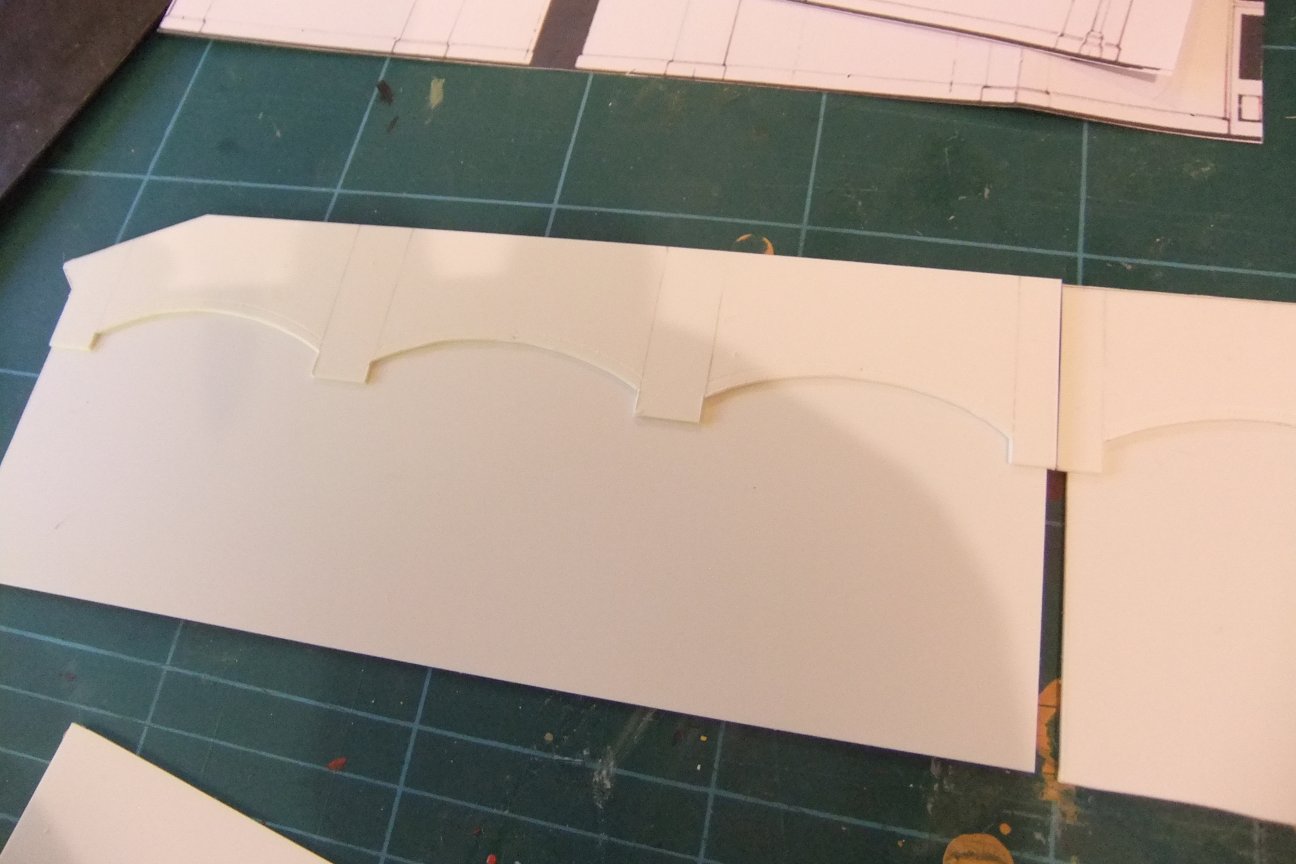
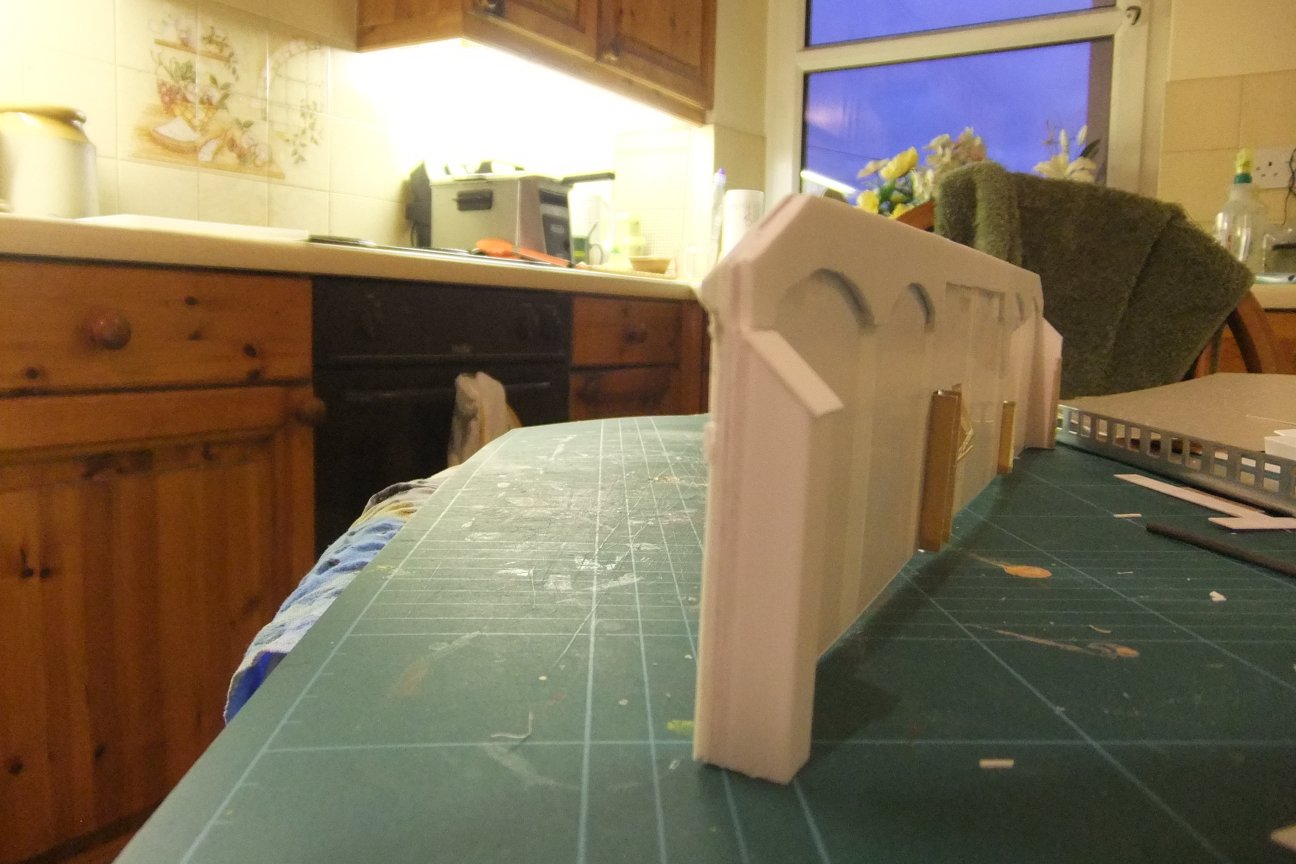
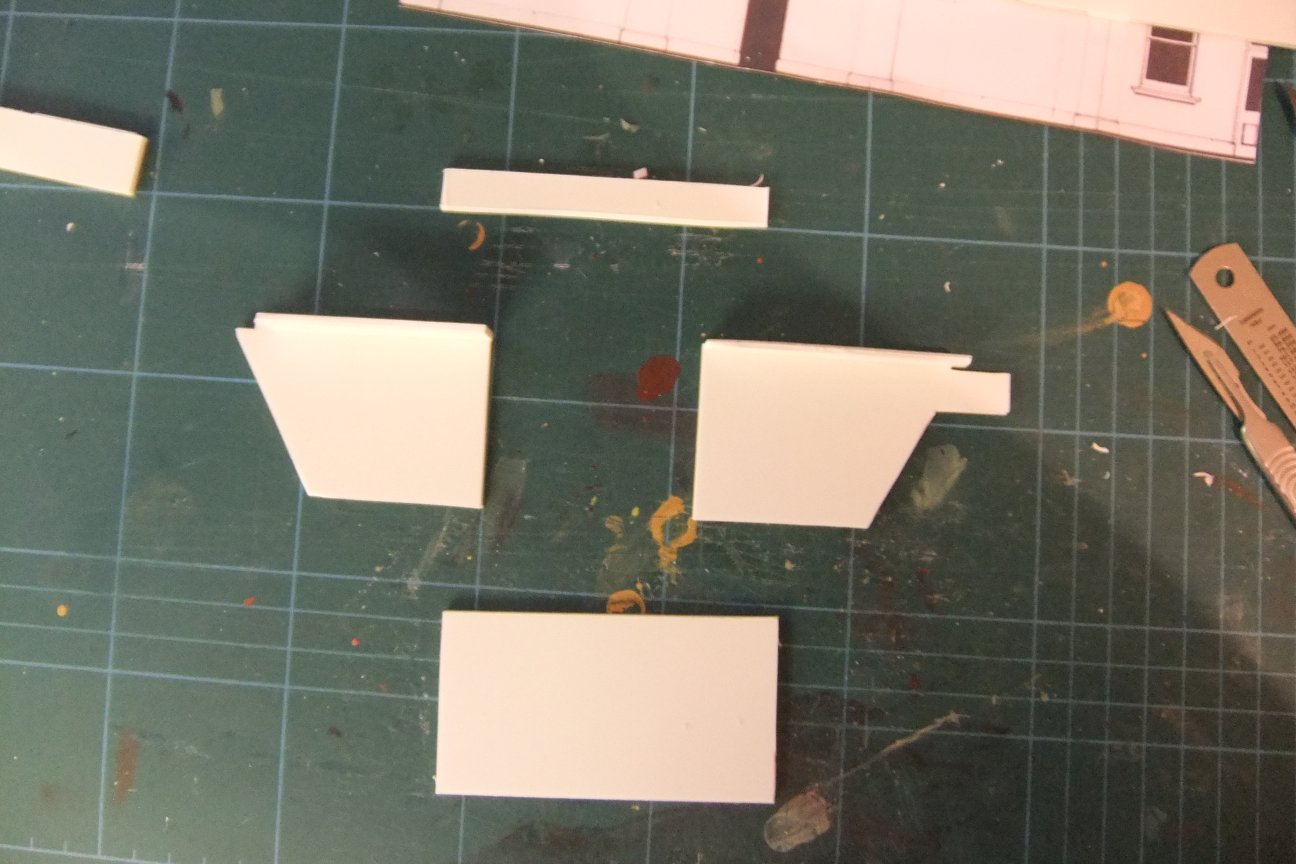
I then cut and scored those out, and applied them to the top of the 40thou base sheet. |
 |
I did the same for both halves, to end up with the following bits: |
 |
Then I took some more 40thou sheet, and started cutting a load of strips from it, the height of the back section. |
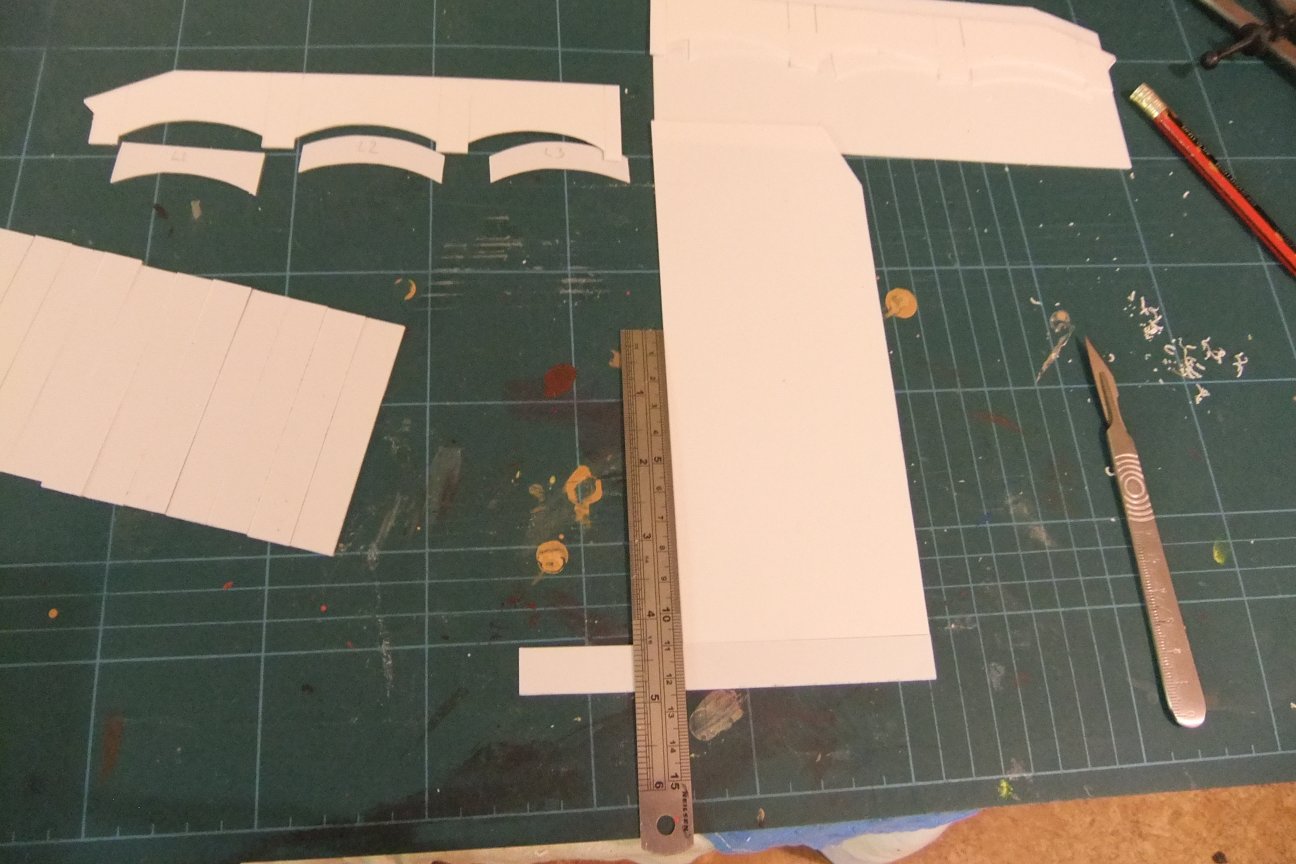 |
These, when layered up, will create the columns between each arched section |
 |
From some more 40thou sheet I cut the intermediate layer of arches, using the dividers to form the shape again. |
 |
And then, from some 20thou (0.5mm) sheet, I cut a load of curved sections. These will eventually form the various layers inside the arches. |
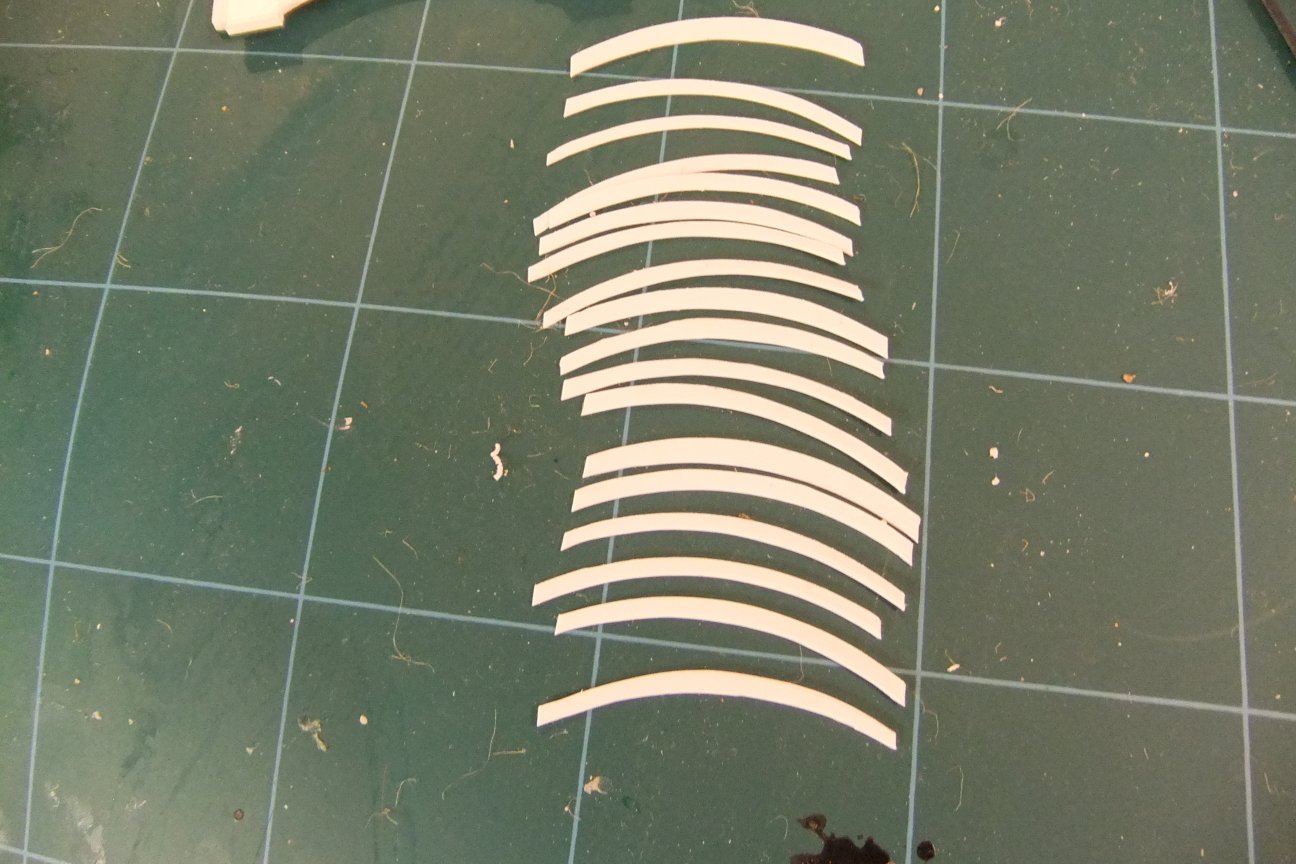 |
I also cut some long thin strips of the 40thou, which will form the stringer courses of stonework. |
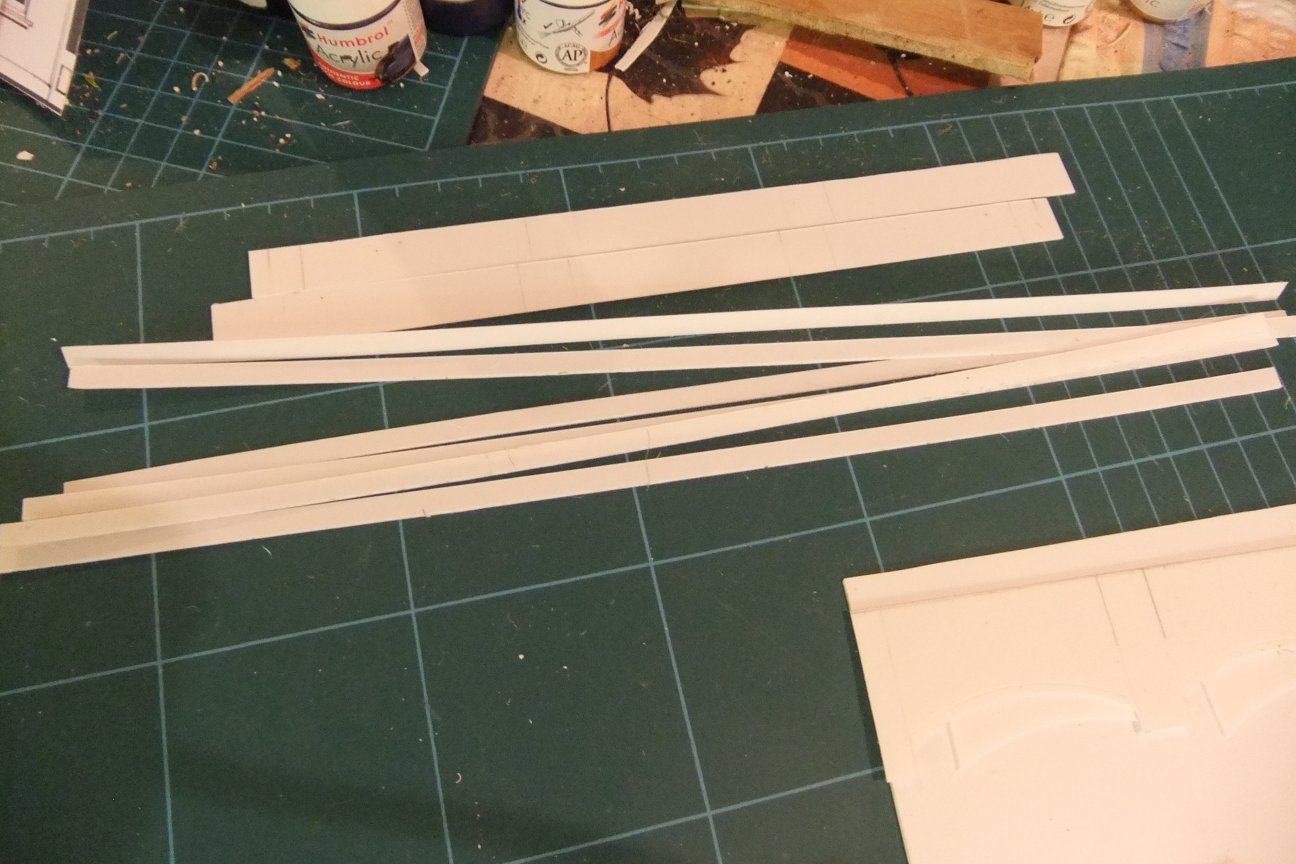 |
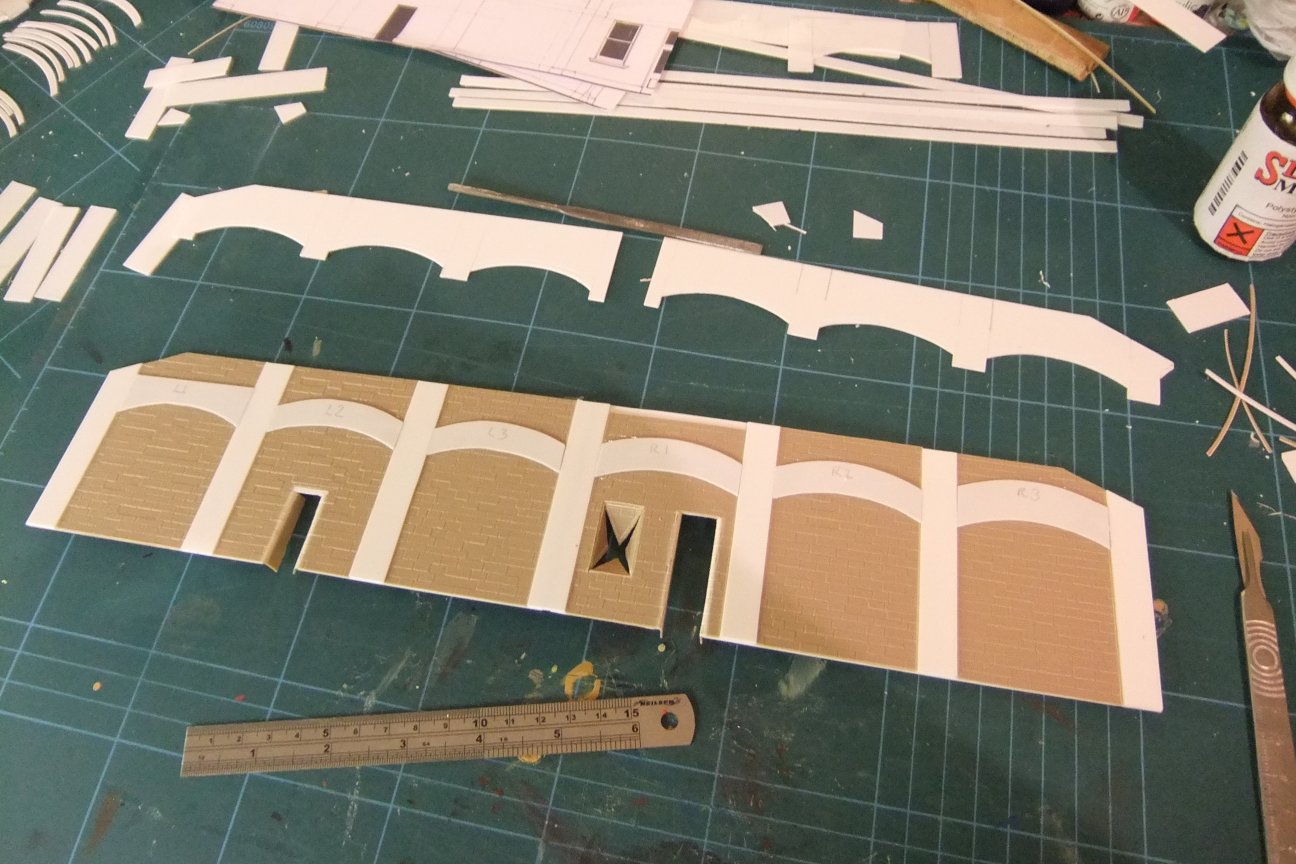
I cut some panels of the embossed stone, to match the sections between the columns. The work bench was now covered in all the bits necessary to construct the structure. |
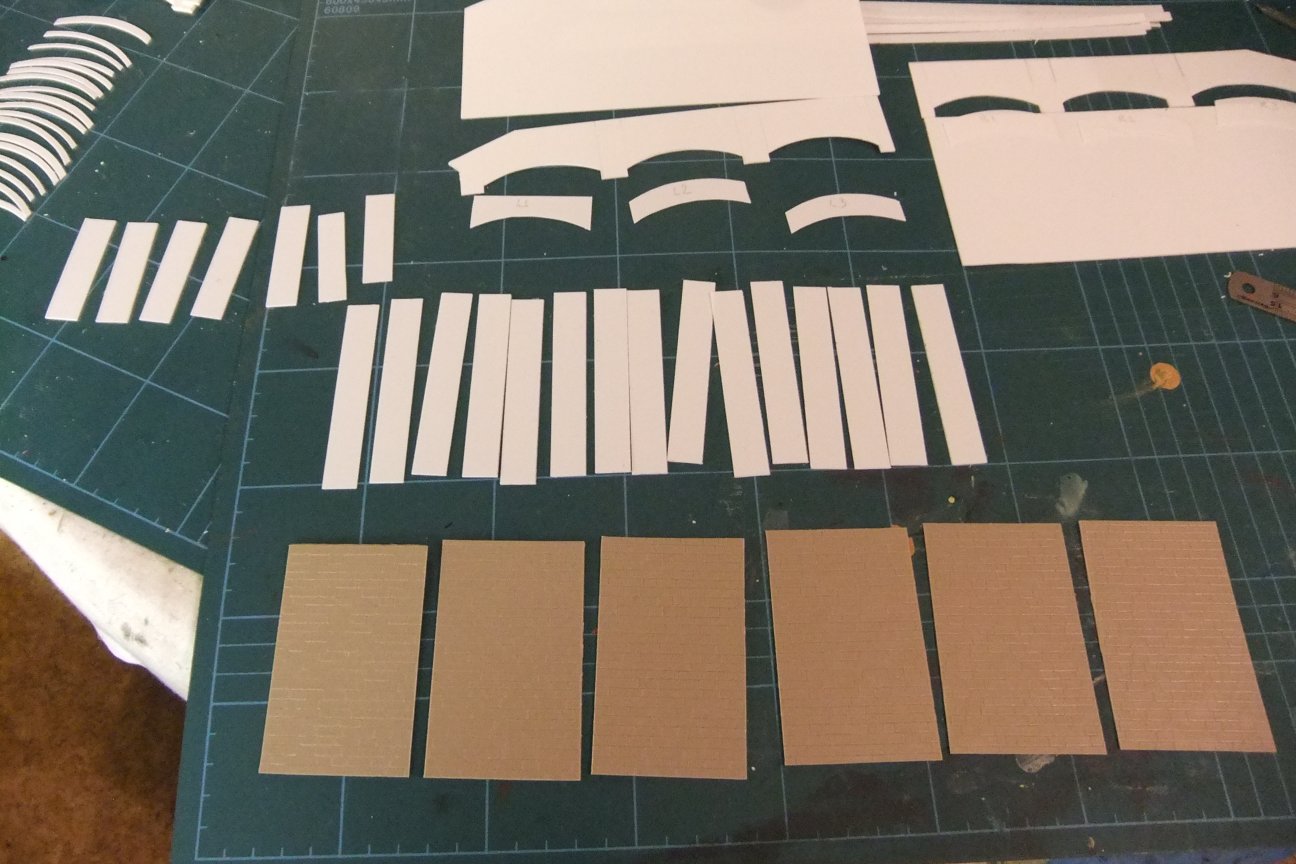 |
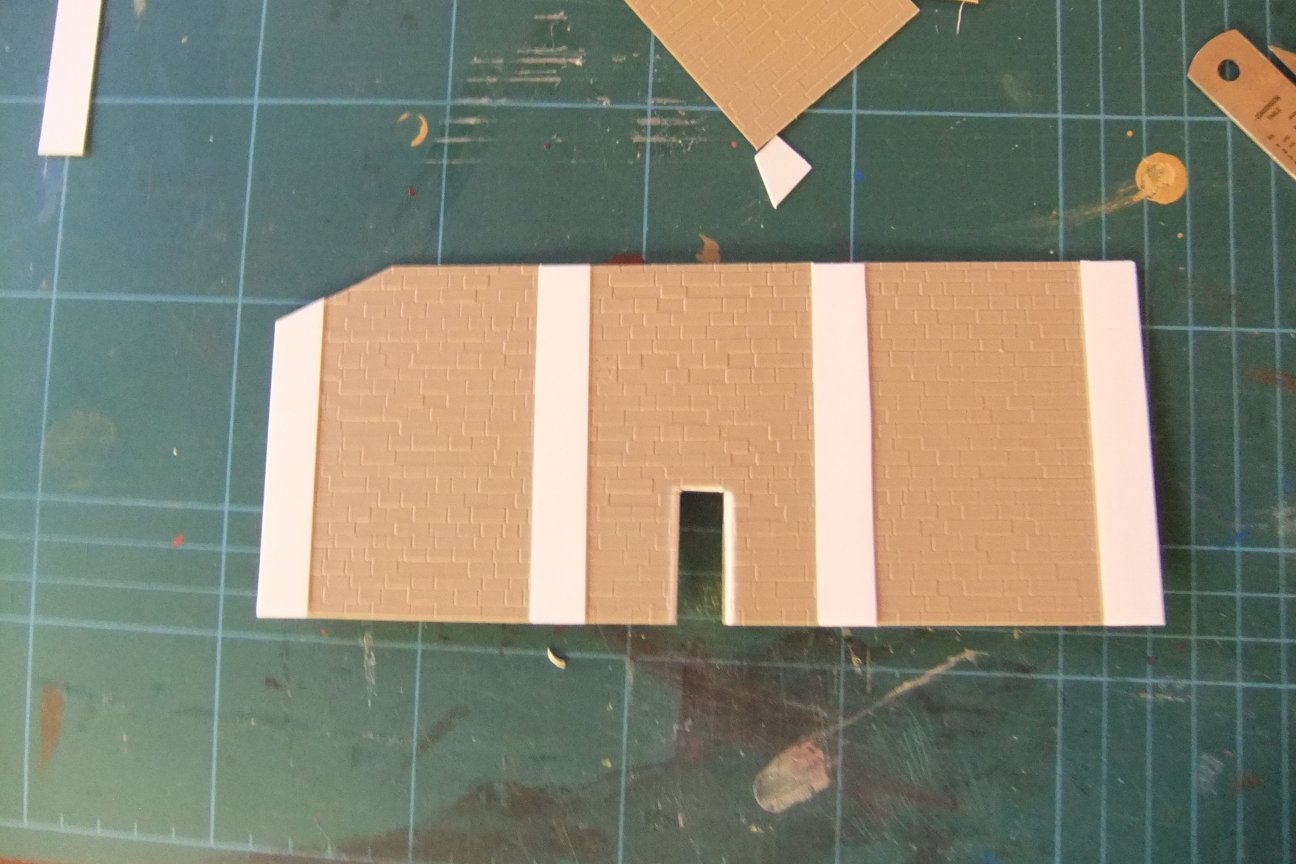
So, taking one side, I added a first layer of the columns, and marked out the position of a doorway. |
 |
Then I added the embossed stone sheet between the columns. |
 |
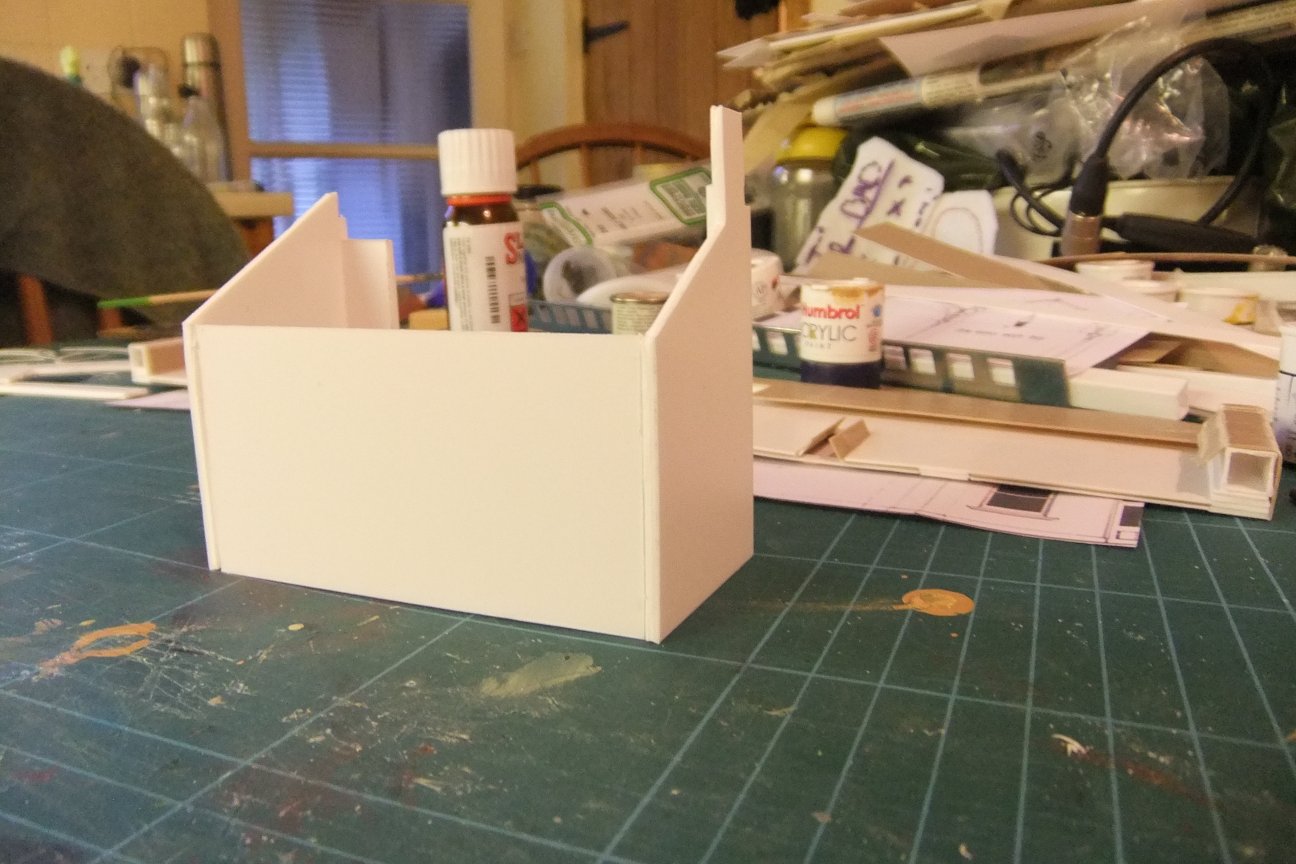
I did the same for both sides, and joined them in the centre using the column section. |
 |
Then I began adding the next layer of detail. |
 |
To the top arch pieces I cut out earlier, I added the thin curved sections to represent the top layer of the stone archway. |
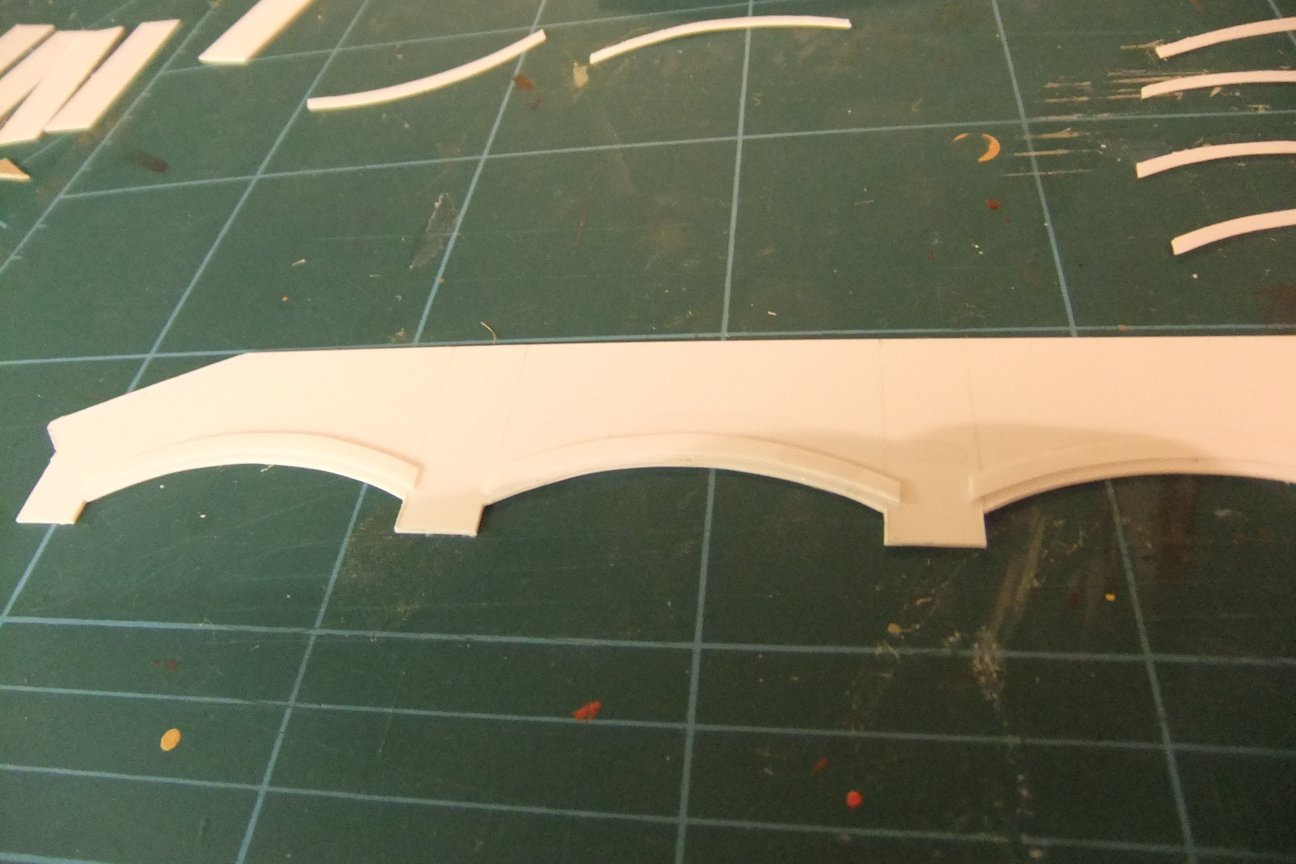 |
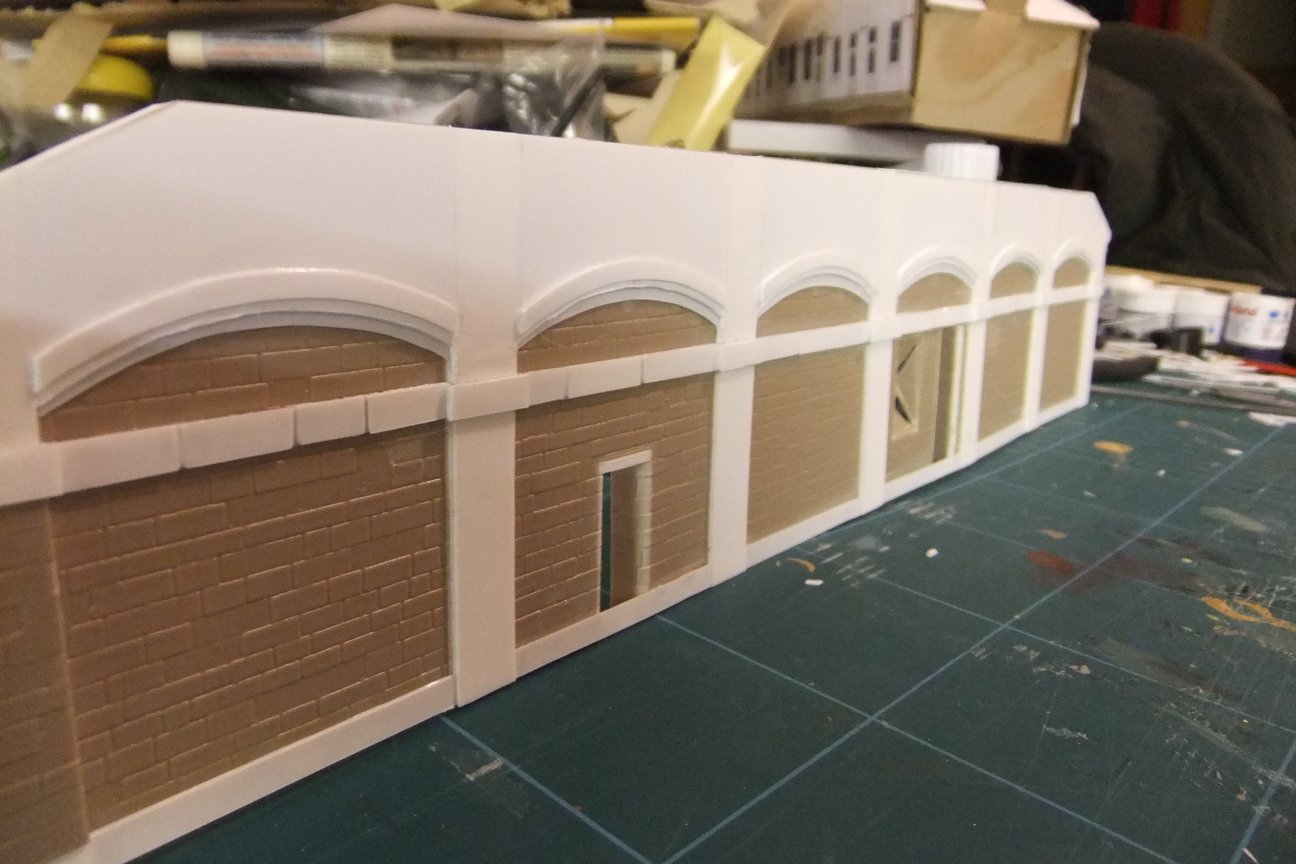
The top sections, and stringer corses were then added. |
 |
At this stage, the finer detail of the stringer courses was not added, and the bottom course continues across the doorways for strength. |
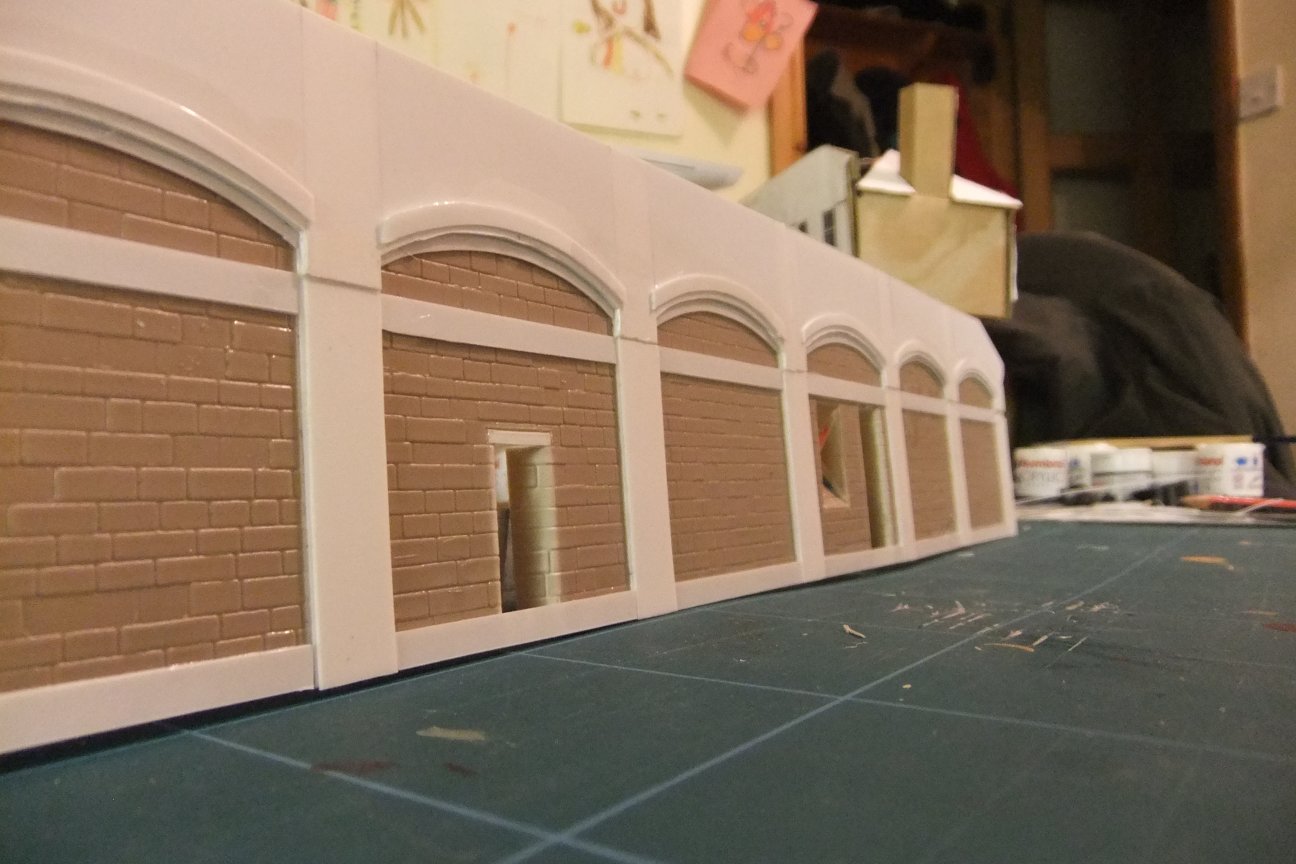 |
At the rear of the structure, I added more of the arches cut out of 80thou styrene, to give a prototypical depth to the wall, and I added the two buttresses at the end. |
 |
I added the stone detail of the stringer course, with individually cut and shaped bits of 40thou styrene strip. |
 |
I wrapped the buttresses in the embossed stone sheet |
 |
Then, using the dividers again, I marked out the final arches in the top embossed sheet: |
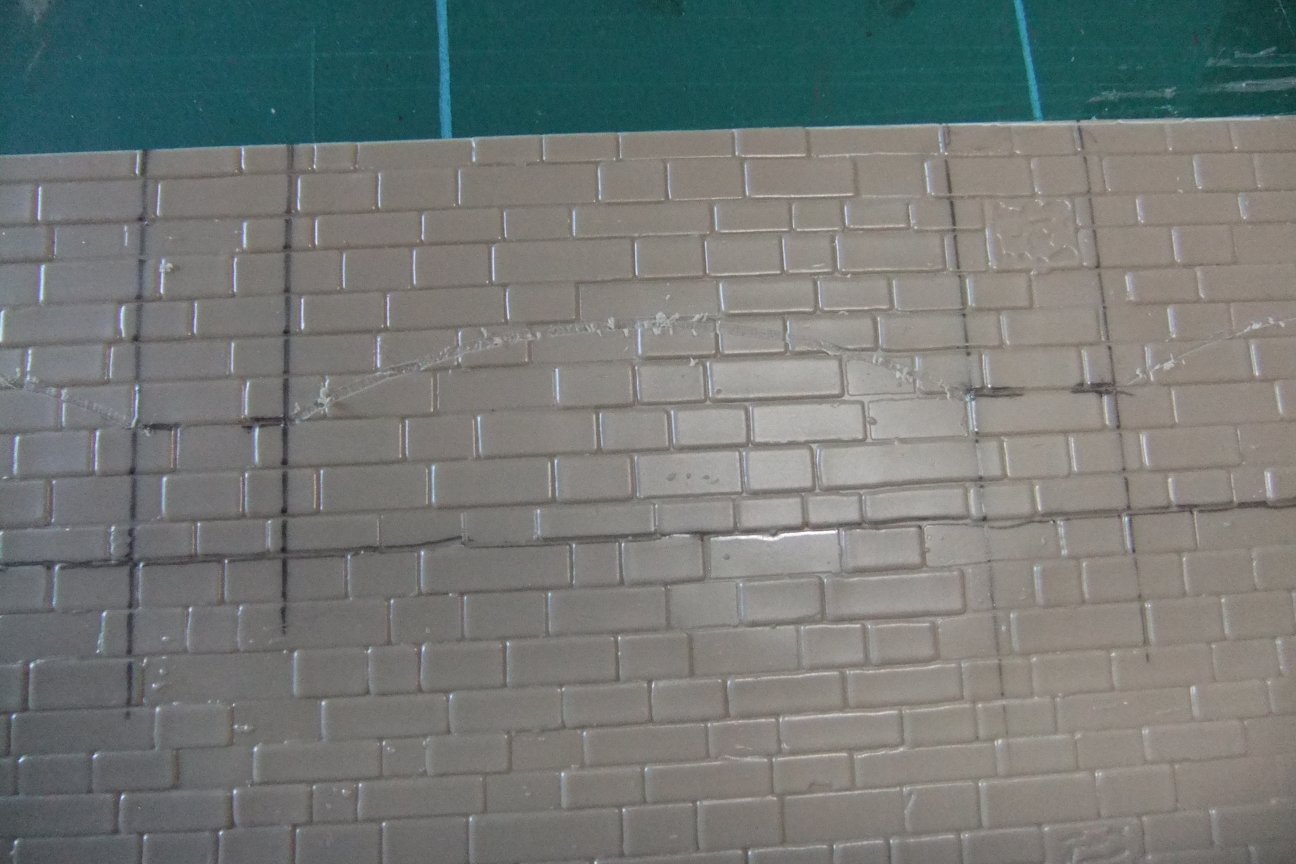 |
 |
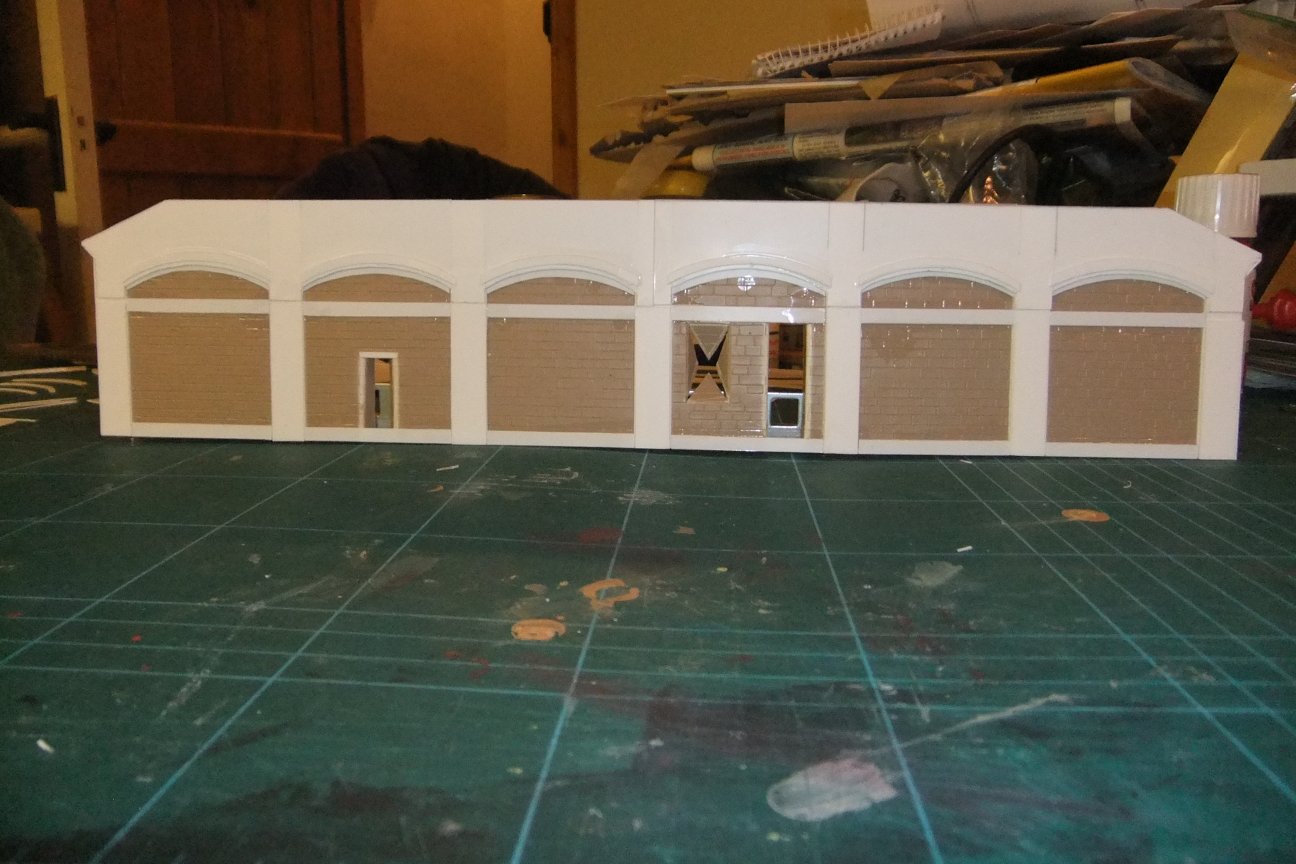
and added them to the building: |
 |
|
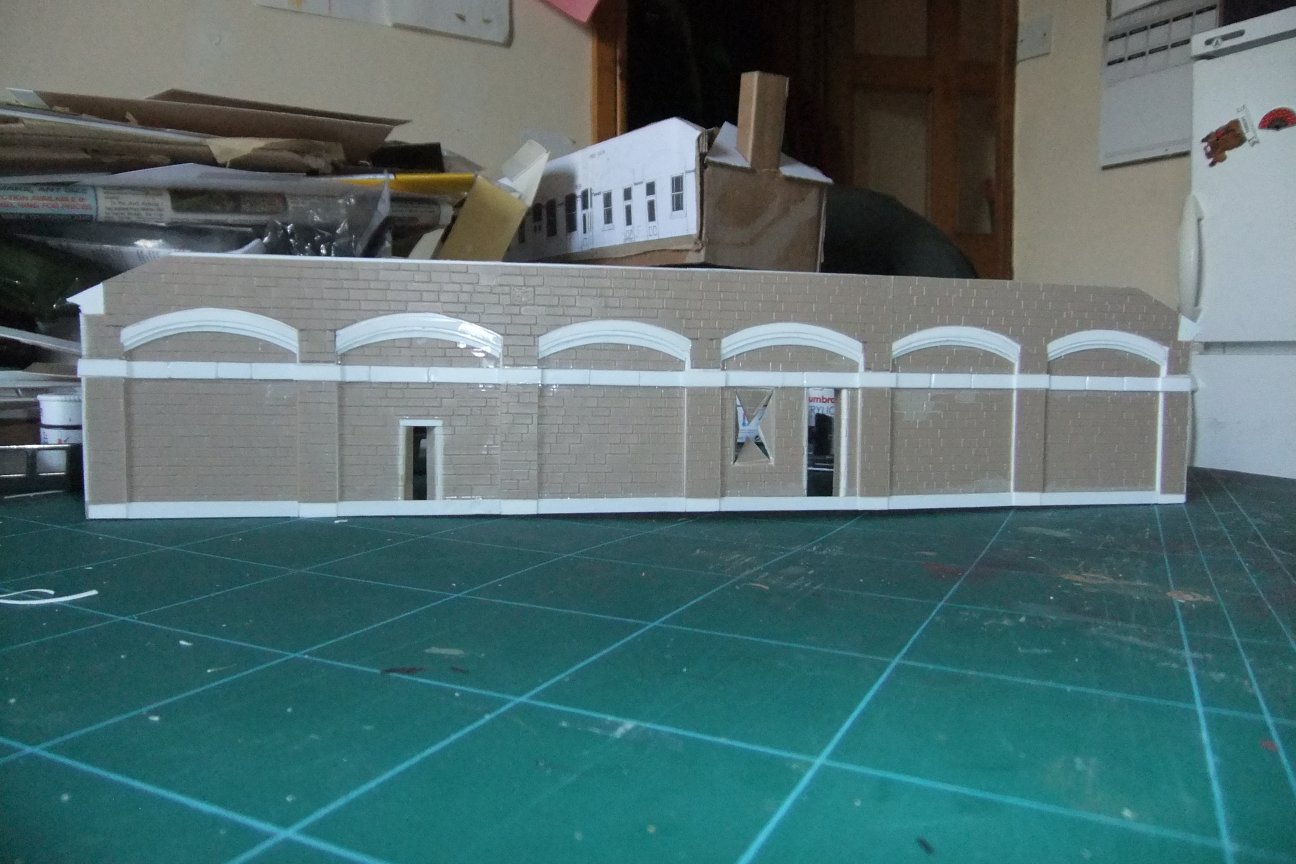
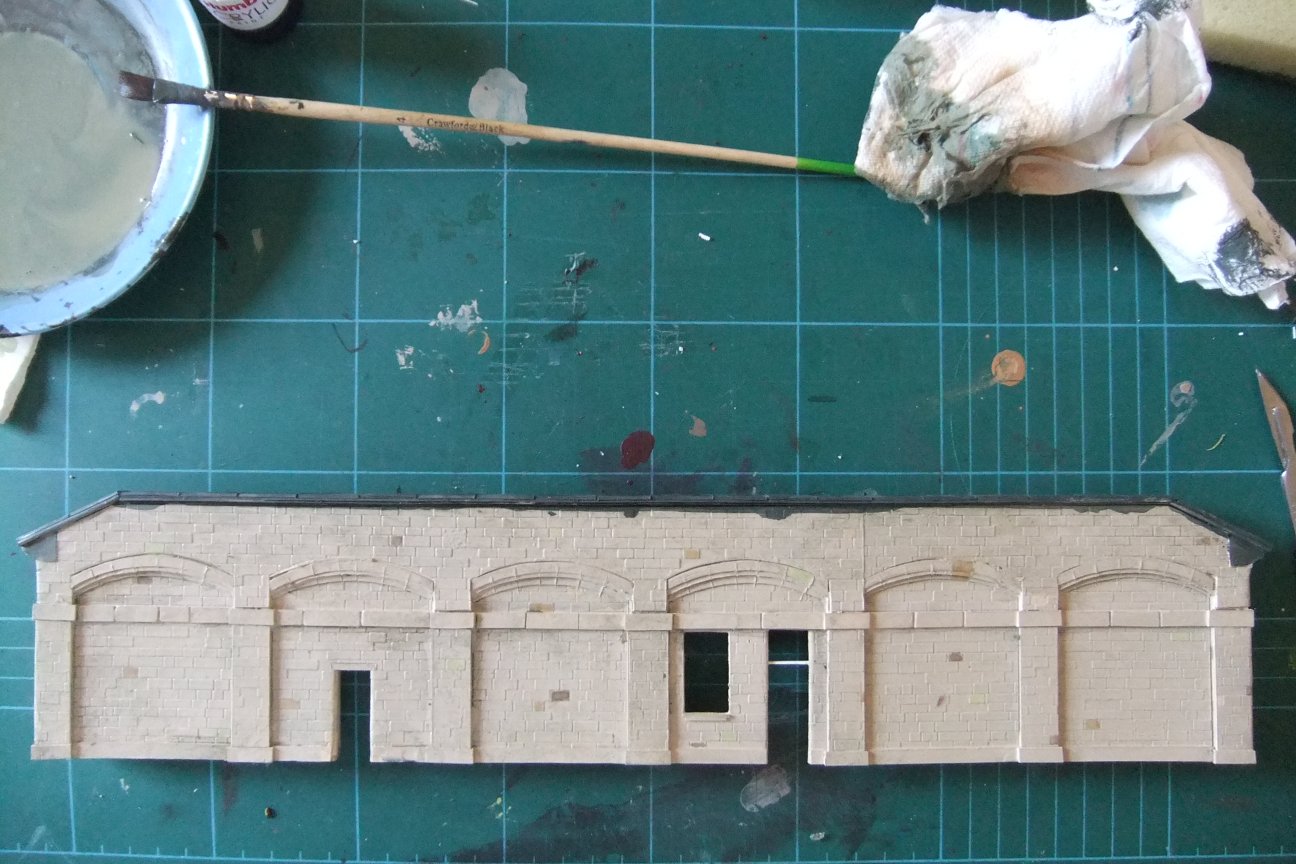
At this stage, the main construction was complete, and the building was ready to paint. |
I was unsure what colour to use a a base coat, so I used an offcut of the embossed styrene and tried some different paints: |
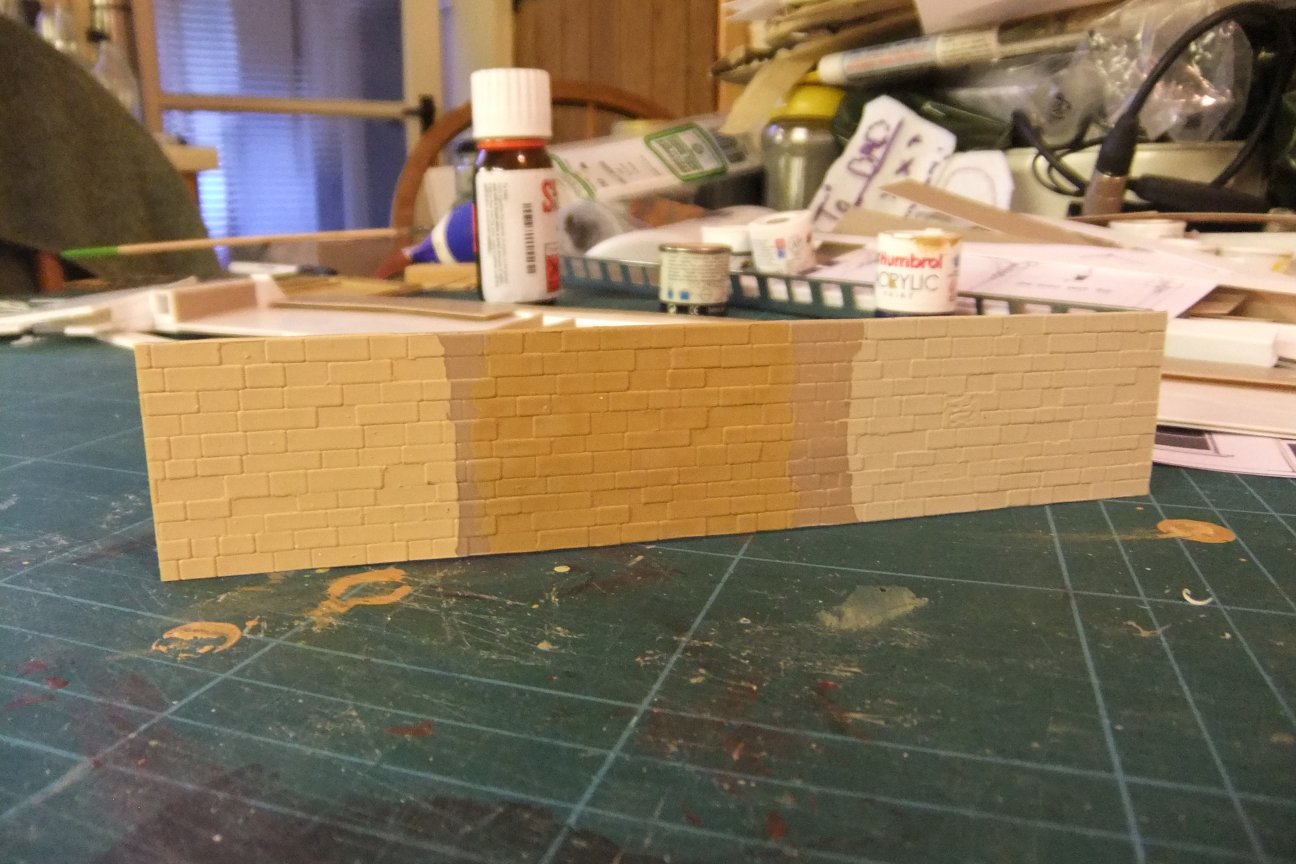 |
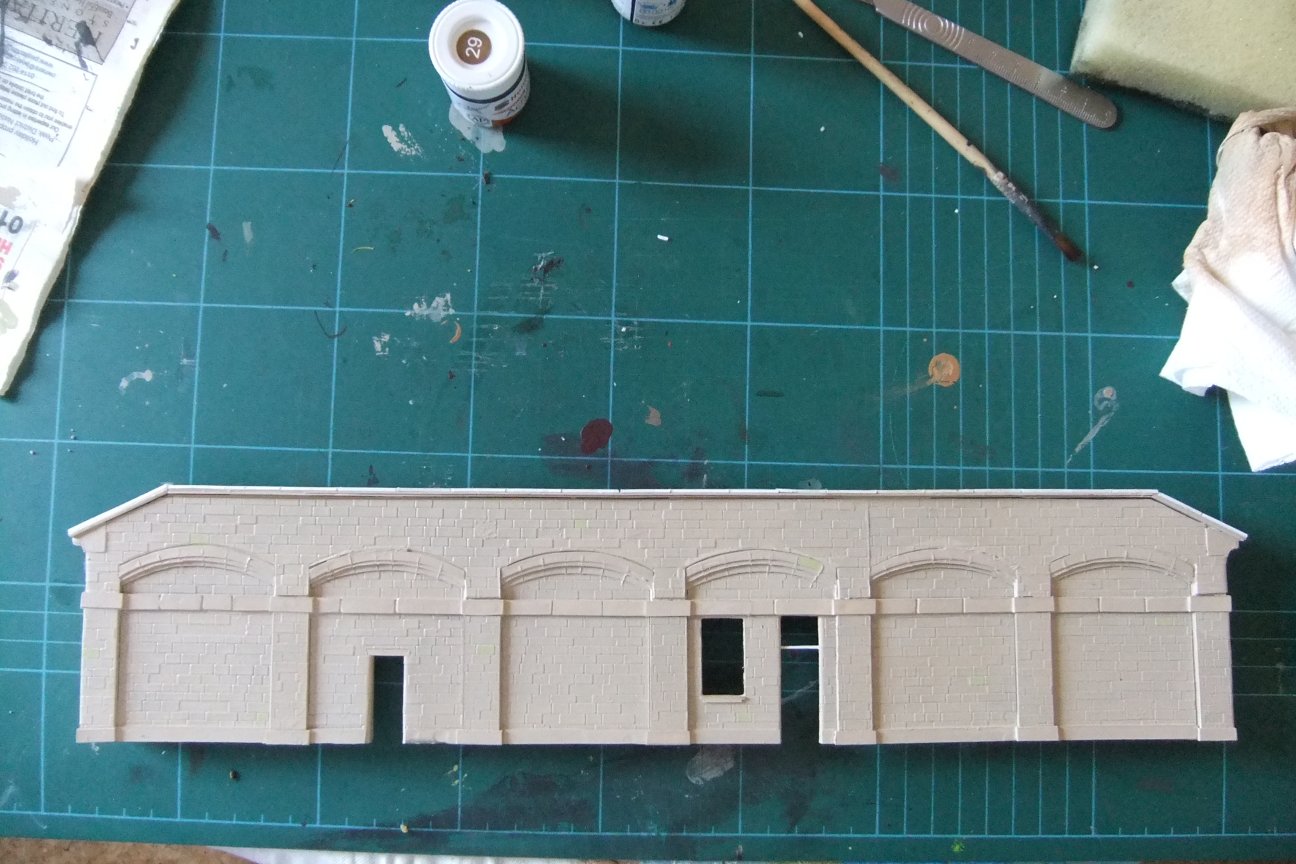
I settiled on using the Humbrol Matt Enamel (No.121) Pale Stone (on the right, above) and here is the building with a first coat. |
 |
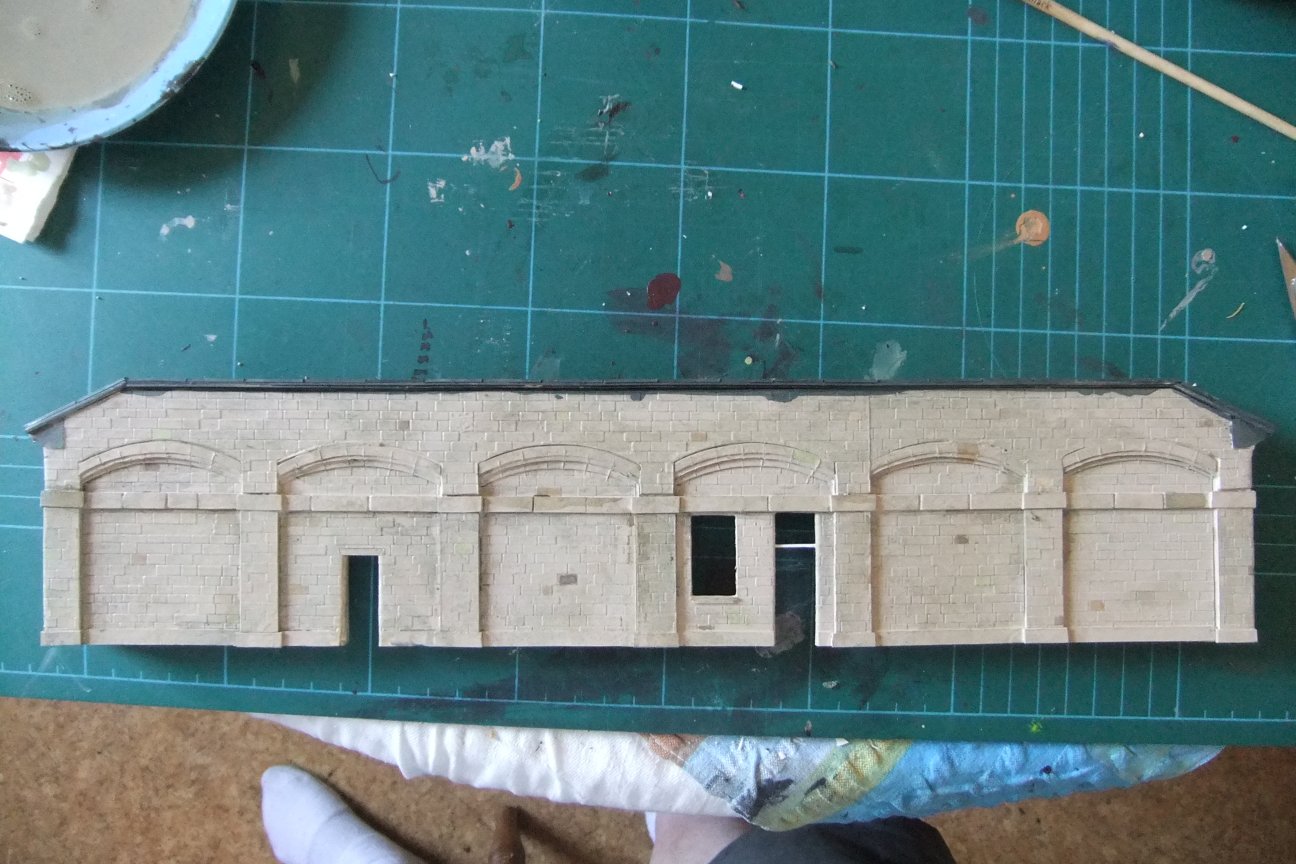
I have to say that it didn't really look very "matt" and I hoped that adding the weathering would address that. |
I started by adding some faint colouring of individual stones, picking them out in Humbrol Matt Acrylic (No.RC416) Pullman Cream |
 |
Can't see it? Try now: |
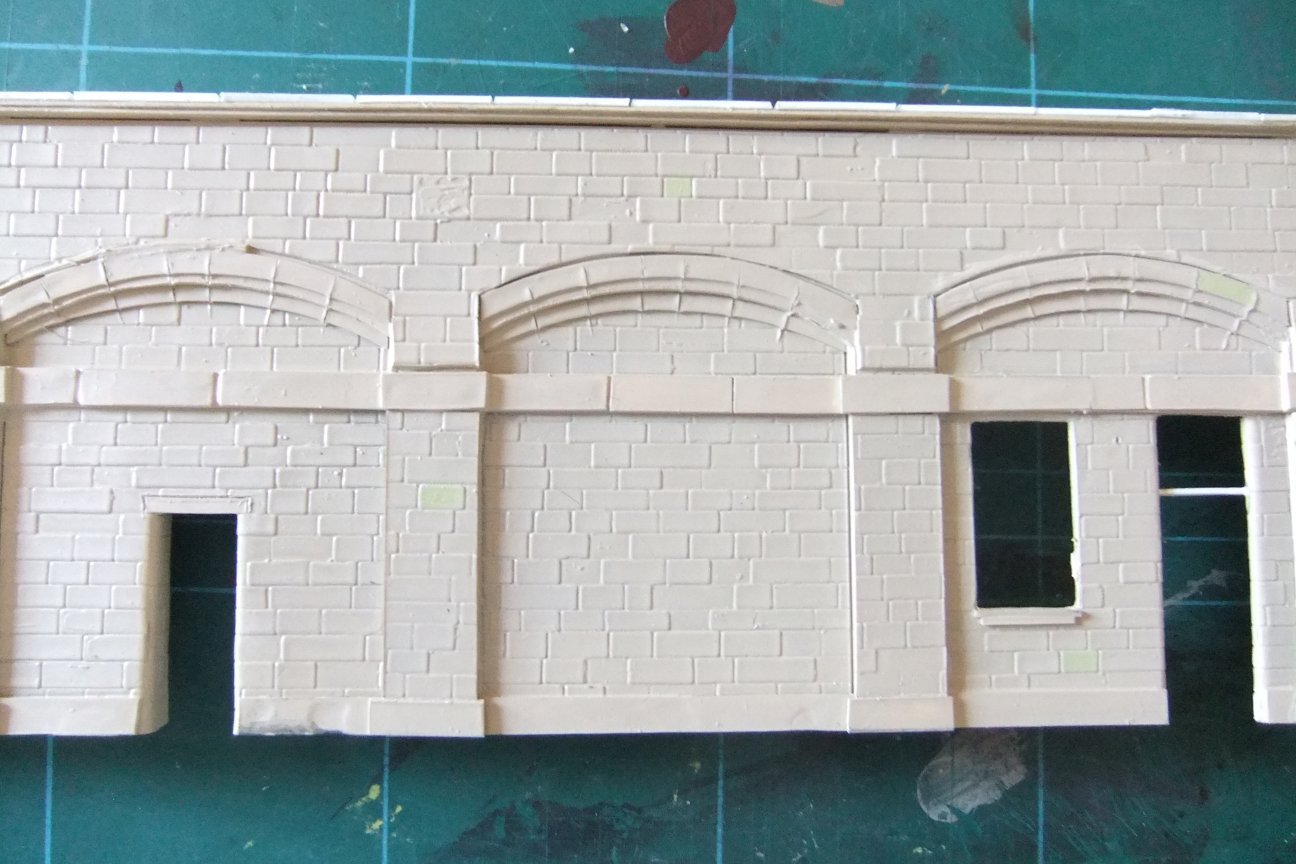 |
I continued highlighting a few odd stones in different colours... |
 |
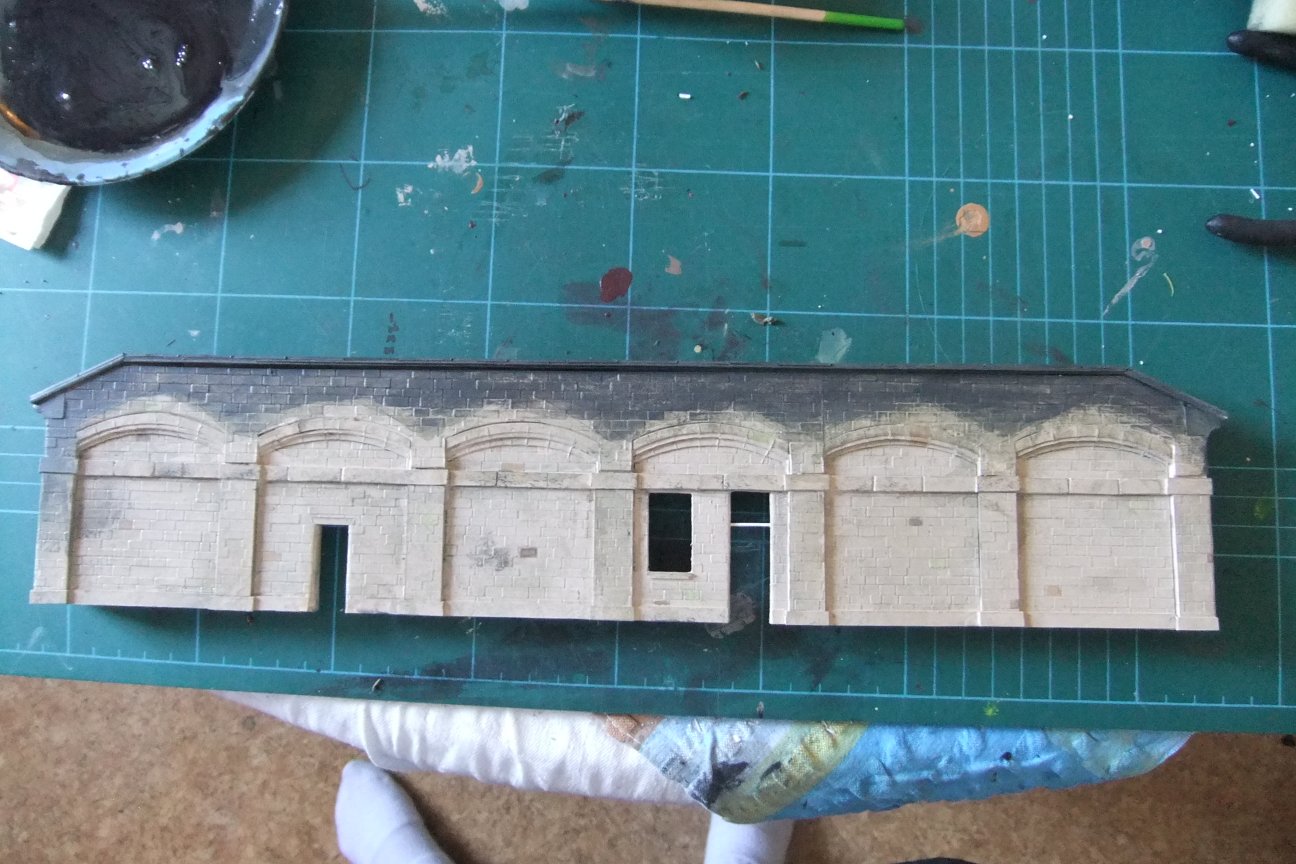
I painted the coping stones at the top of the wall with a dilute wash of Humbril Matt Acrylic (No.61) Black Green, |
 |
and then applied a thinner mix of the same colour over the whole structure. |
 |
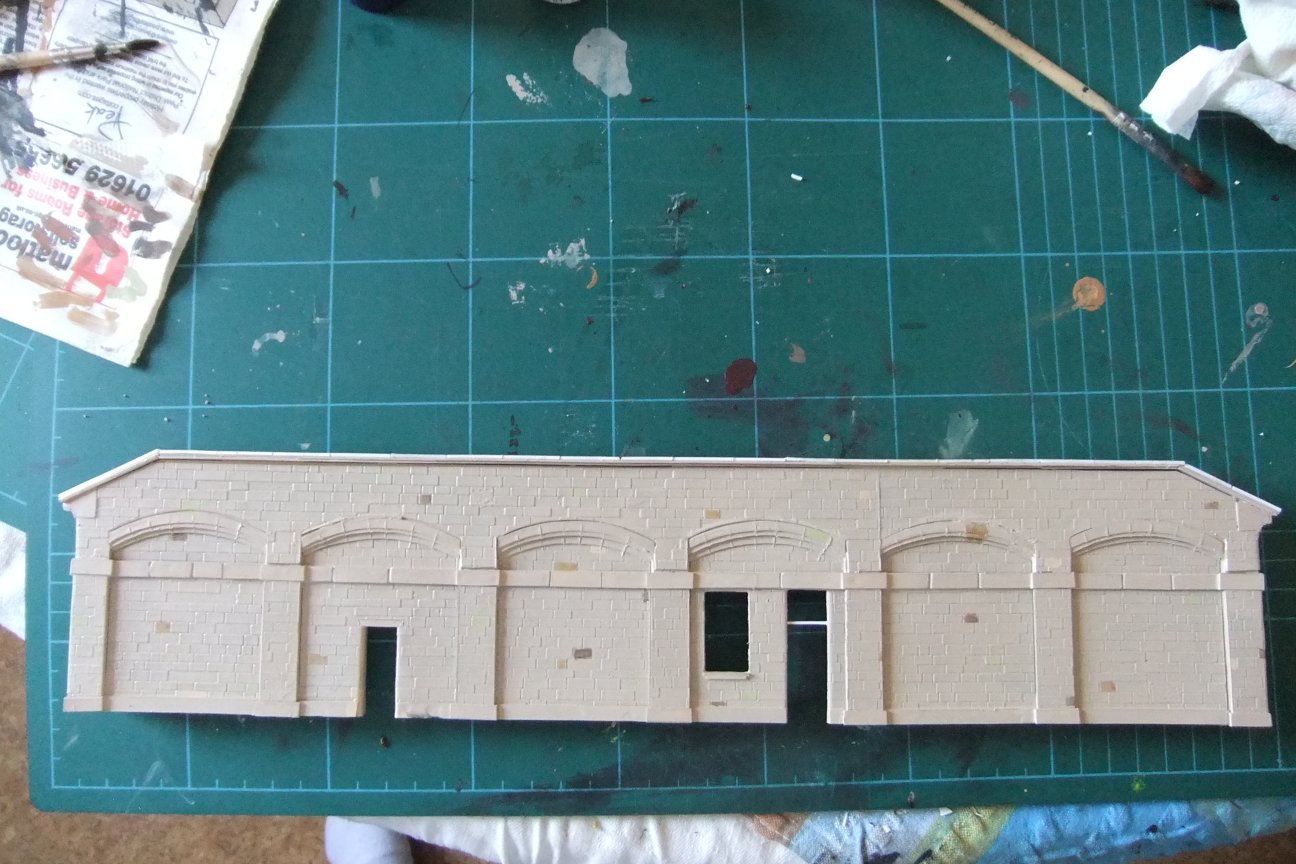
Next, I painted in the marks where the old canopy had been. This saw-toothed appearance is a noticeable feature of the prototype |
 |
I added another overall wash of the Black Green, but I felt it was too cold looking, so I added a wash of Humbrol Matt Acrylic (no.63) Sand to warm it up a bit. |
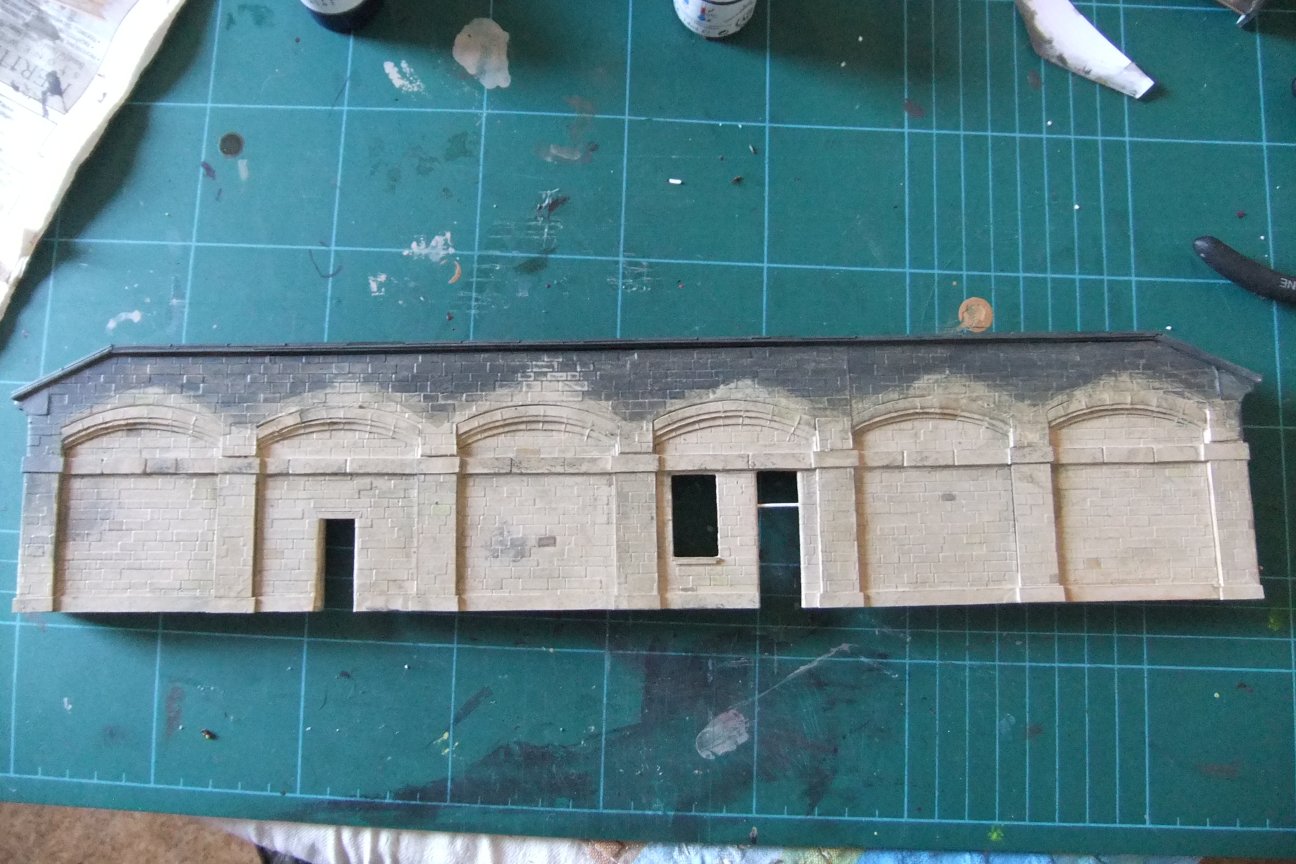 |
Here it is in natural daylight... |
 |
|
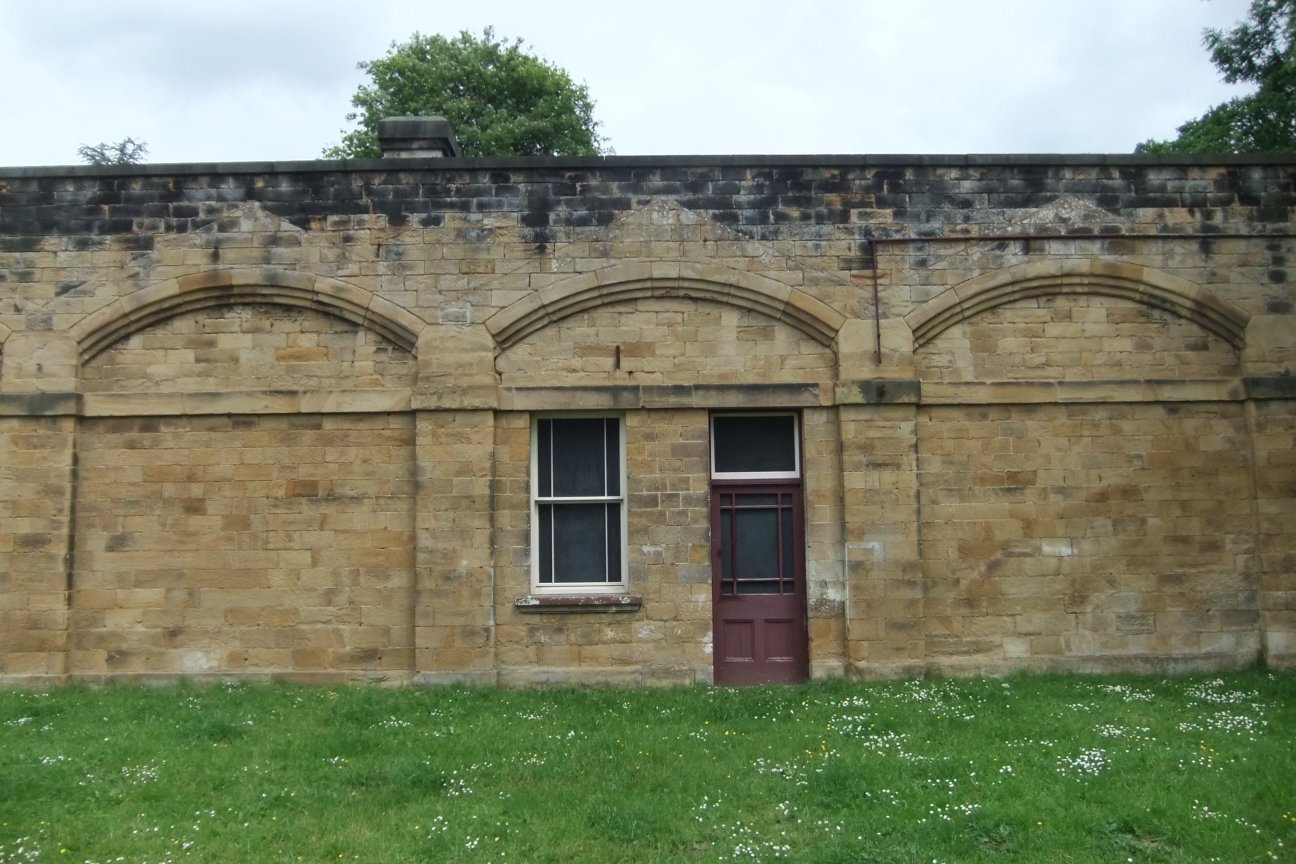
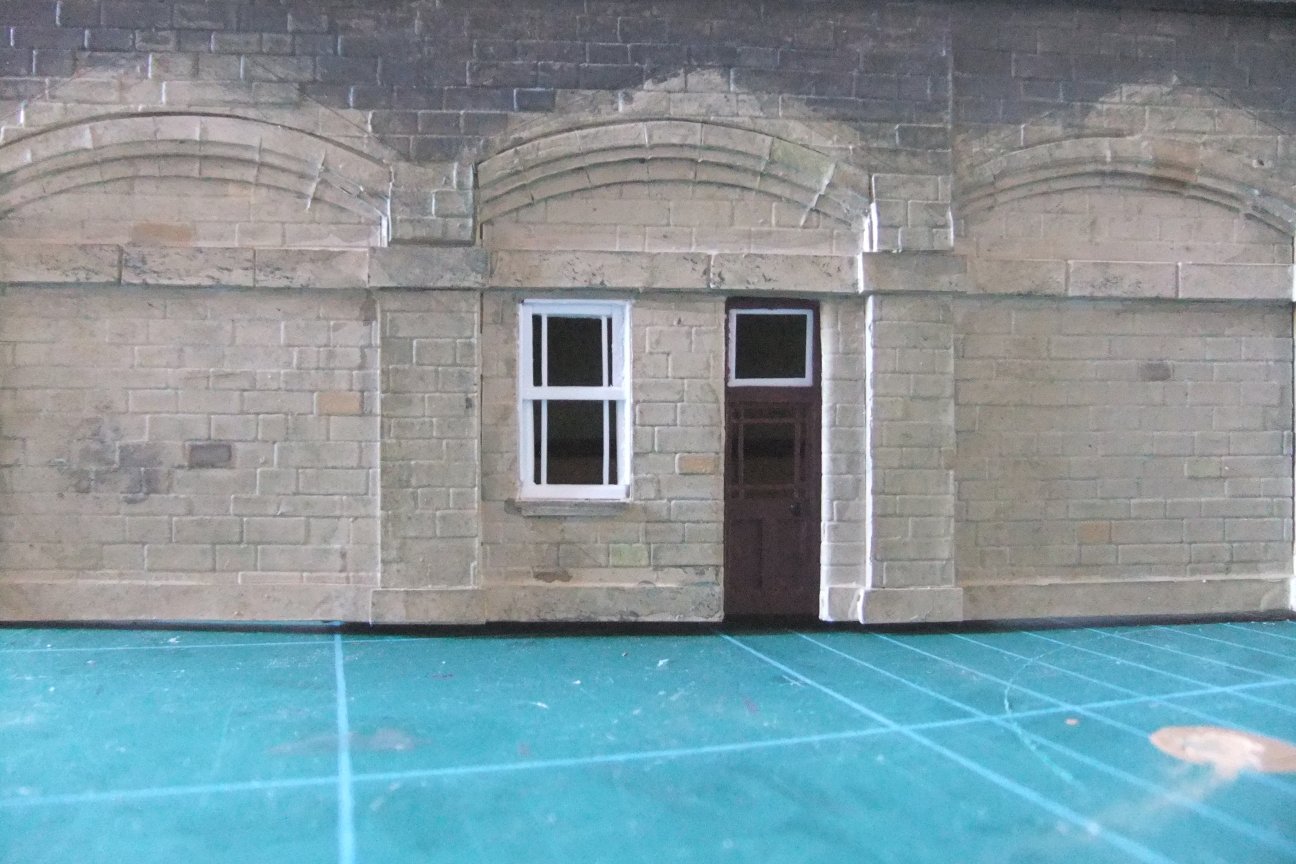
The next thing to do was fill in the windows and doors. This is what the prototype looks like: |
 |
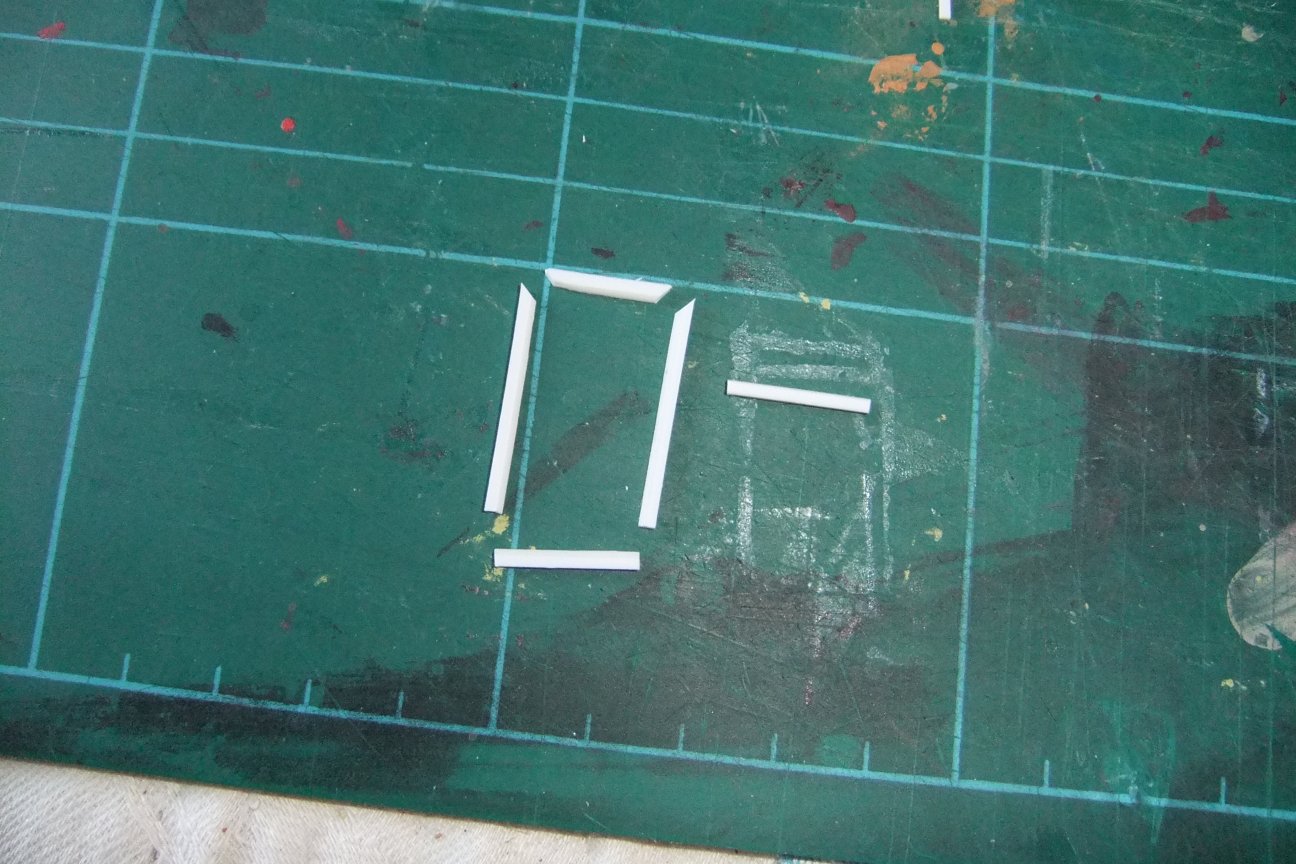
Here's the bits for the basic window frame, cut out of 10thou x 20thou microstrip. |
 |
These wer joined together to form the basic frame like so |
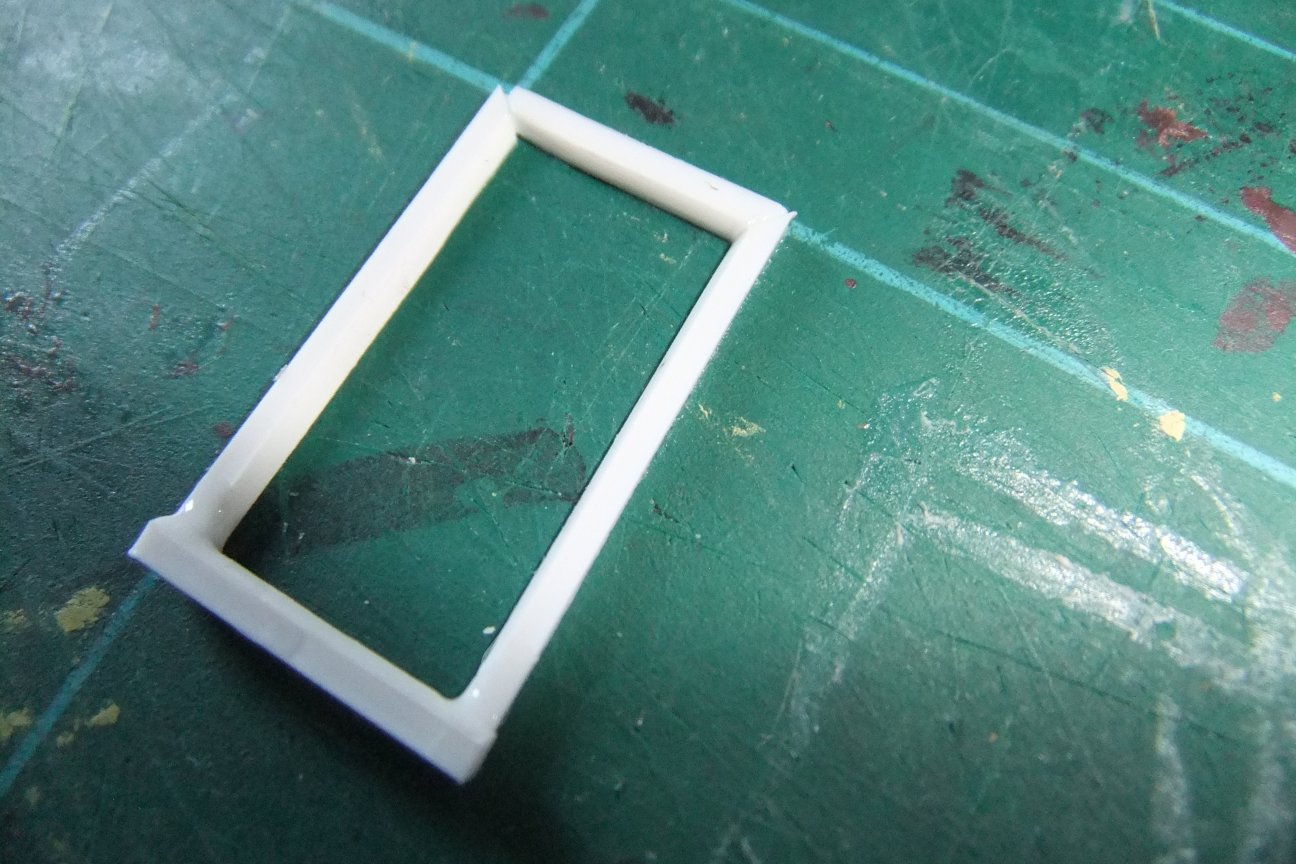 |
and then placed in the window aperture in the building, and finished with 20thou x 40thou surrounds. |
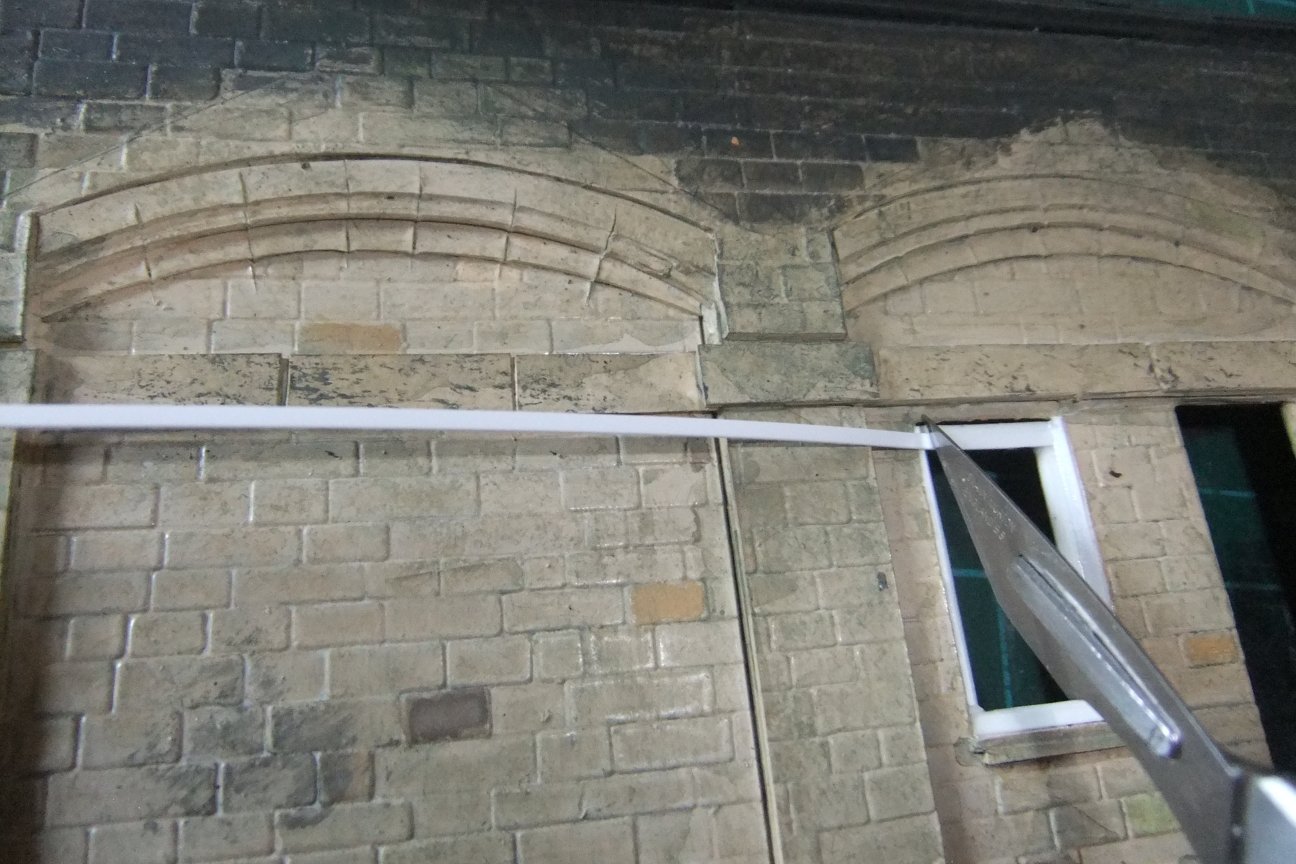 |
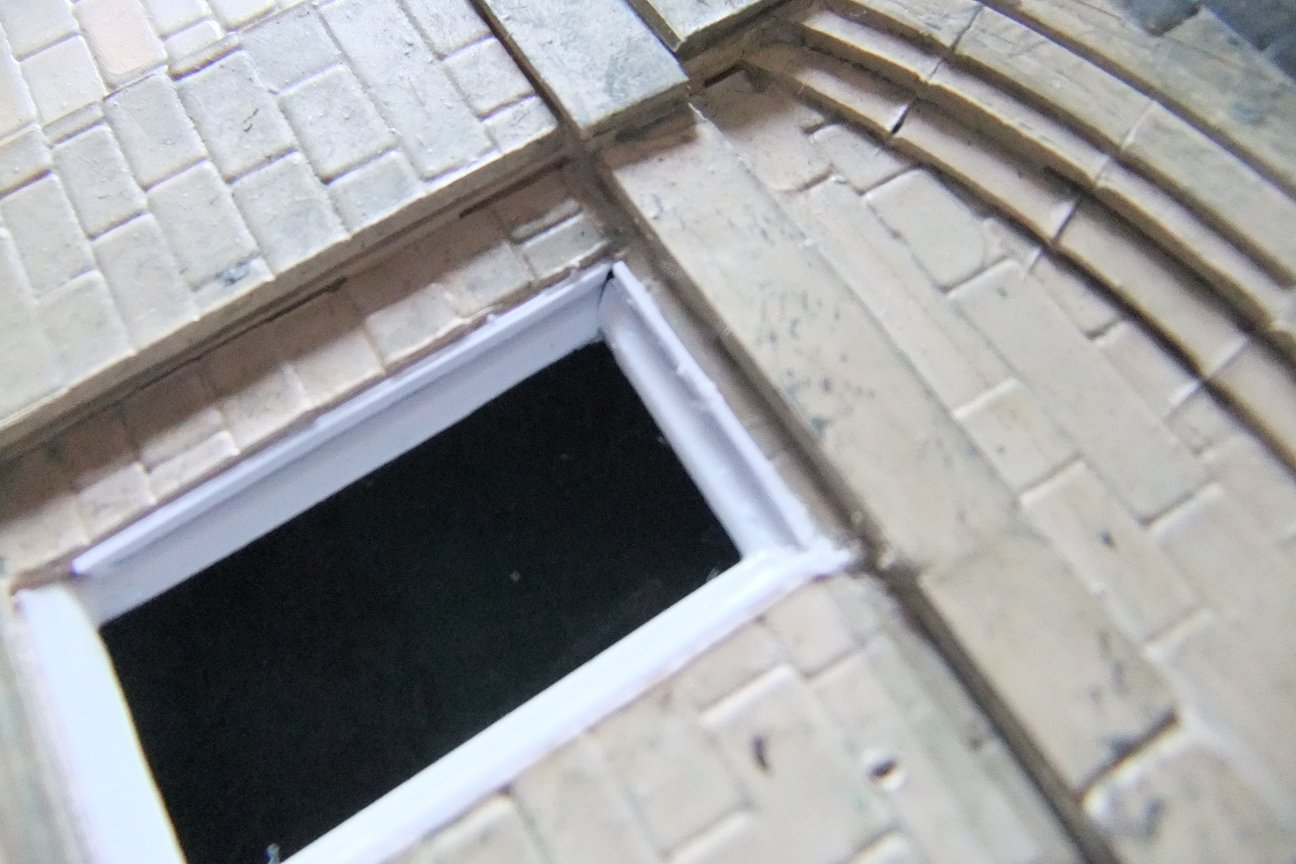 |
Finally the glazing bars and other detgail were added. |
 |
 |
|
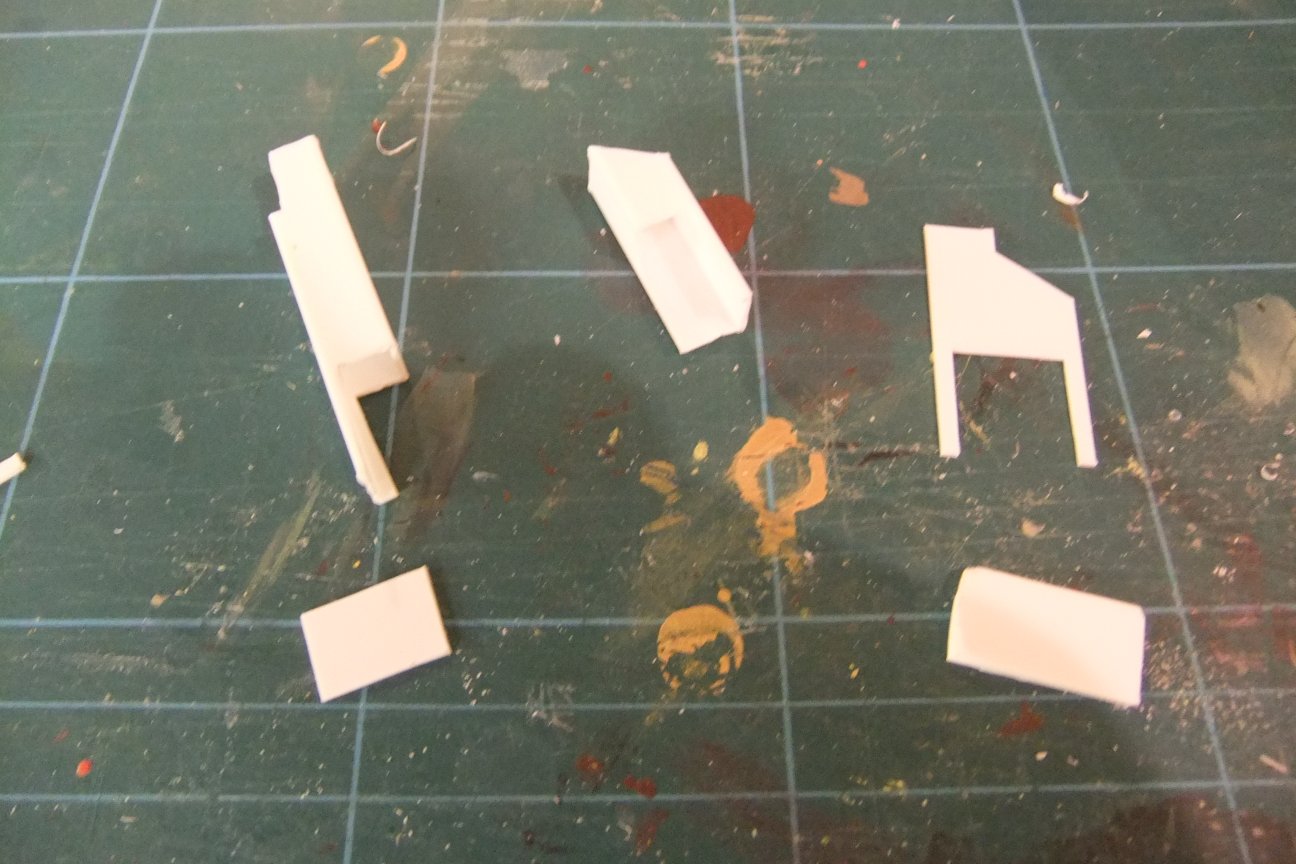
For the door, I started by cutting out the following shapes from 20thou (1mm) styrene sheet |
 |
When stuck together and painted, they look like this: |
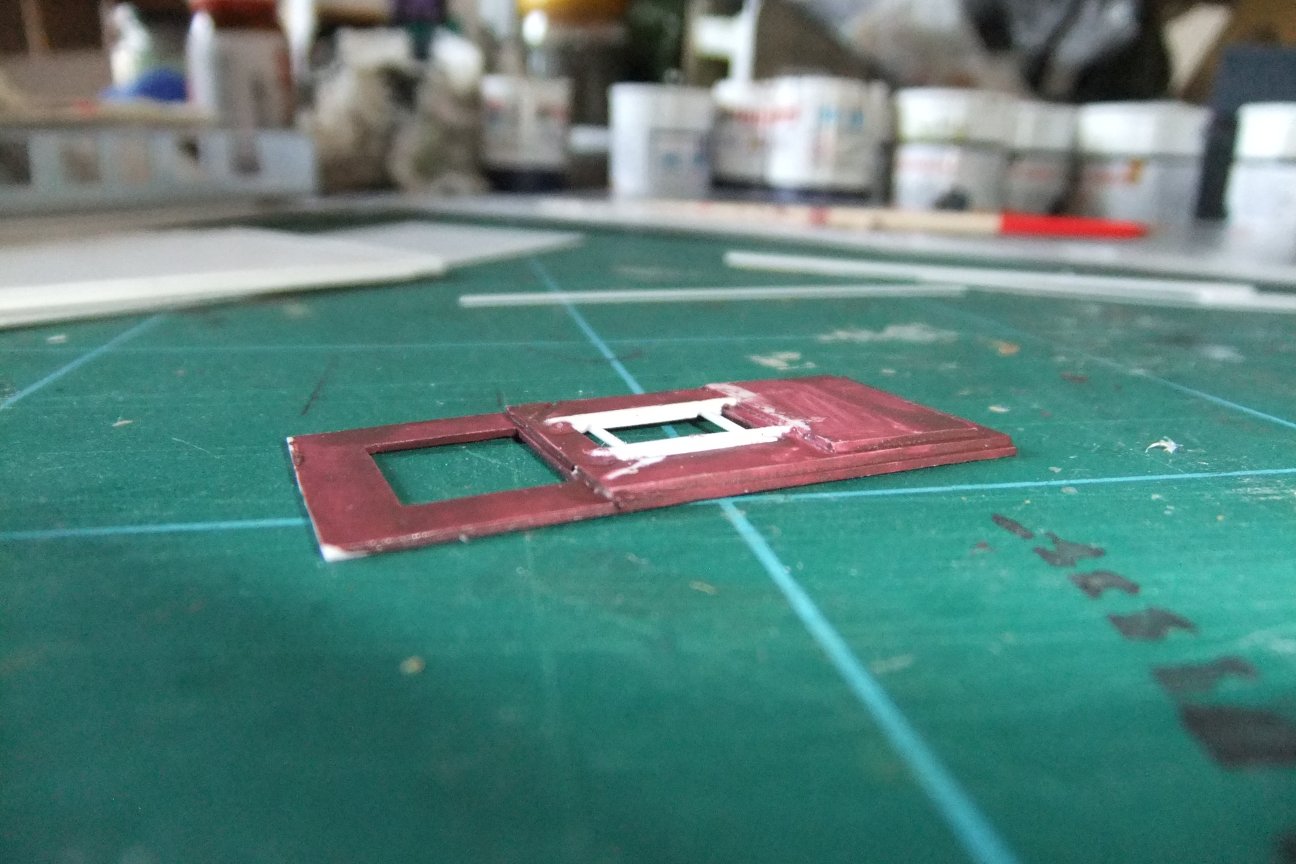 |
or like this from the front. |
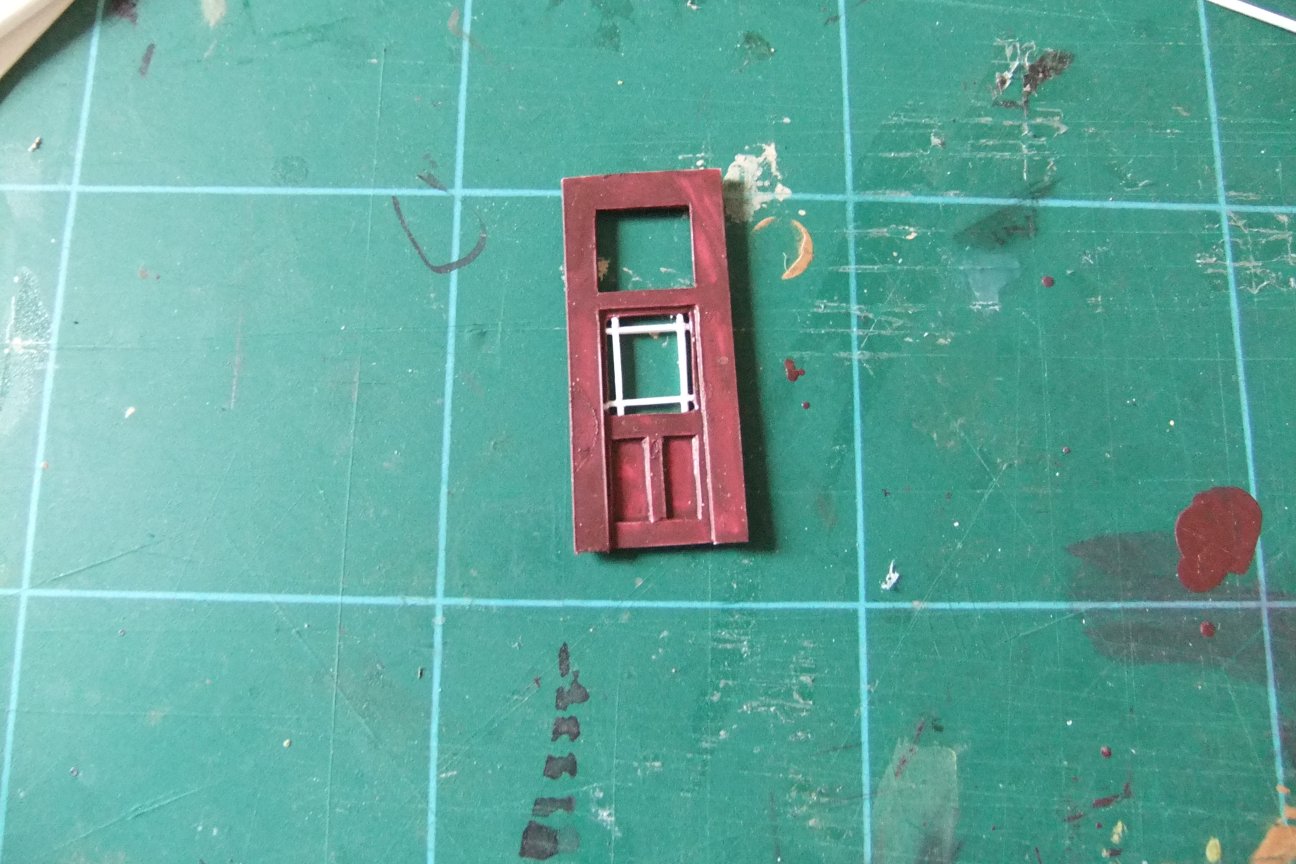 |
I then added some small bits of microstrip around the toplight window |
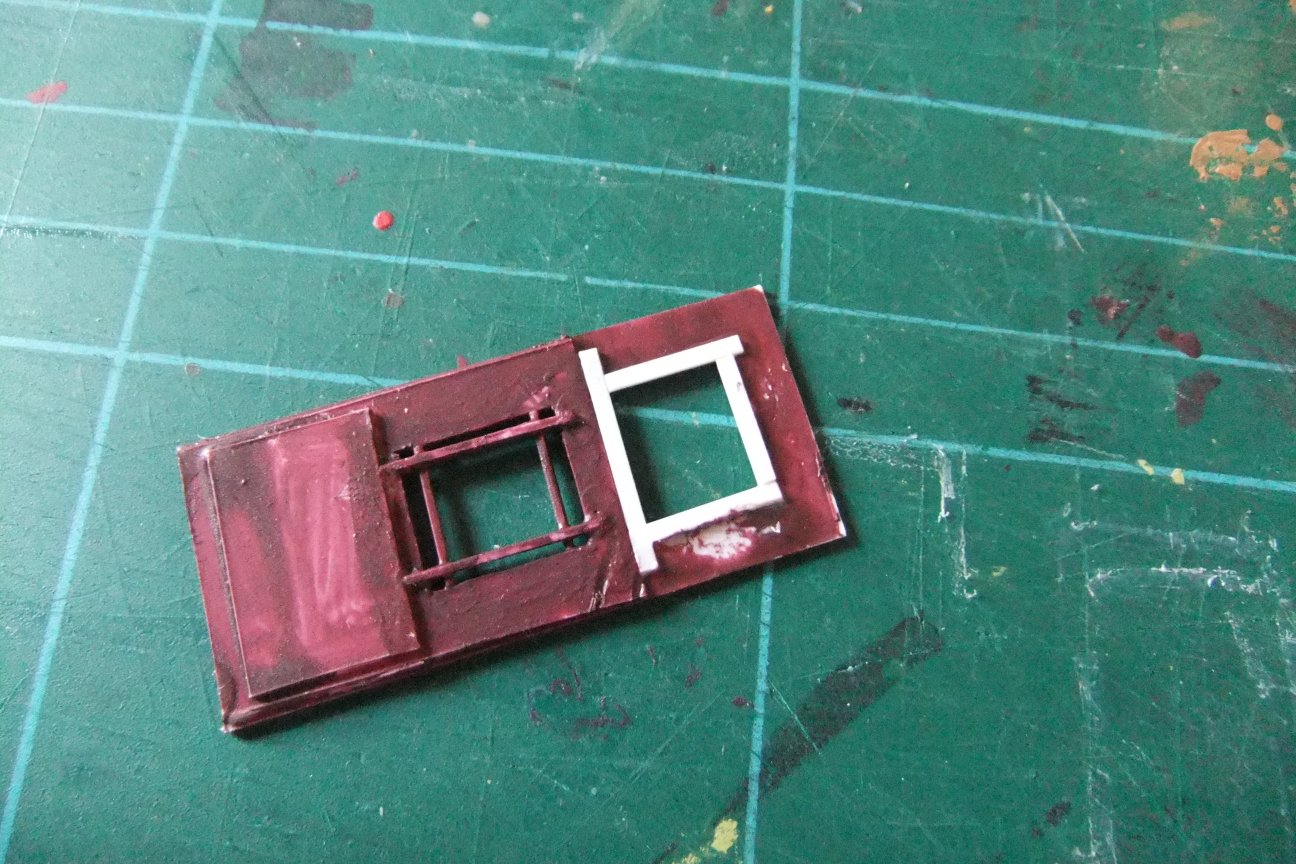 |
which looks like this |
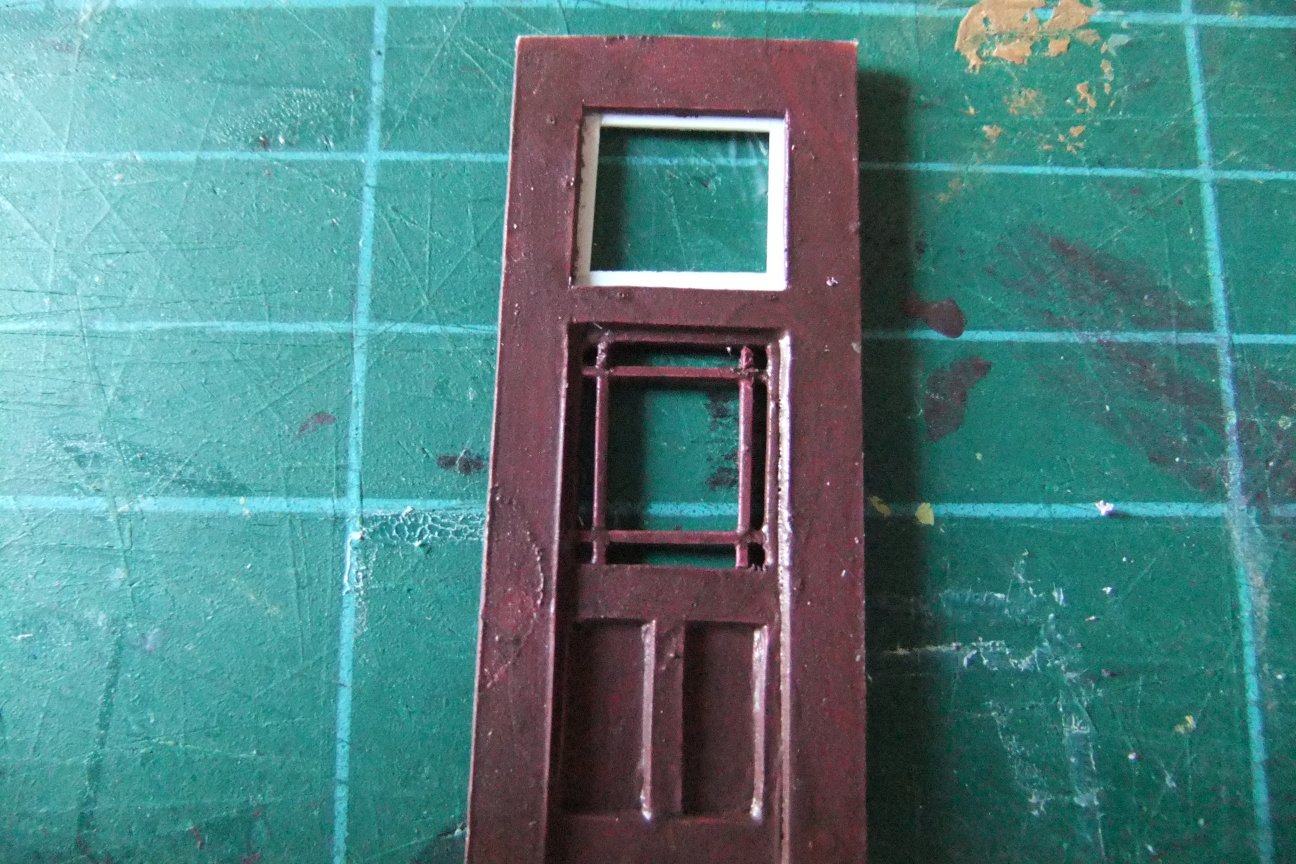 |
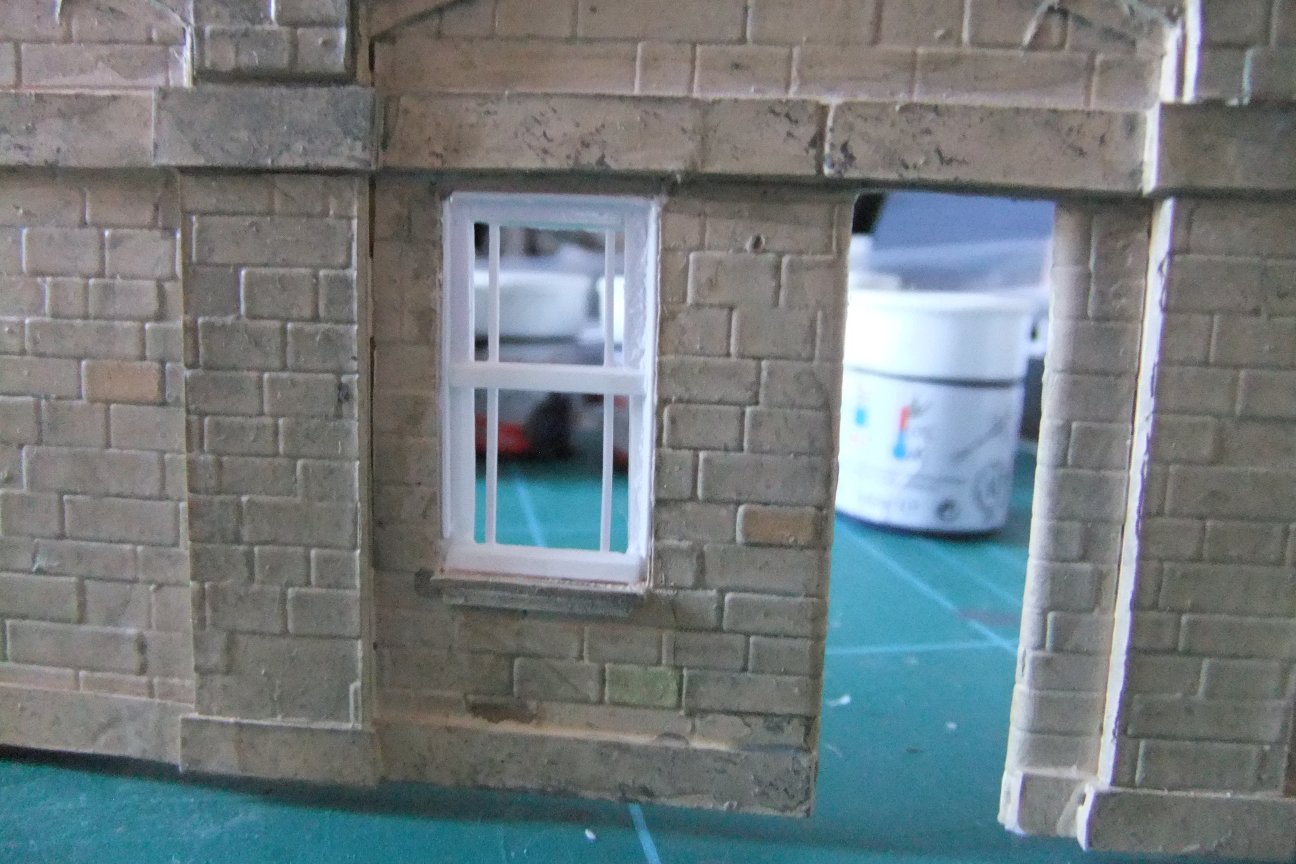
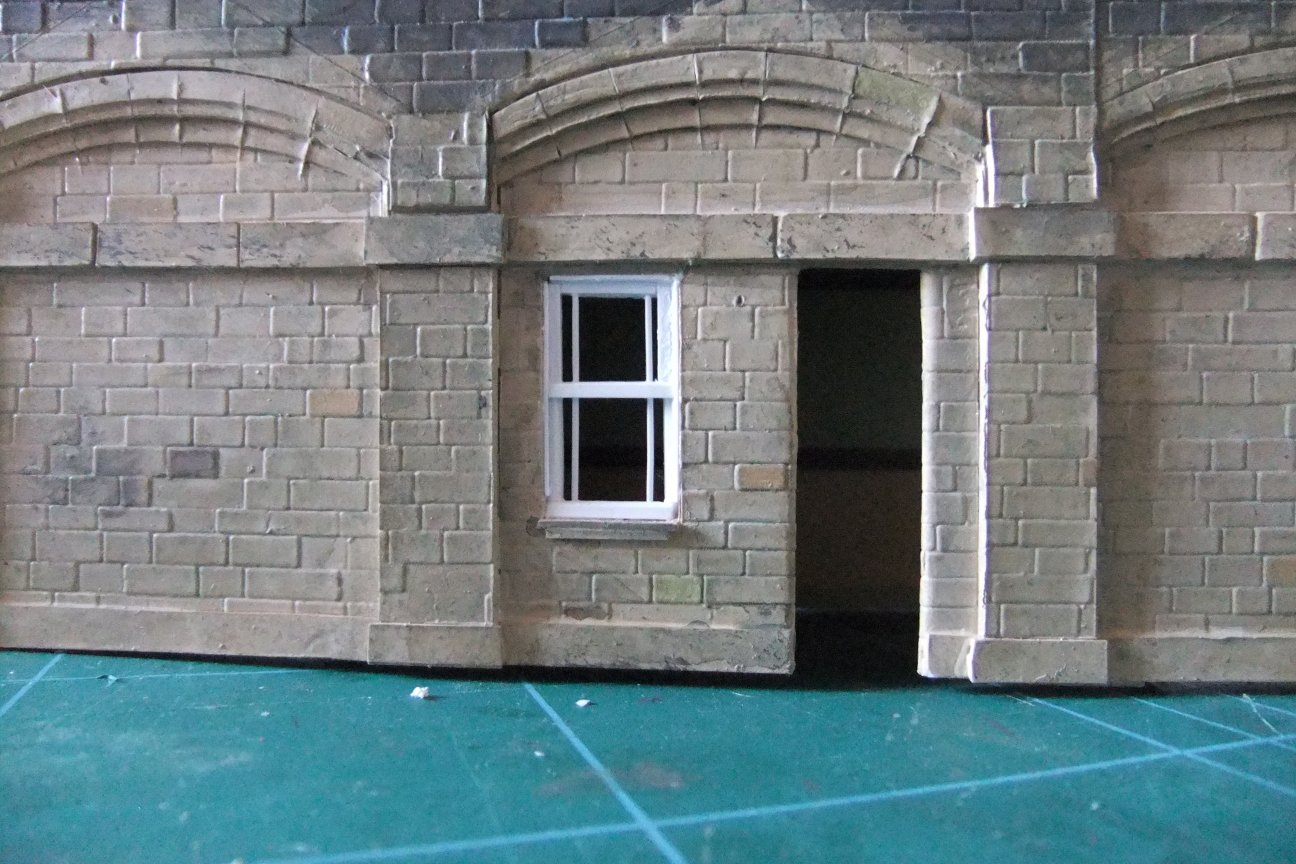
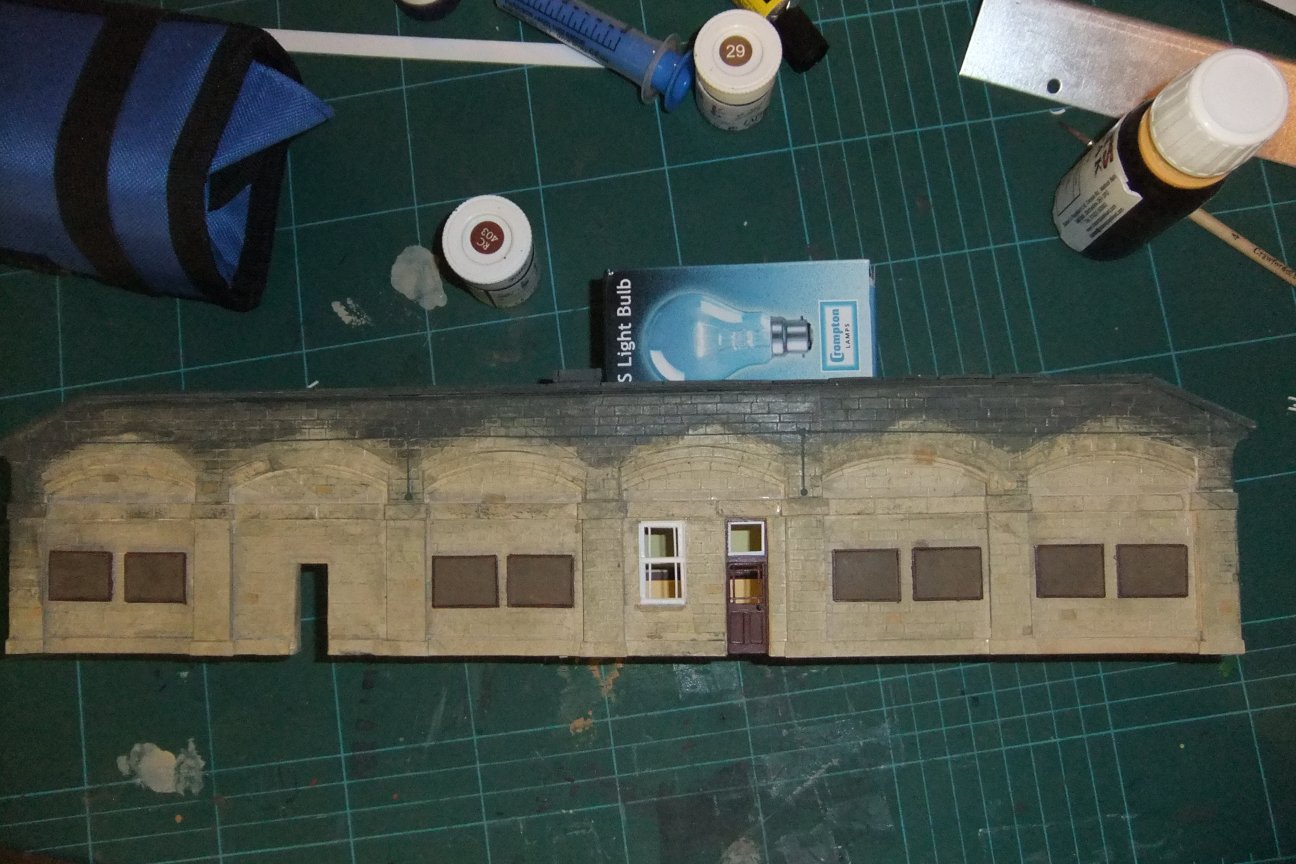
Here's the building with the door and window installed. |
 |
|
I now turned my attention to the waiting room at the back of the wall. |
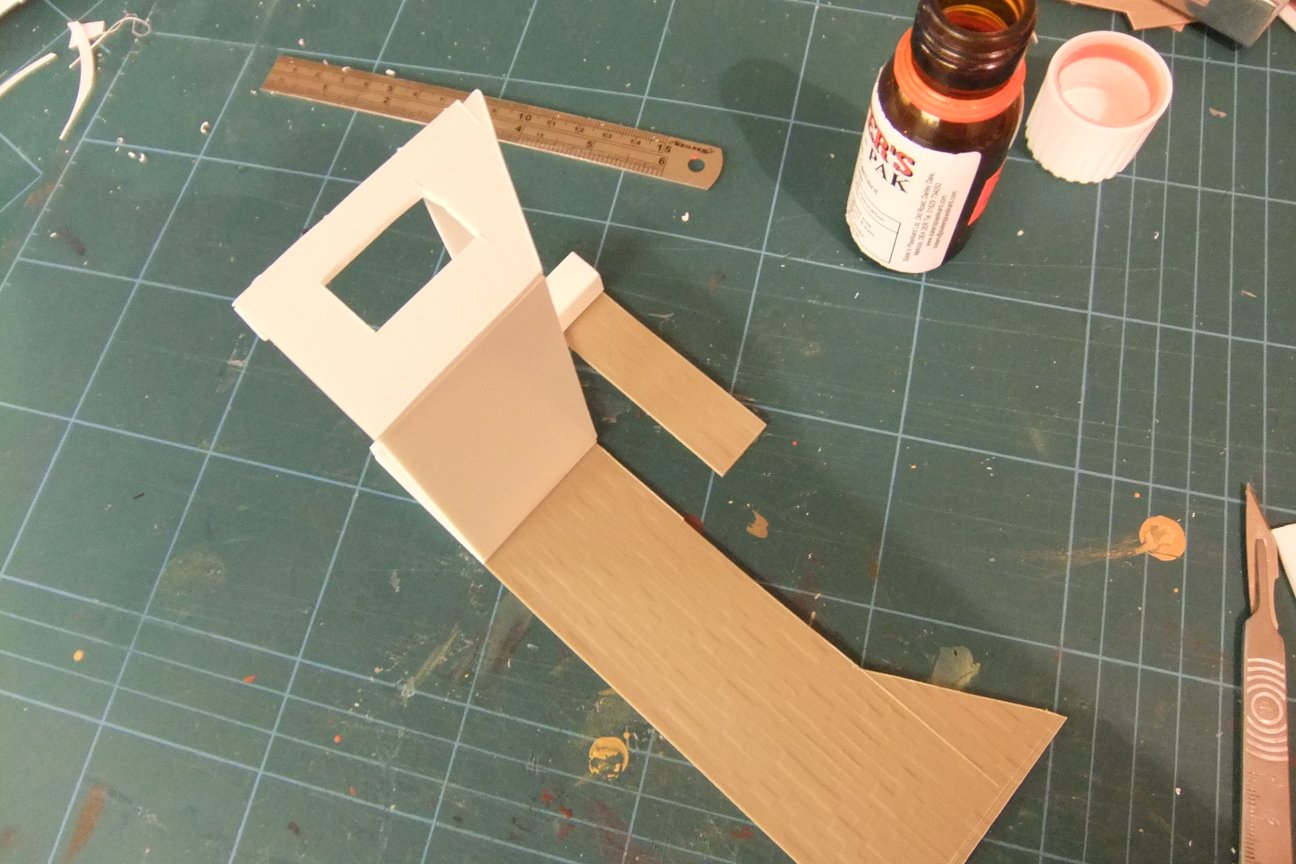
I took a sheet of 80thou (2mm) styrene, and cut out the side and ends of the waiting room. |
 |
 |
Here they are resting agianst each other to give an idea of the finished item. |
 |
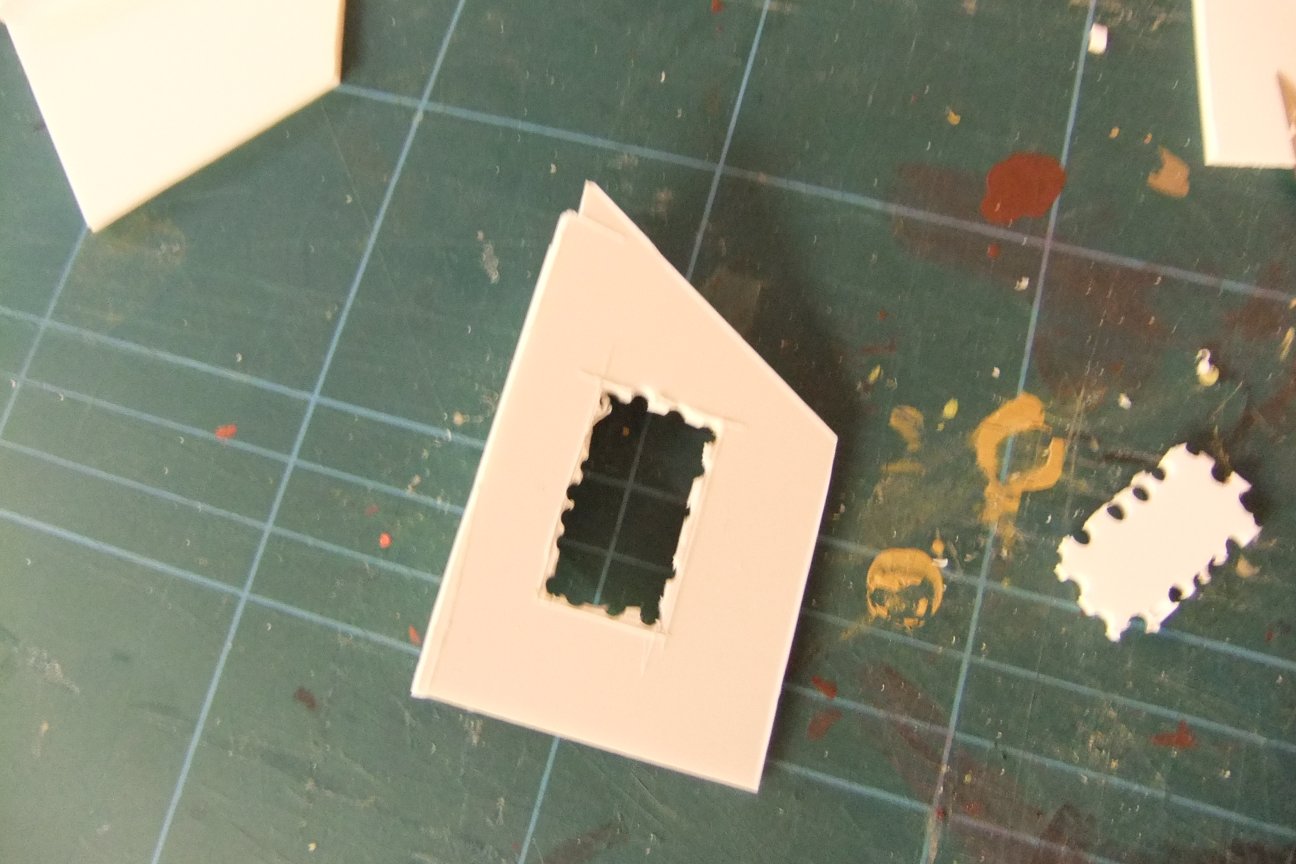
To cut out the window, as it was such thick styrene, I drilled round all the edges, and then used the scalpel to cut out and finish the hole. |
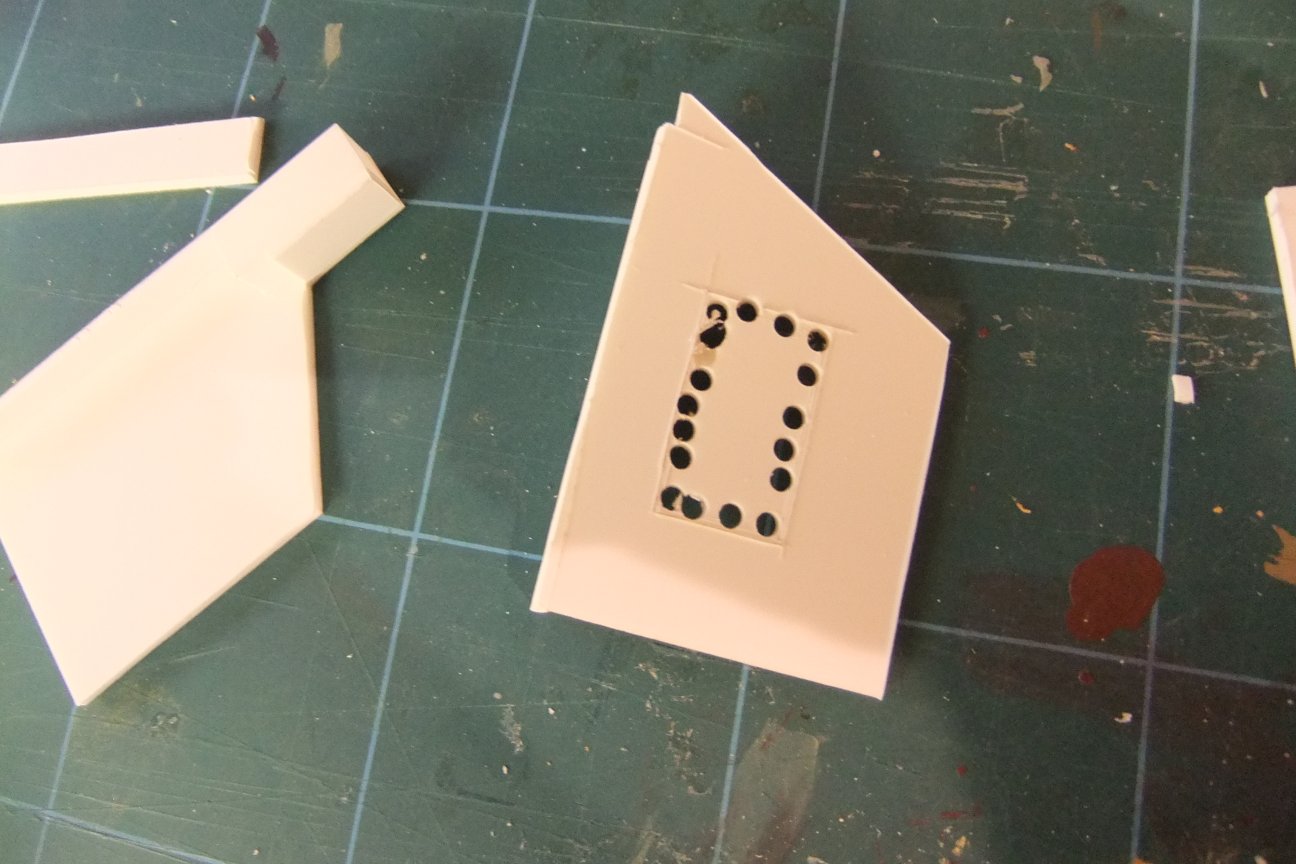 |
 |
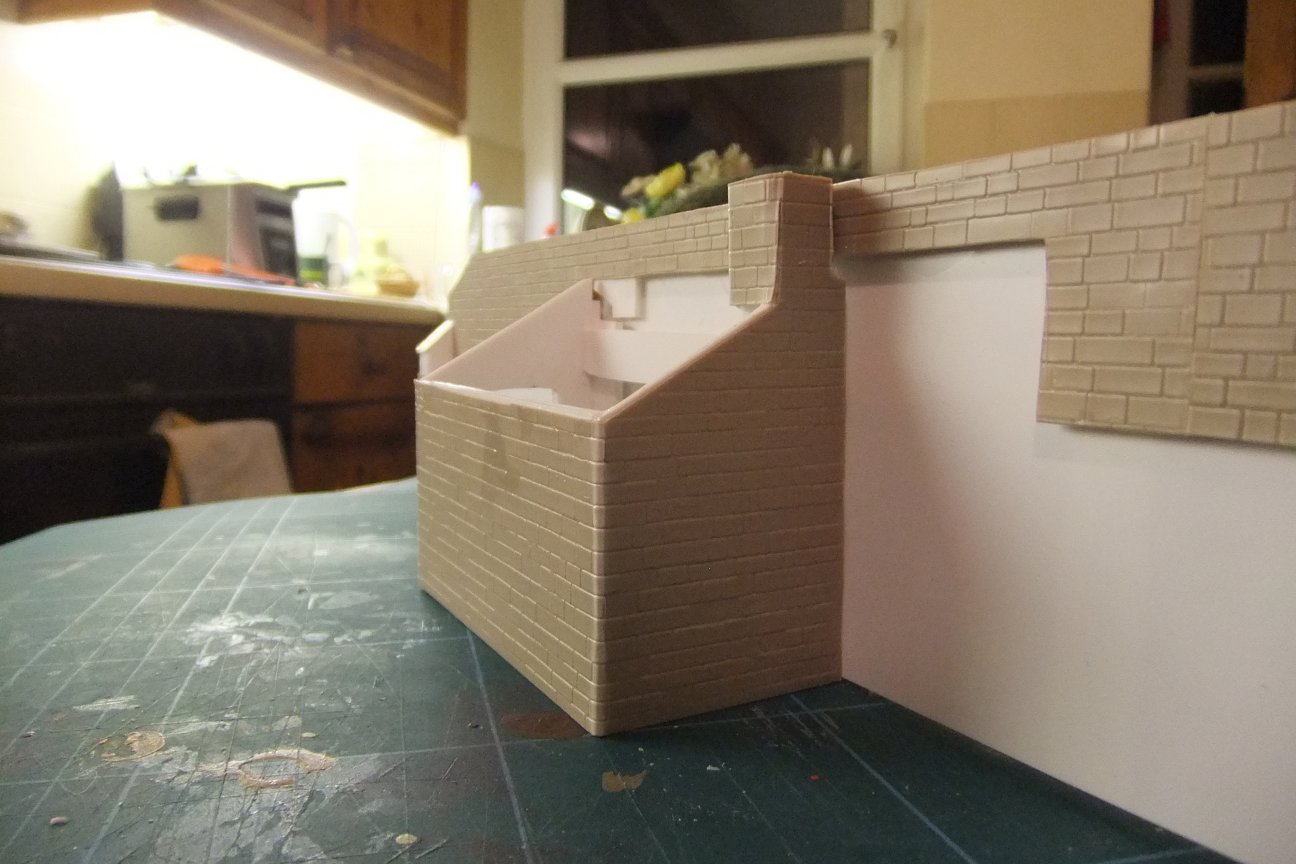
I then cut out the required shape for the embossed stone finish... |
 |
and then wrapped it round the shell. |
 |
 |
 |
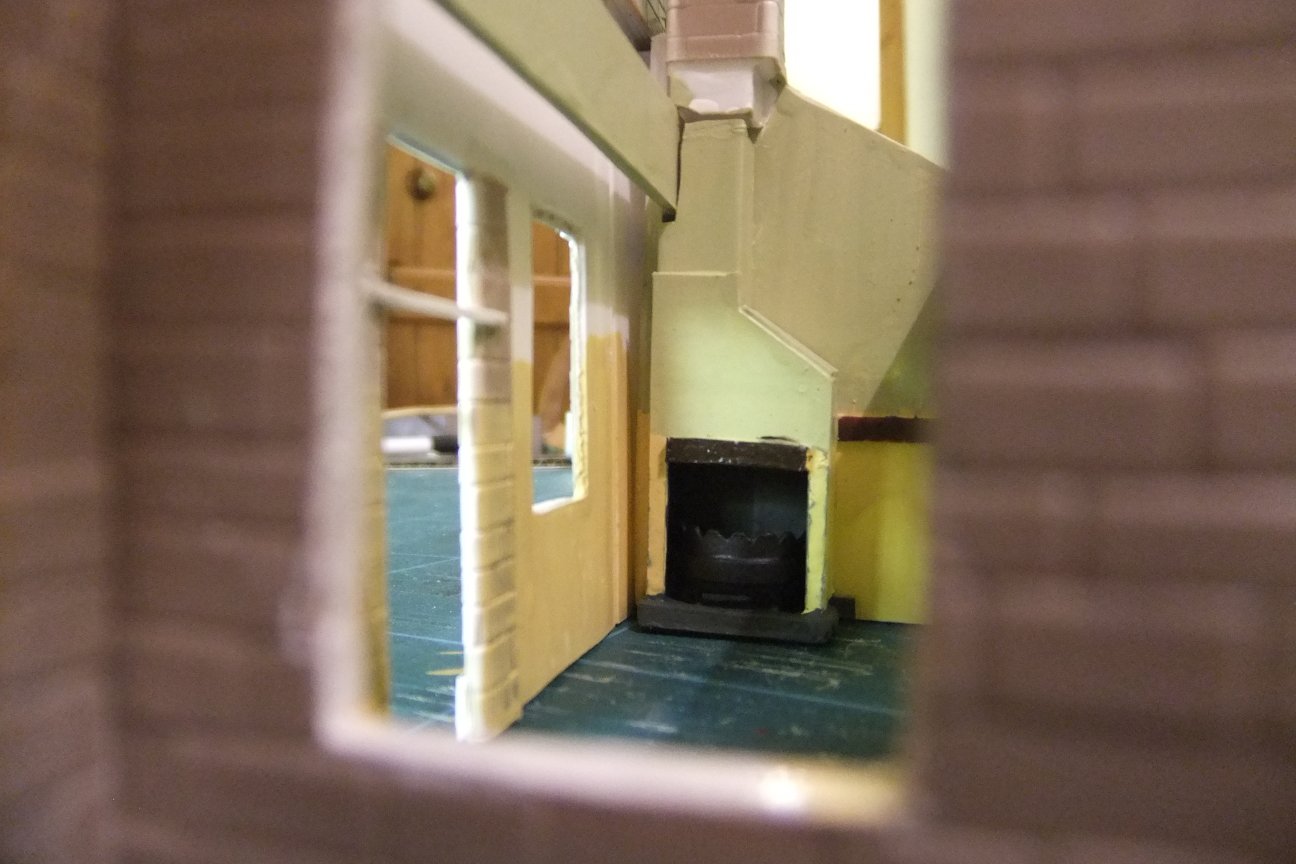
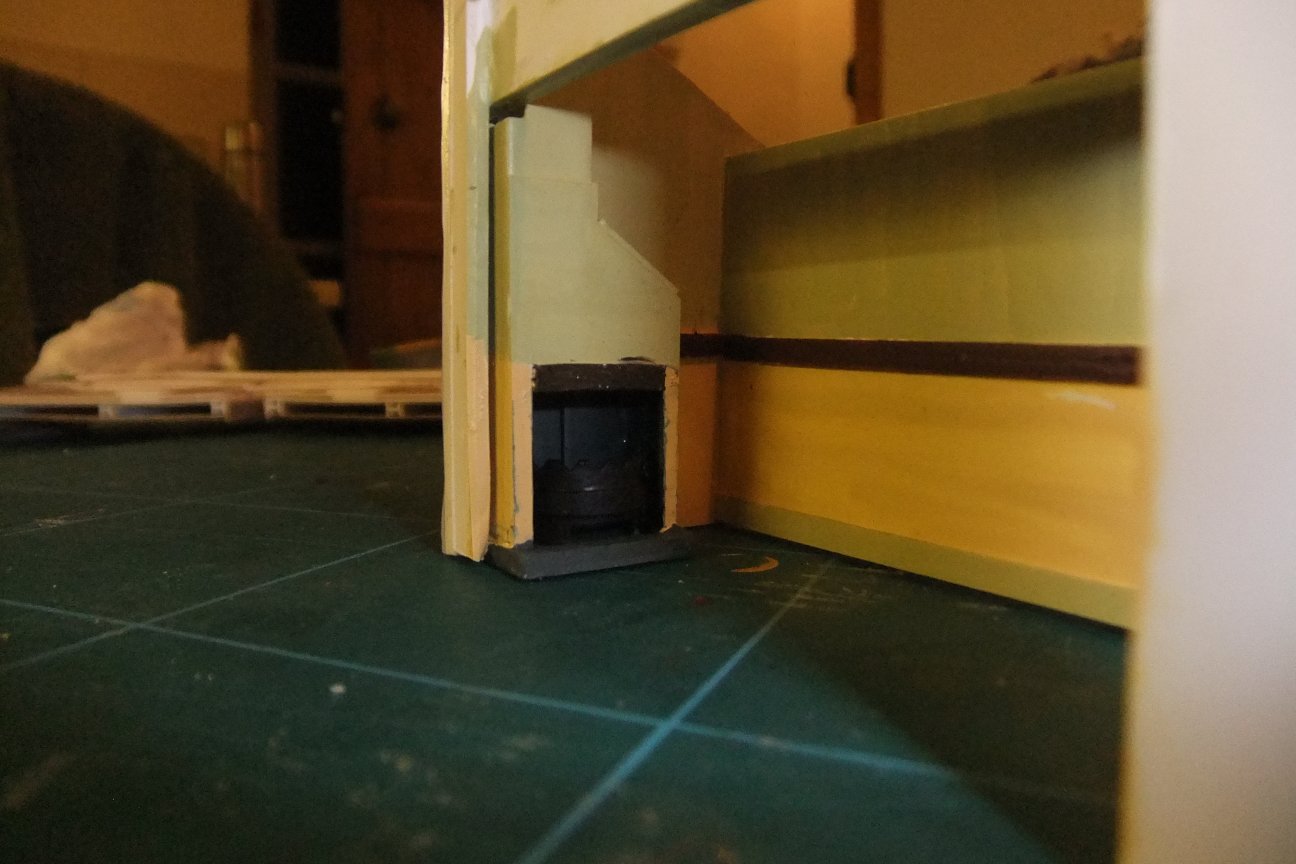
Then I cut out the bits required to make a chimney breast and fireplace, and the chimney was made from 6.3mm styrene square tube. |
 |
The interior was then roughly painted and detailed, just so it would look ok through the windows. |
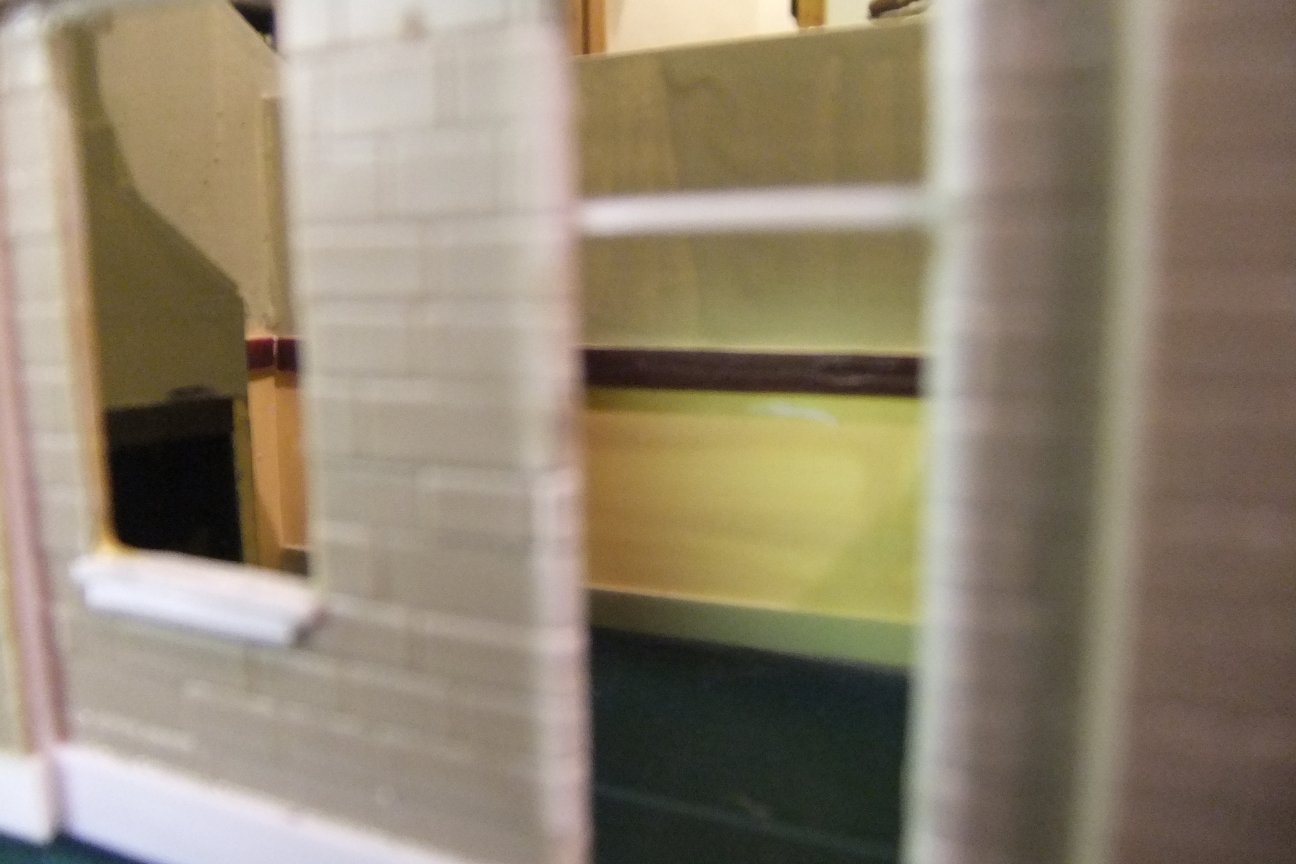 |
 |
 |
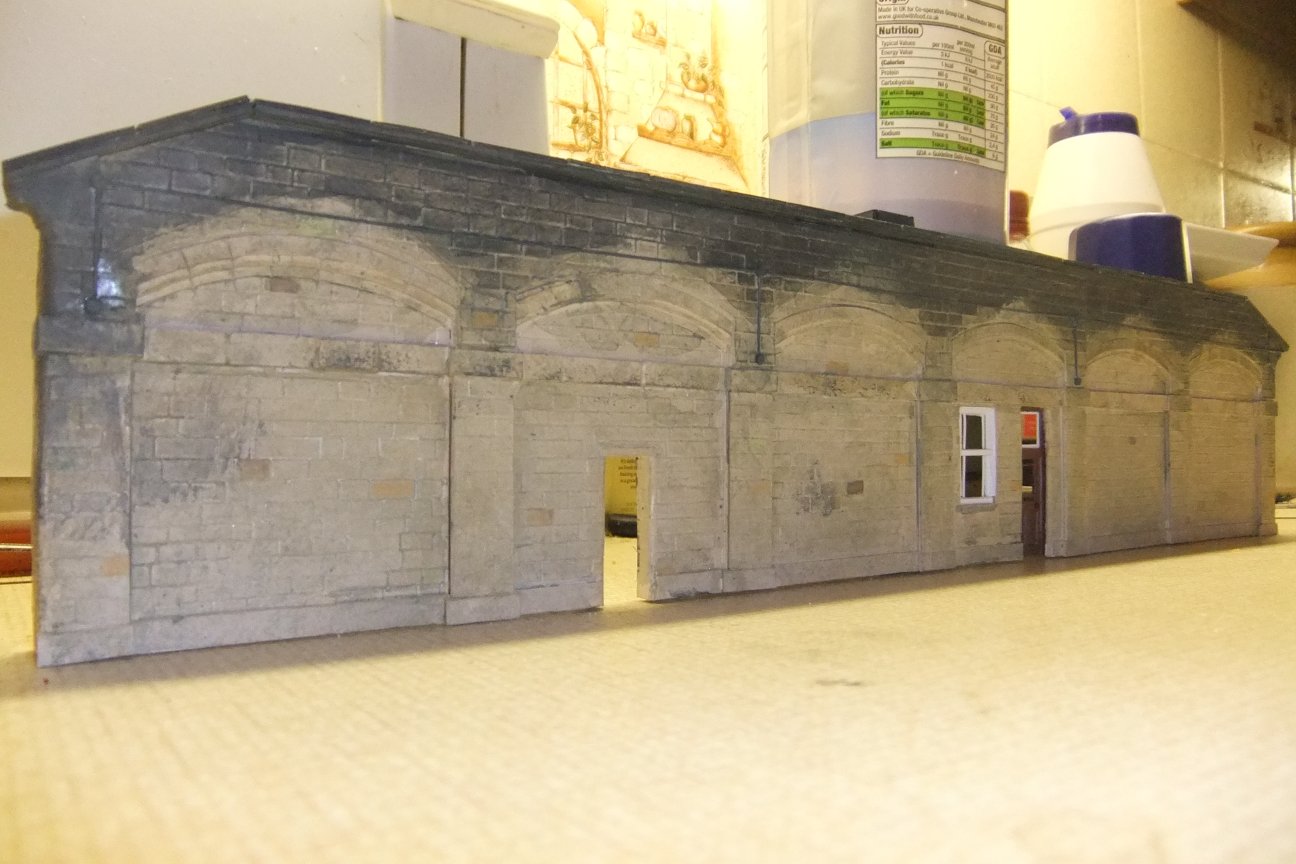
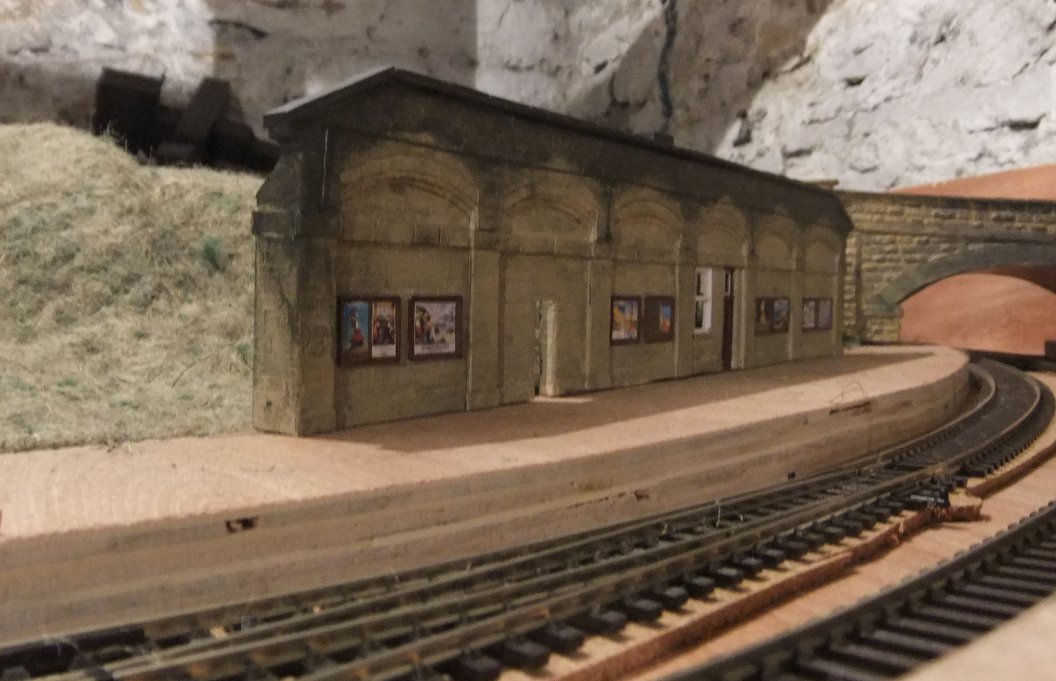
A shot of the completed building |
 |
|
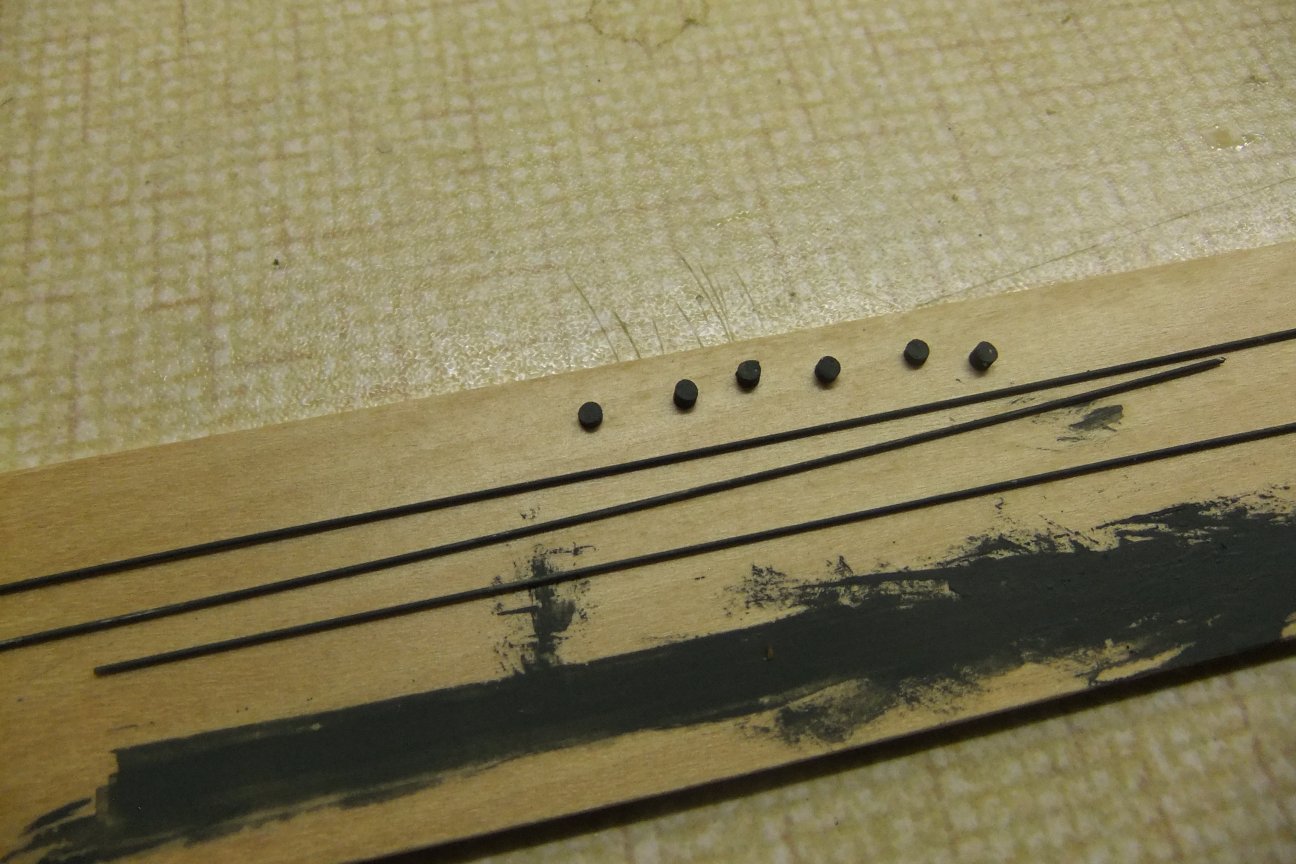
These bits, made of 0.5mm styrene rod, and slices of 2mm round rod, are meant to depict the eletrical conduit on the building: |
 |
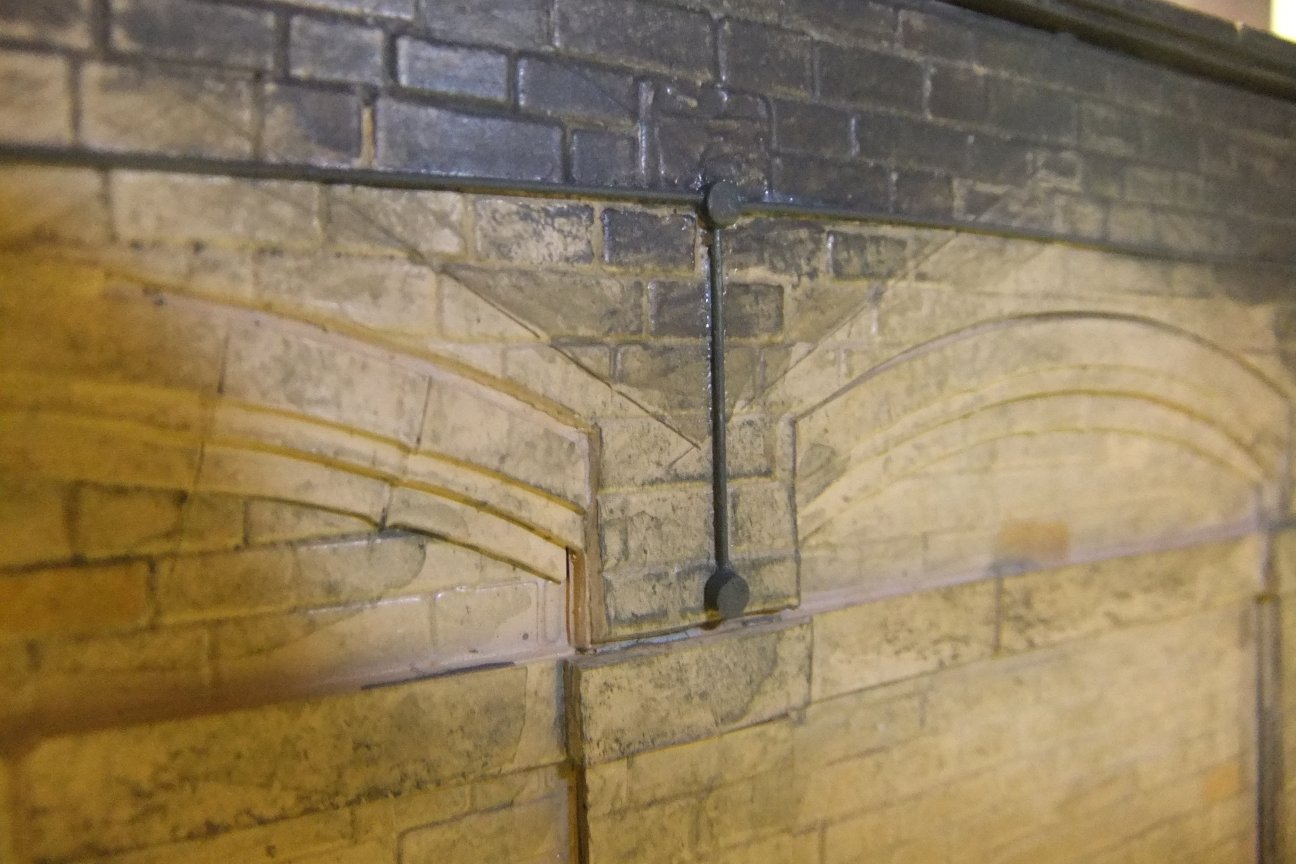
Here's a close-up of them in place |
 |
|
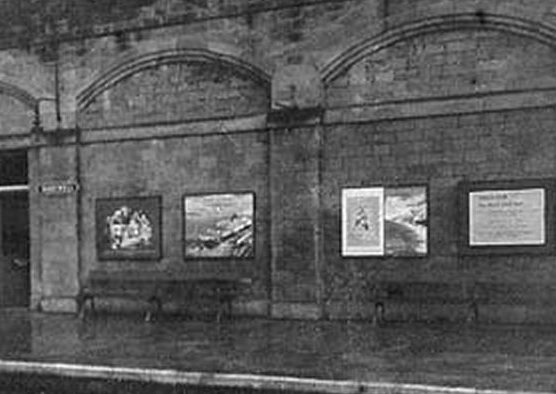
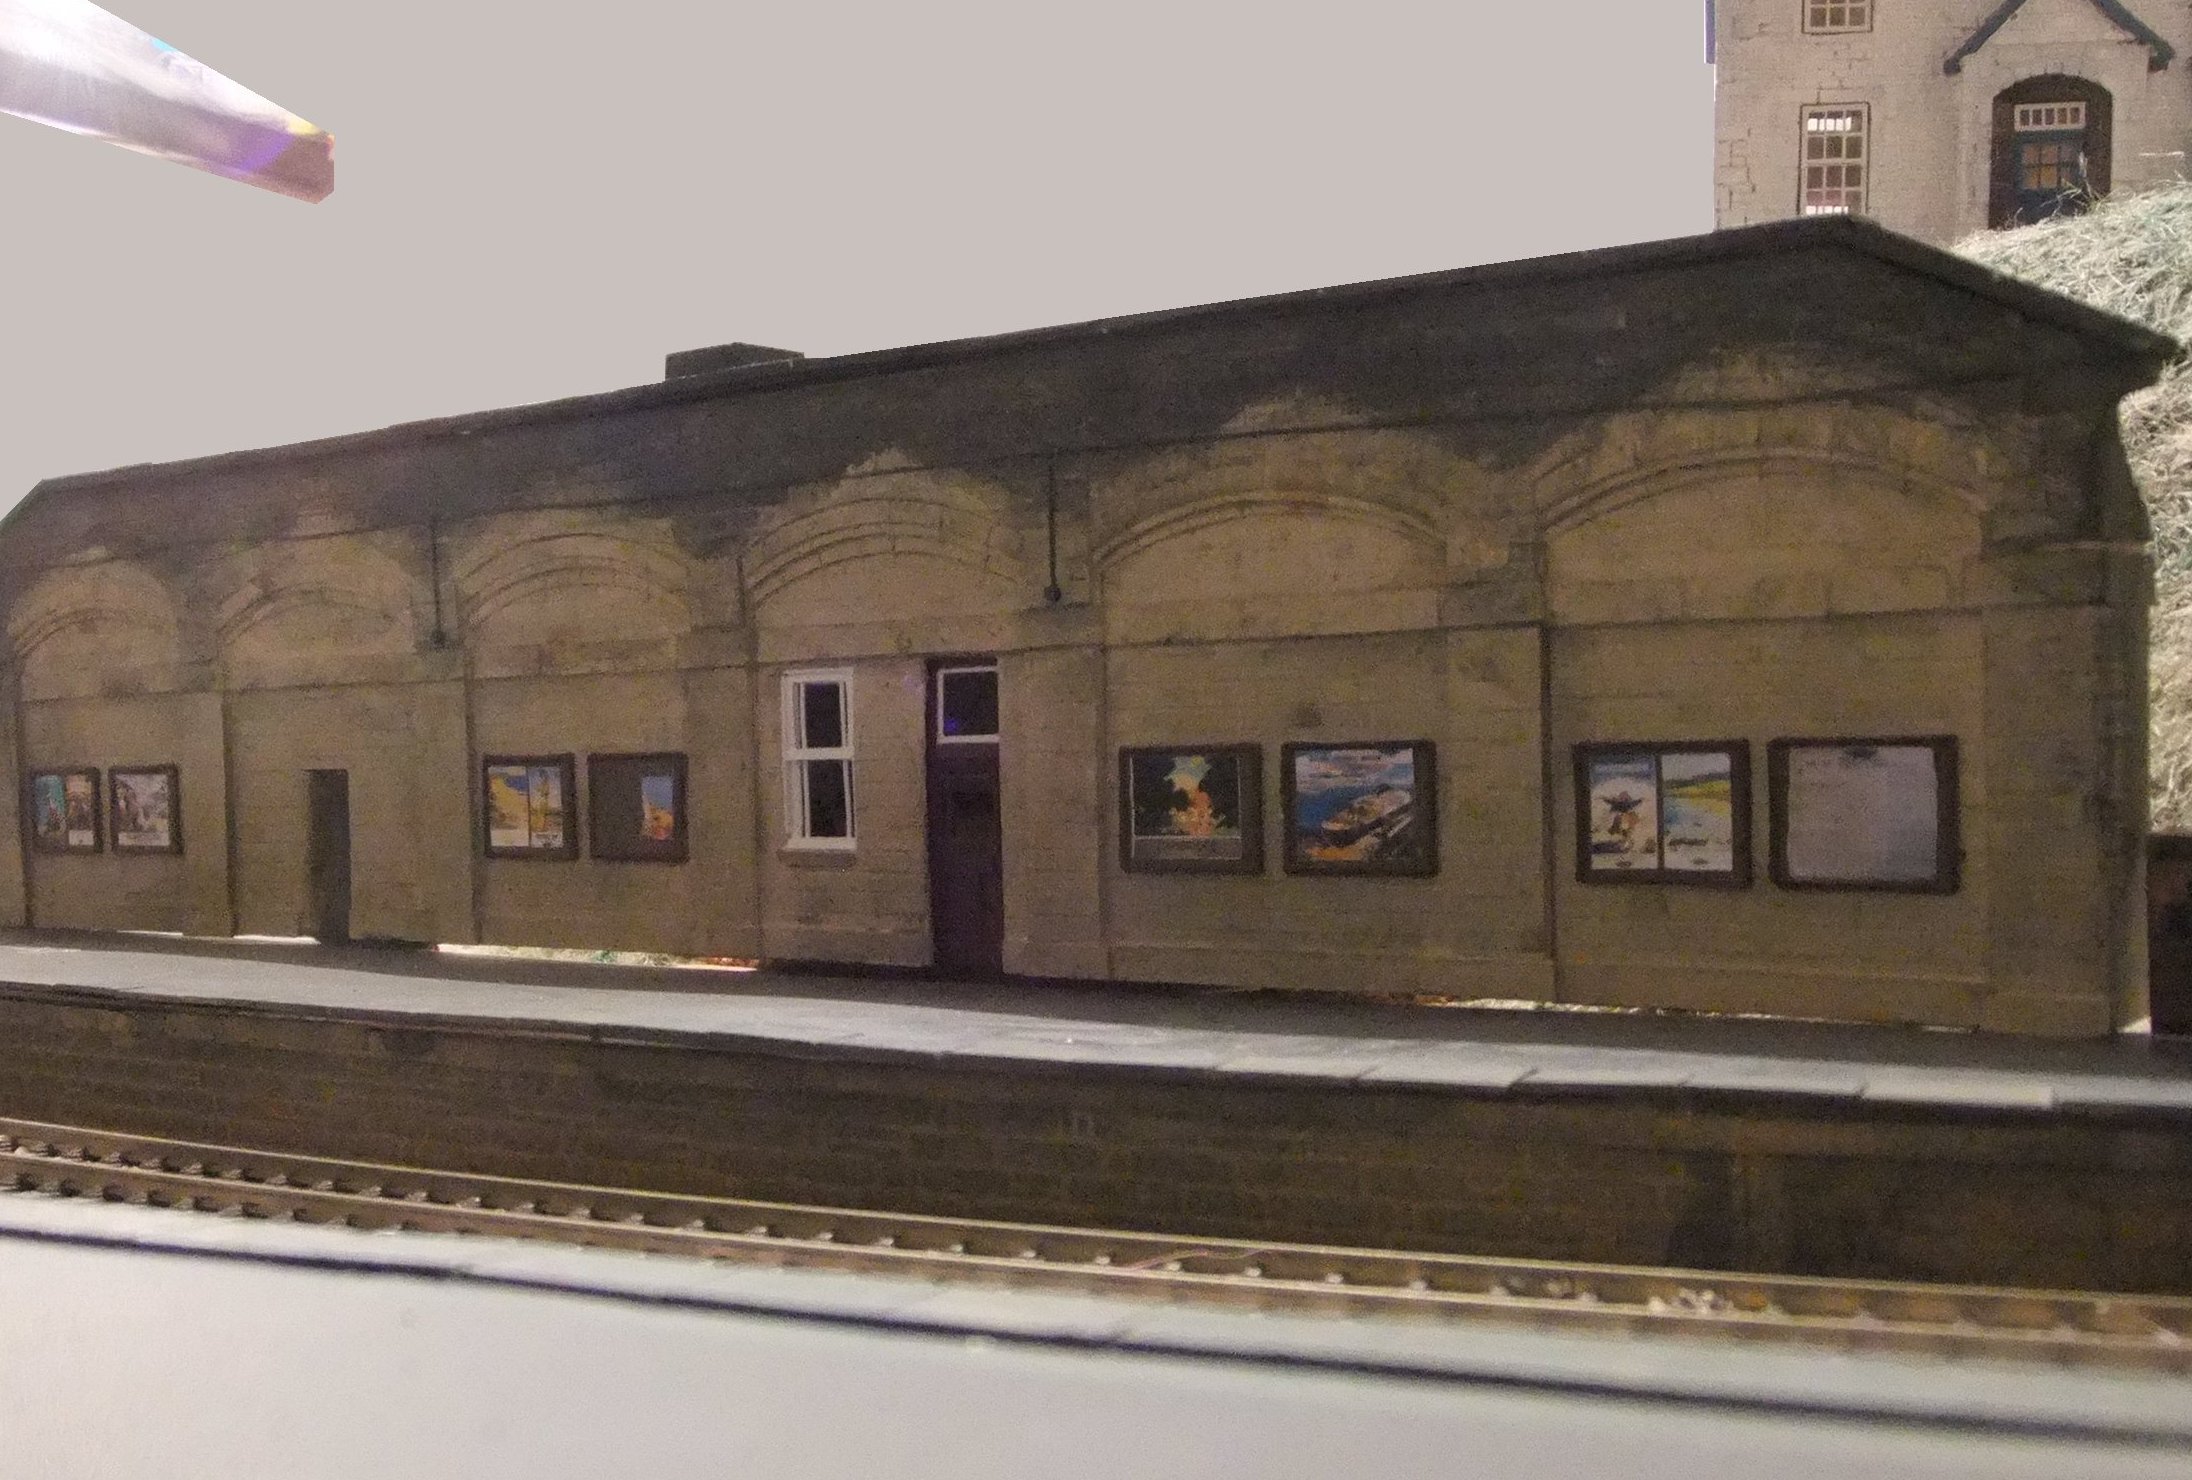
Here's a crop of a photo of the prototype building. As you can see, the most prominent thing in the photo is the advertising hoardings. I wanted to replicate this, and also, if possible, I wanted to find replicas of the actual posters shown. |
 |
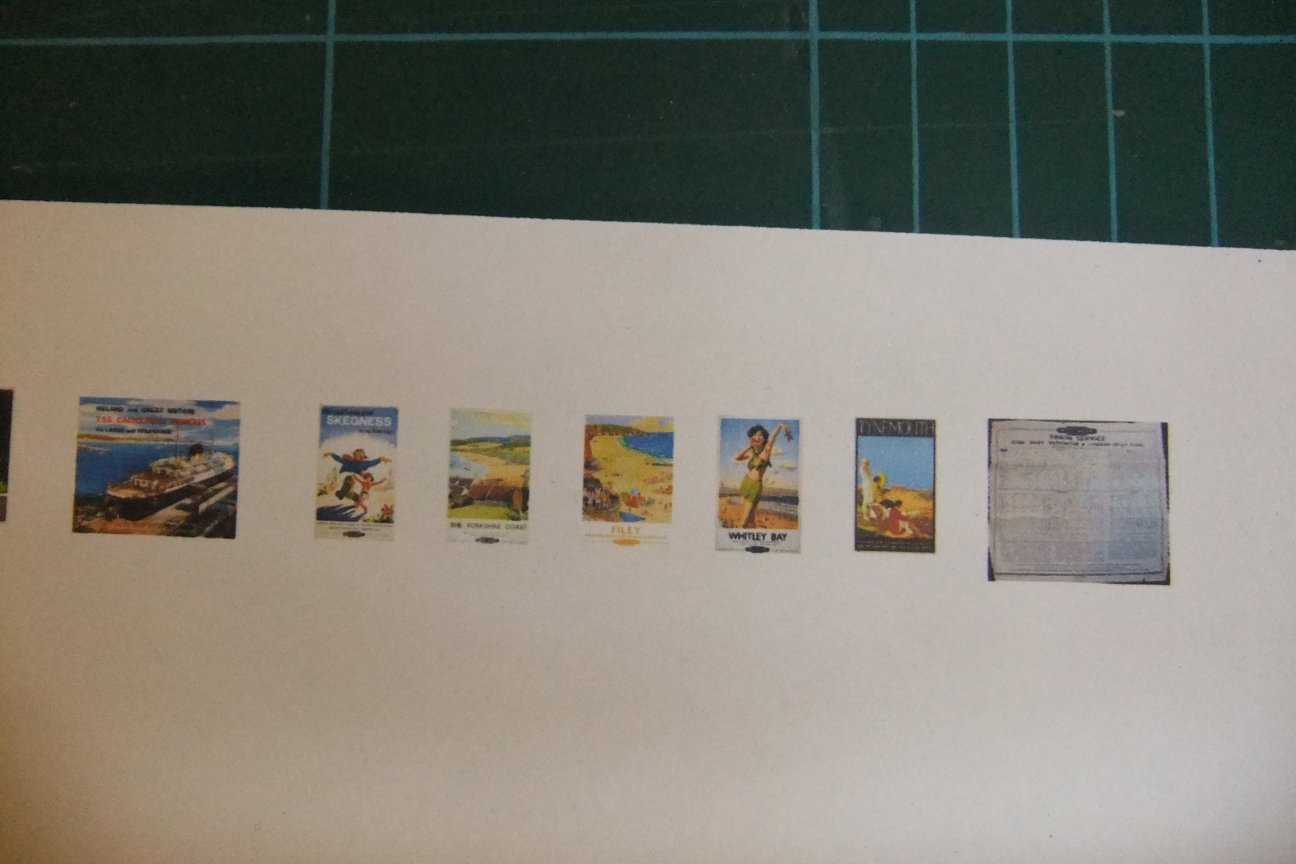
after some searching I was able to find pictures of most of the original posters, and I shrank them down and printed them on phot-paper. |
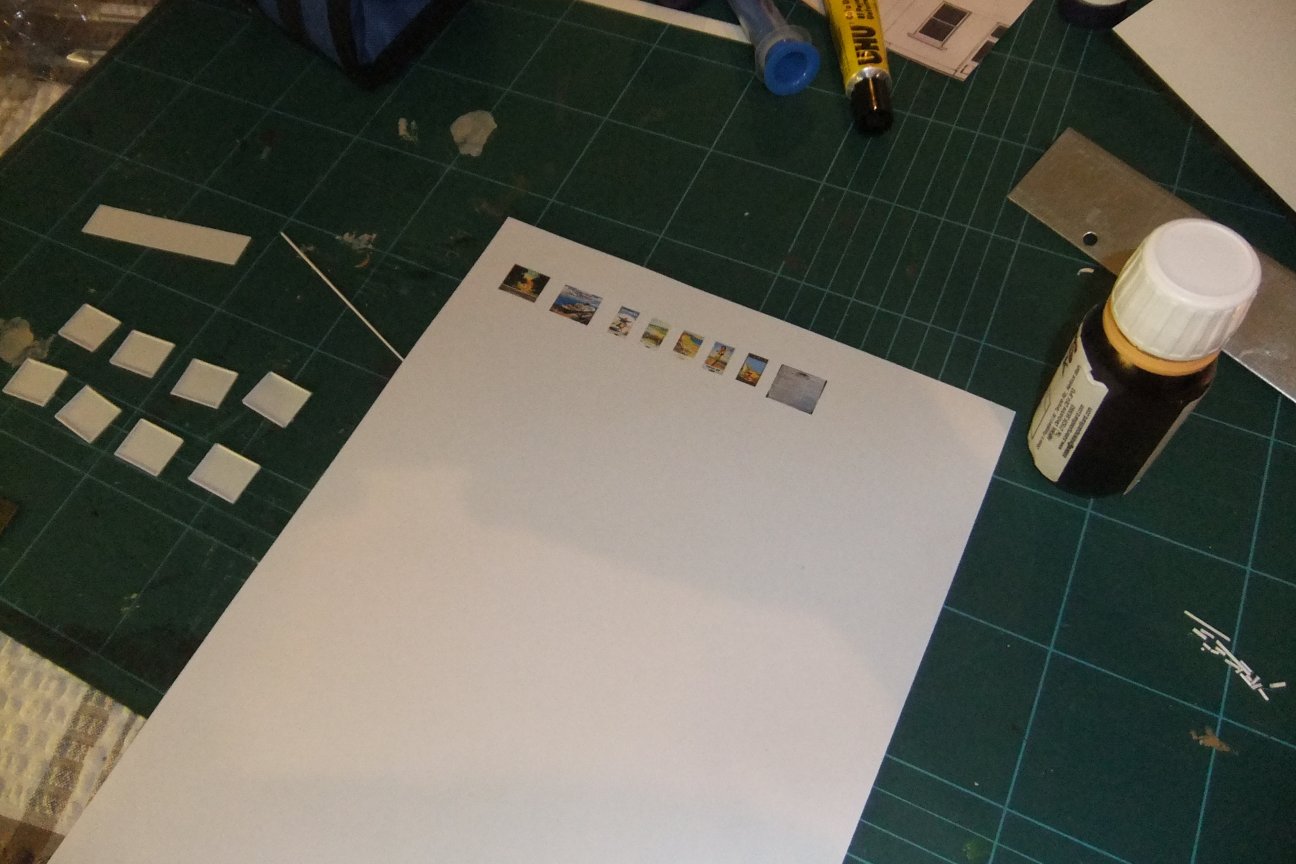 |
 |
I made the notice boards out of pieces cut from 10thou (0.5mm) sheet, with an edging of 10thou x 20thou microstrip |
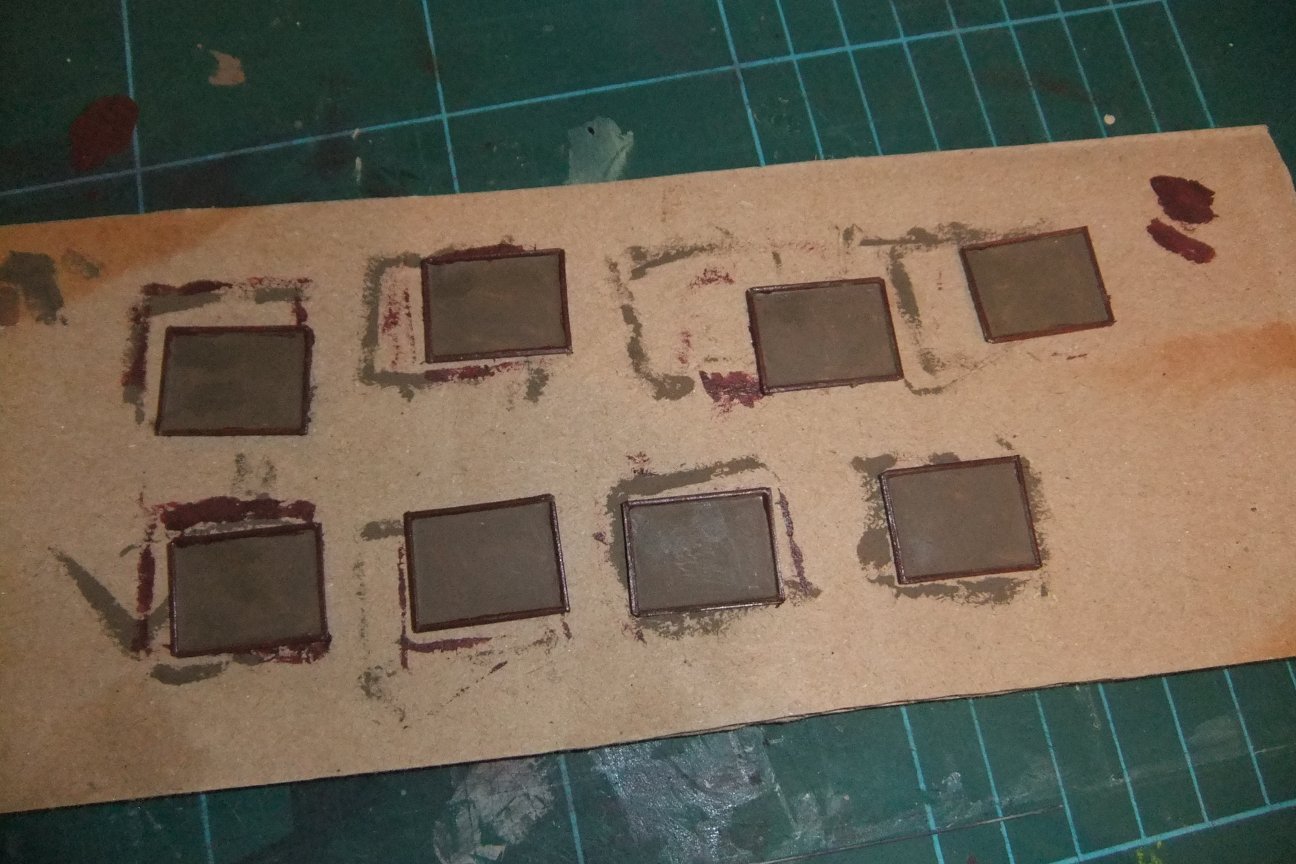 |
I used an offcut of card to ensure the notice boards were all level and the same height from the ground |
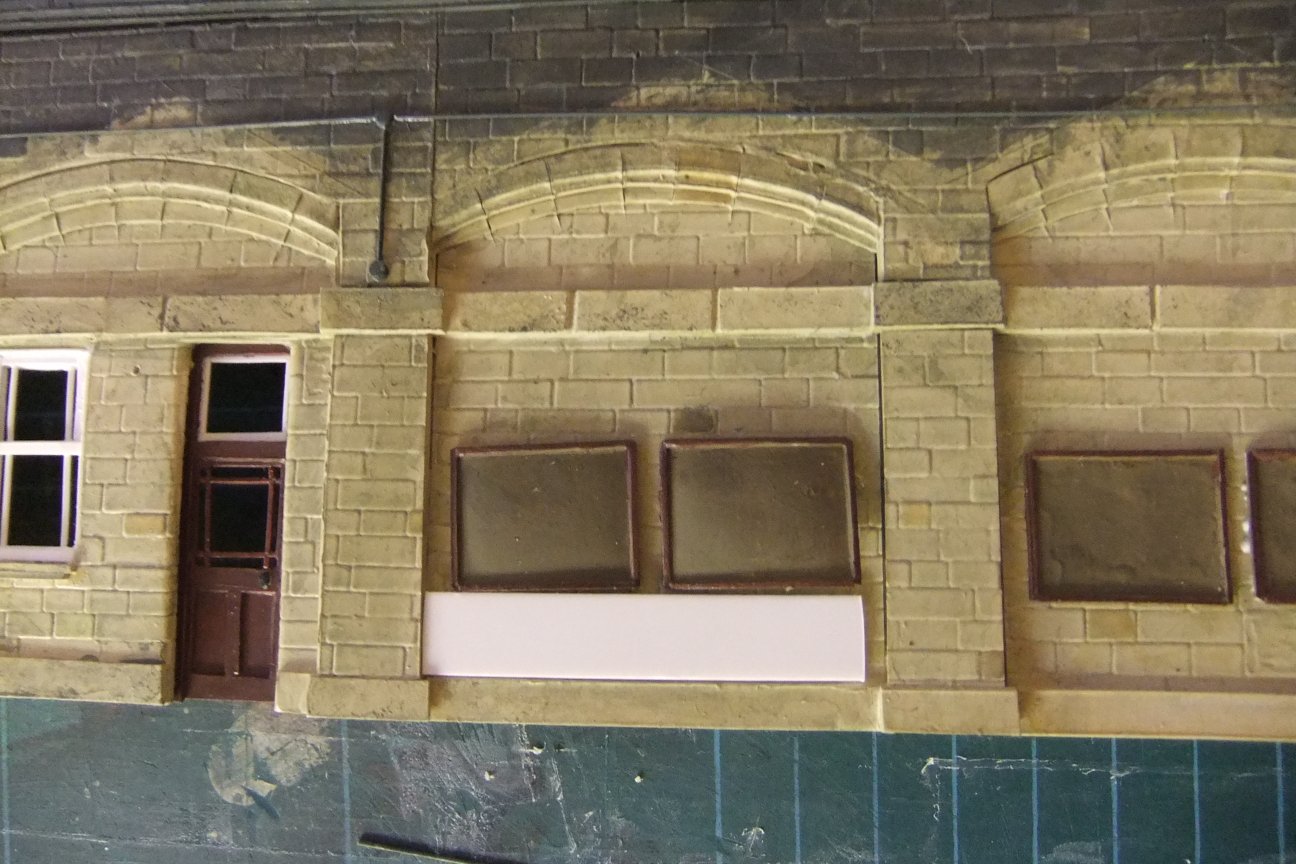 |
 |
and then stuck the cut out posters to the noticeboards |
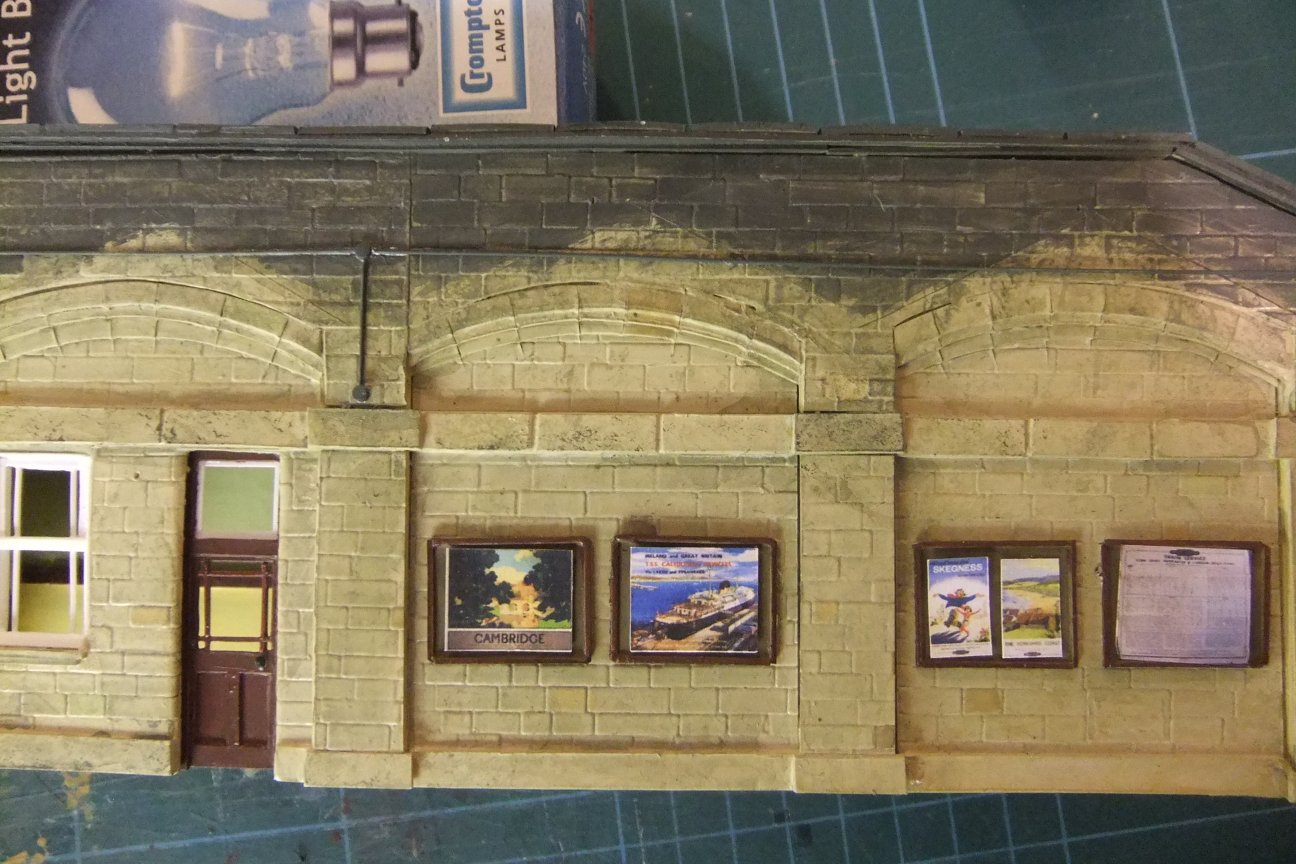 |
Here's the completed building. |
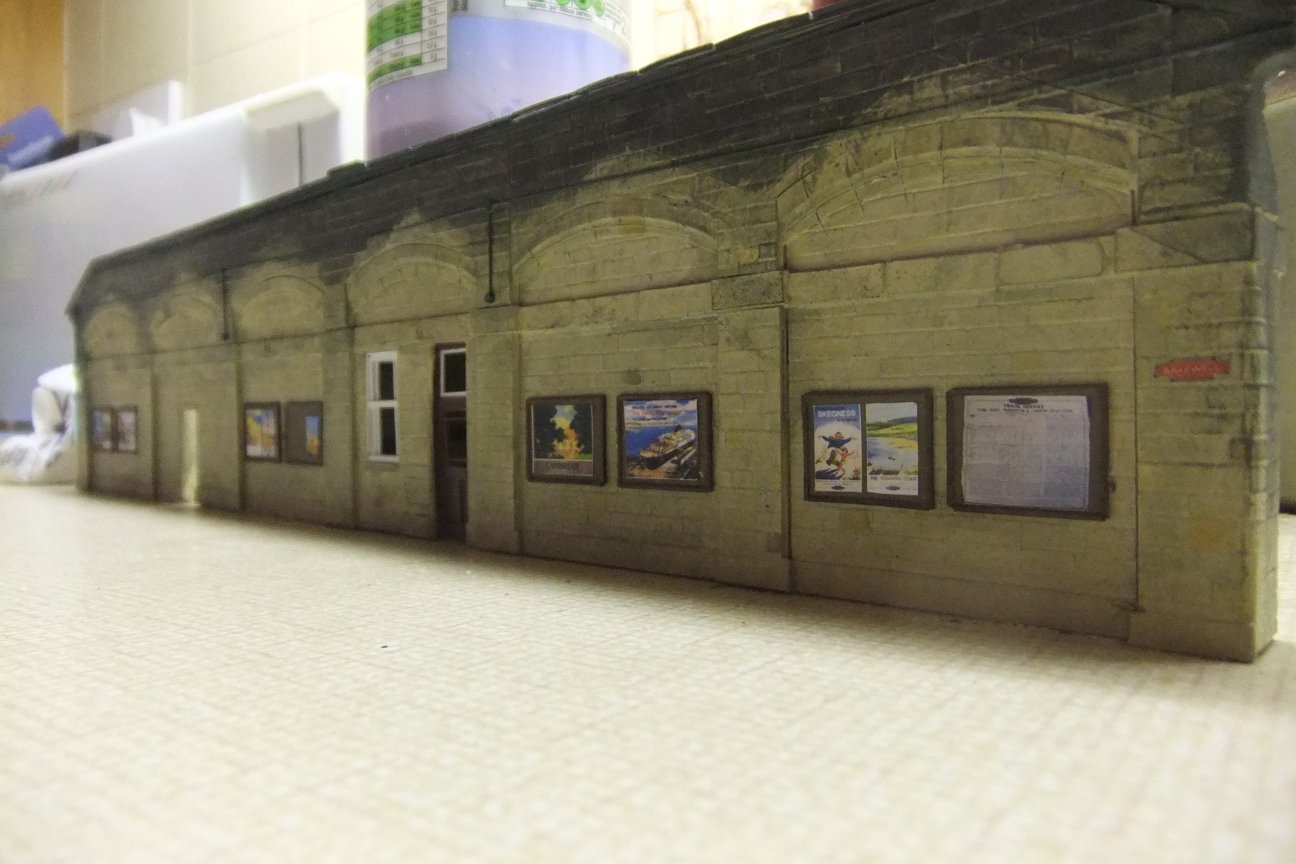 |
 |
 |